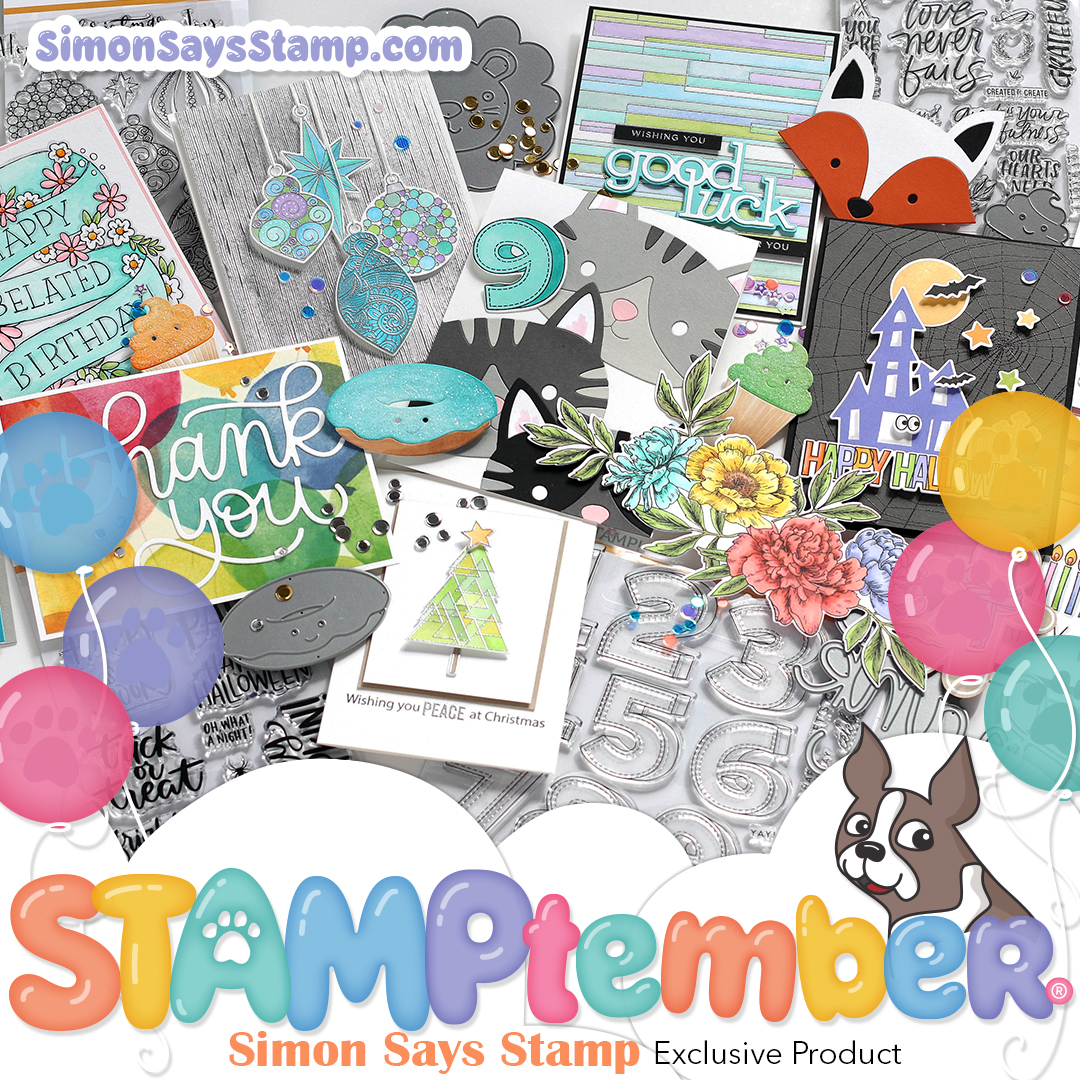
Hooray! The next exclusive STAMPtember collaboration set is here and it’s from one of my most favorite companies EVER: Concord & 9th!! This is a limited STAMPtember set and once it sells out it’s gone for good so make sure you snag yours soon!
And speaking of Concord & 9th…have you seen their newest release that came out yesterday?! It has EVERYTHING you could possibly need for holiday cardmaking! I hope to have a video or two up this week using some of the new release products…especially that Snow Flurry set! LOVE!
|


I have a video for today’s card that you can watch below or at my Youtube channel!
I wanted to do something a little different today so I grabbed my polychromos colored pencils for a little coloring on dark cardstock! 🙂
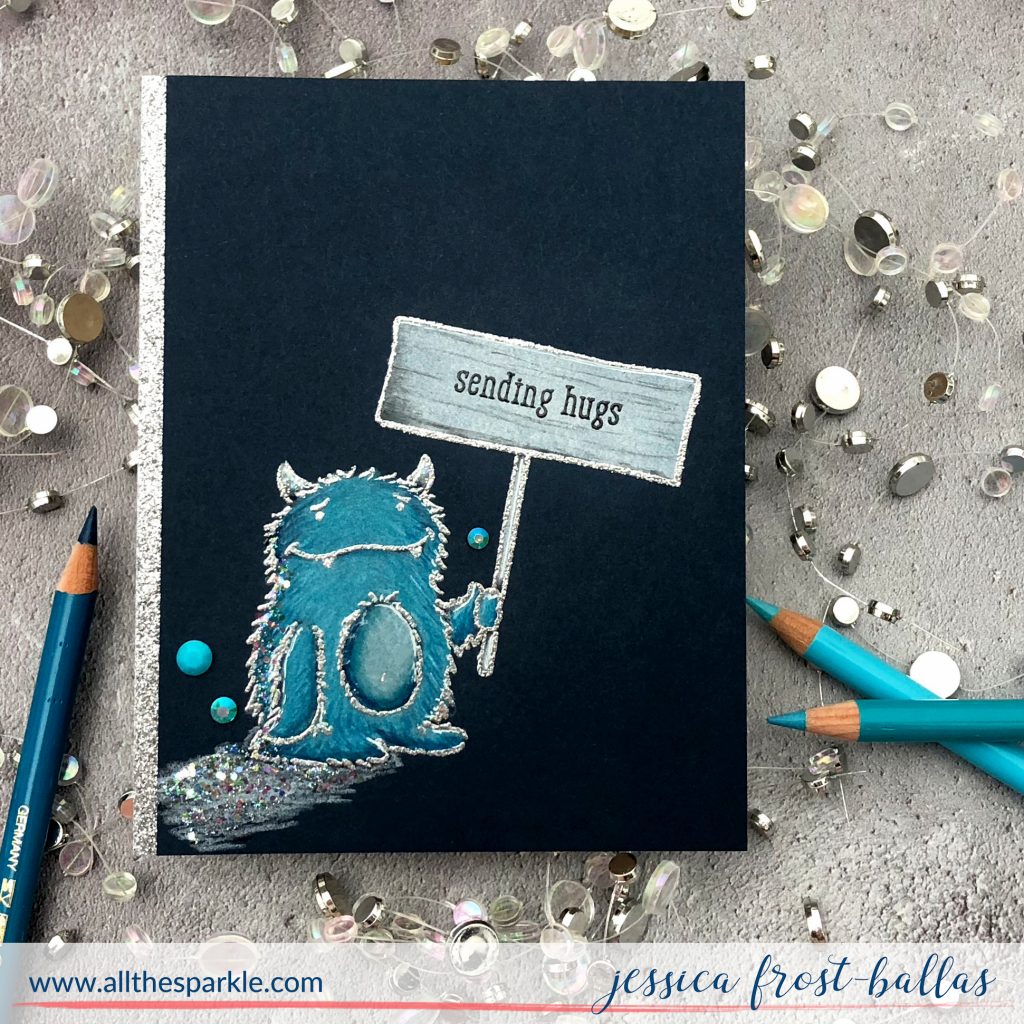
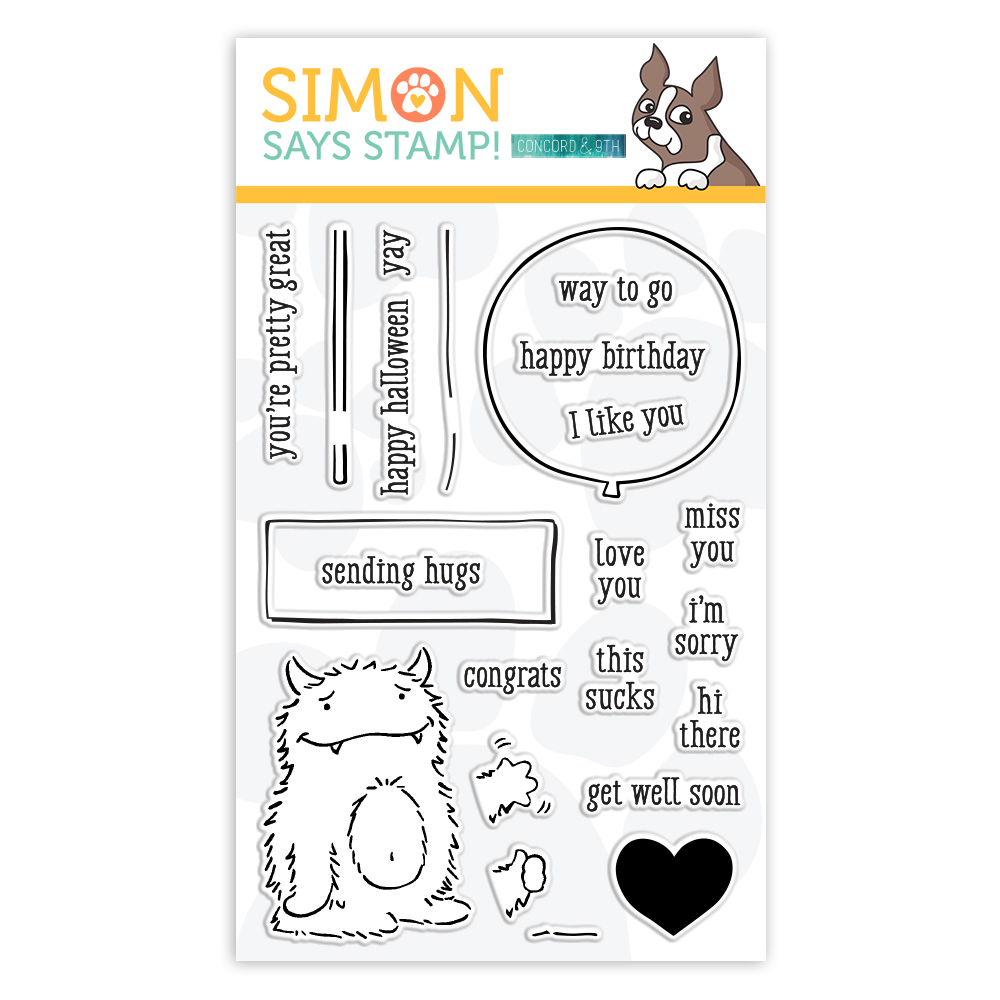
To start I stamped the monster on dark blue cardstock with white pigment ink. Then I laid down a layer of white colored pencil. You can skip this step and go right to the colors you plan to use but the white layer really helps the colors pop a little more! After my first layer of white, I added a light layer of my lightest aqua color. Then I added my darkest color to add a little shading in the shadowed areas. I blended that with my two medium shades and then went back with the lightest shade to burnish down the tooth of the paper for a smooth finish. Once I finished coloring I placed the cardstock back in my MISTI and restamped the monster with versamark before heat-embossing with silver sparkle embossing powder. Next I stamped the monster’s hand with white pigment ink and colored it with colored pencils before heat-embossing it with silver sparkle embossing powder. I love that this stamp allows you to stamp the monster with a waving arm or a hand that can hold the balloon or sign. And of course there are TONs of sentiments to customize your greeting!
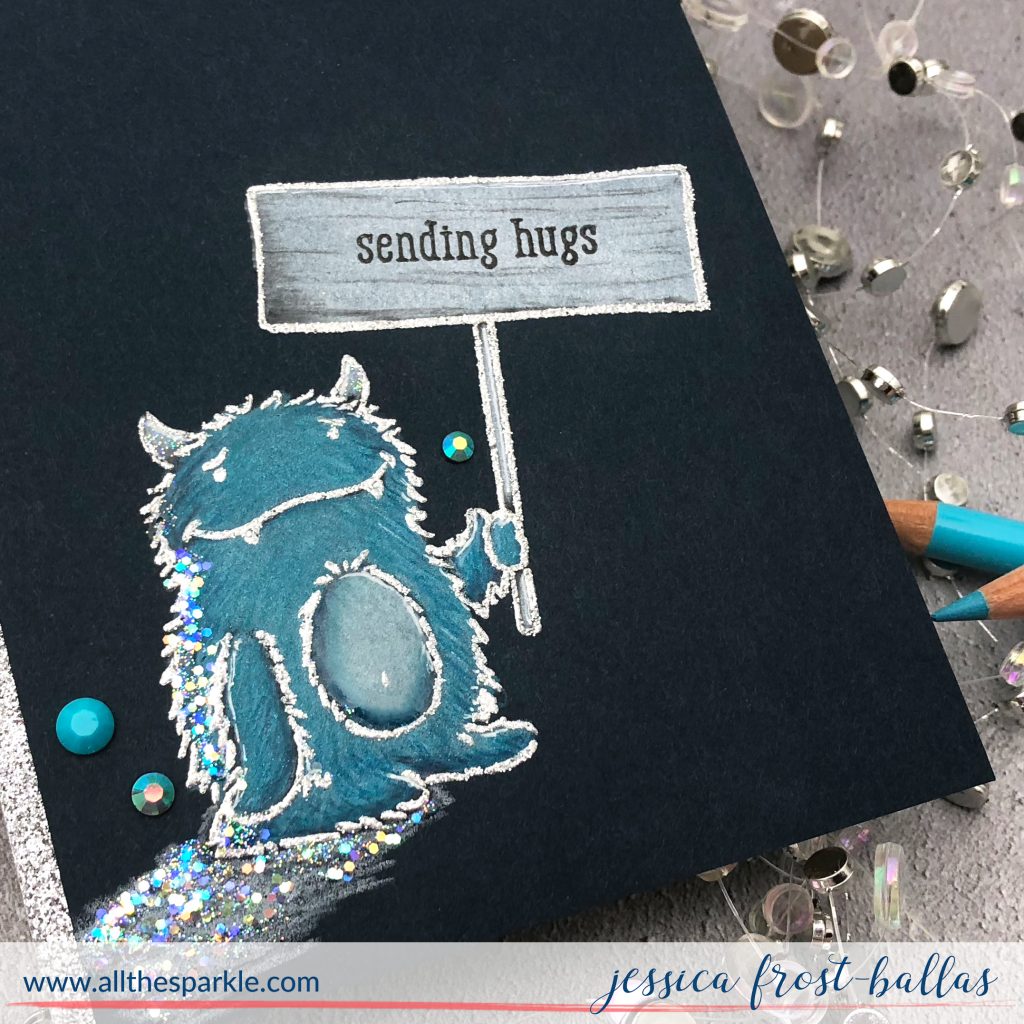
Then I stamped the sign with white pigment ink and colored it with colored pencils. When I finished coloring I stamped and heat-embossed it and then stamped the sentiment with versafine and heat-embossed it with clear embossing powder. Next I masked off the sign and repeated the process. Then I trimmed my panel and added a strip of silver glitter cardstock before adhering it to a white card base. Finally I added a little nuvo crystal glaze to his belly, horns, shadow, and back and then sprinkled the shadow and back with chunky and prisma glitter. Off camera I also added a few accents with a white gel pen to finish the card!
If you’re doing some online shopping today remember that you can save 25% off ALL Pink and Main products with the code: PKMN264 and 25% off ALL Technique Tuesday products with the code: TCHT587
Thanks so much for visiting and have a fantastic day!
 Interested in the products I used? To make them easy for you to find, I have listed them below. (Affiliate disclosure can be found here). Your purchases help keep my blog running and I thank you for the support!
|


Super cute monster. Colored pencil on dark is just fantastic. Really enjoyed your video. Glittery shadow…nice!
Great colouring and tips on your video. Thanks for the inspiration.
Such a sweet card Jess! Love the touch of silver glitter paper and the gorgeous colored pencil against that dark navy cardstock!