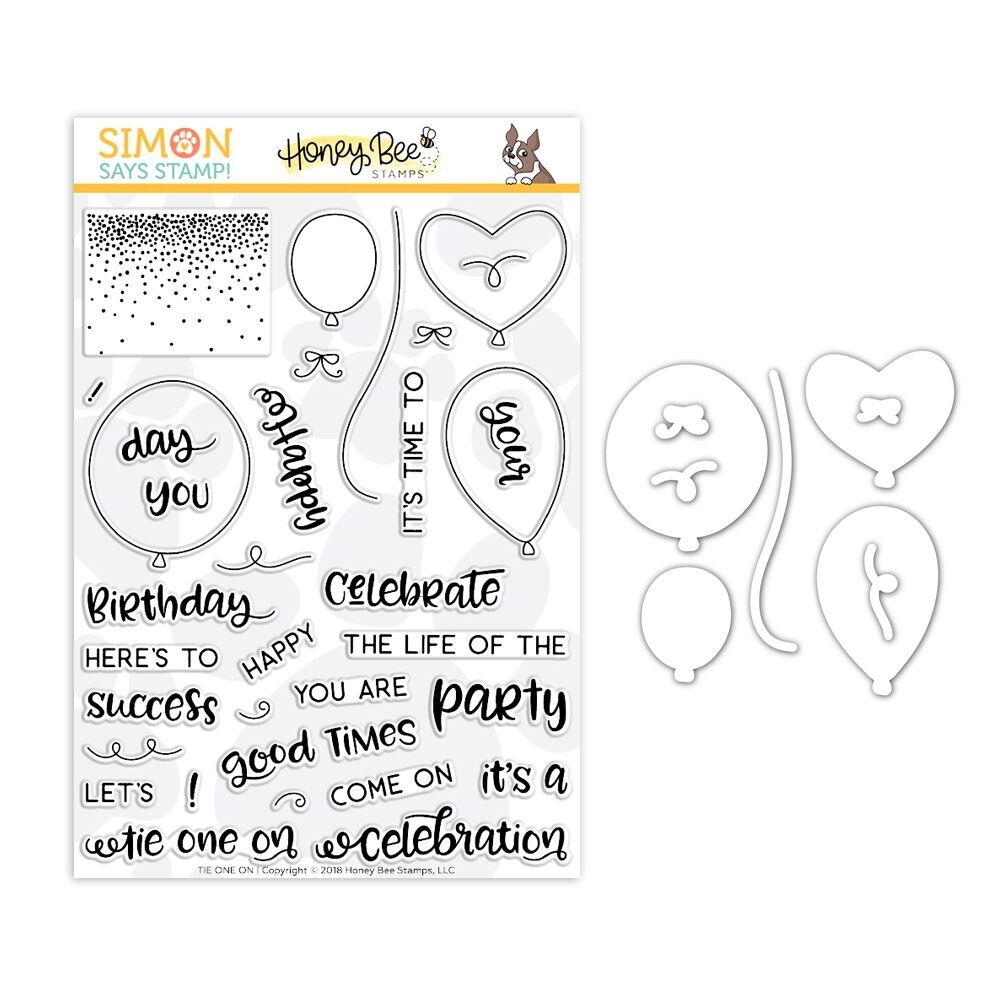
Hello! The next exclusive STAMPtember collaboration is now available and it’s Tie One On from Honeybee Stamps! This is a limited STAMPtember set and once it sells out it’s gone for good so make sure you snag yours soon!
 I have a video for today’s interactive card that you can watch below or at my YouTube channel!
I thought those balloons would be PERFECT for a pop-up card!
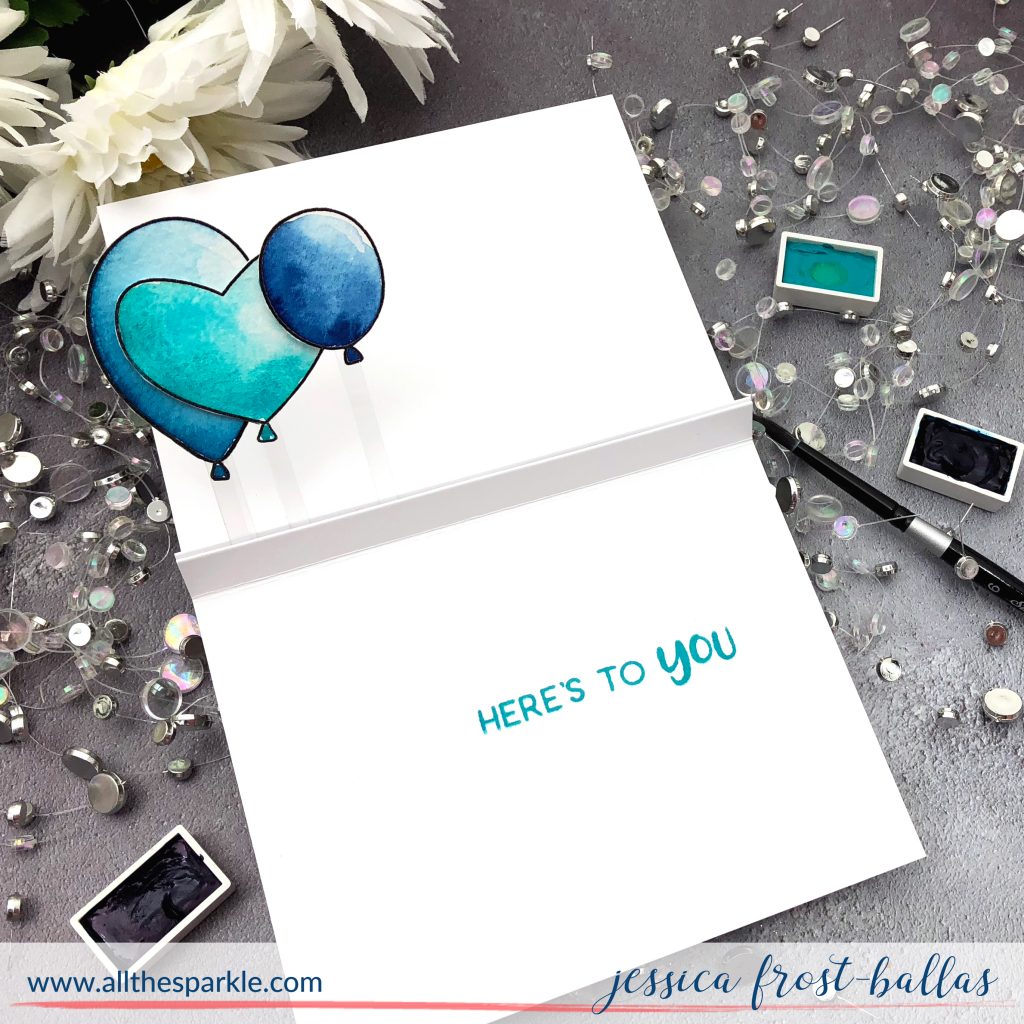
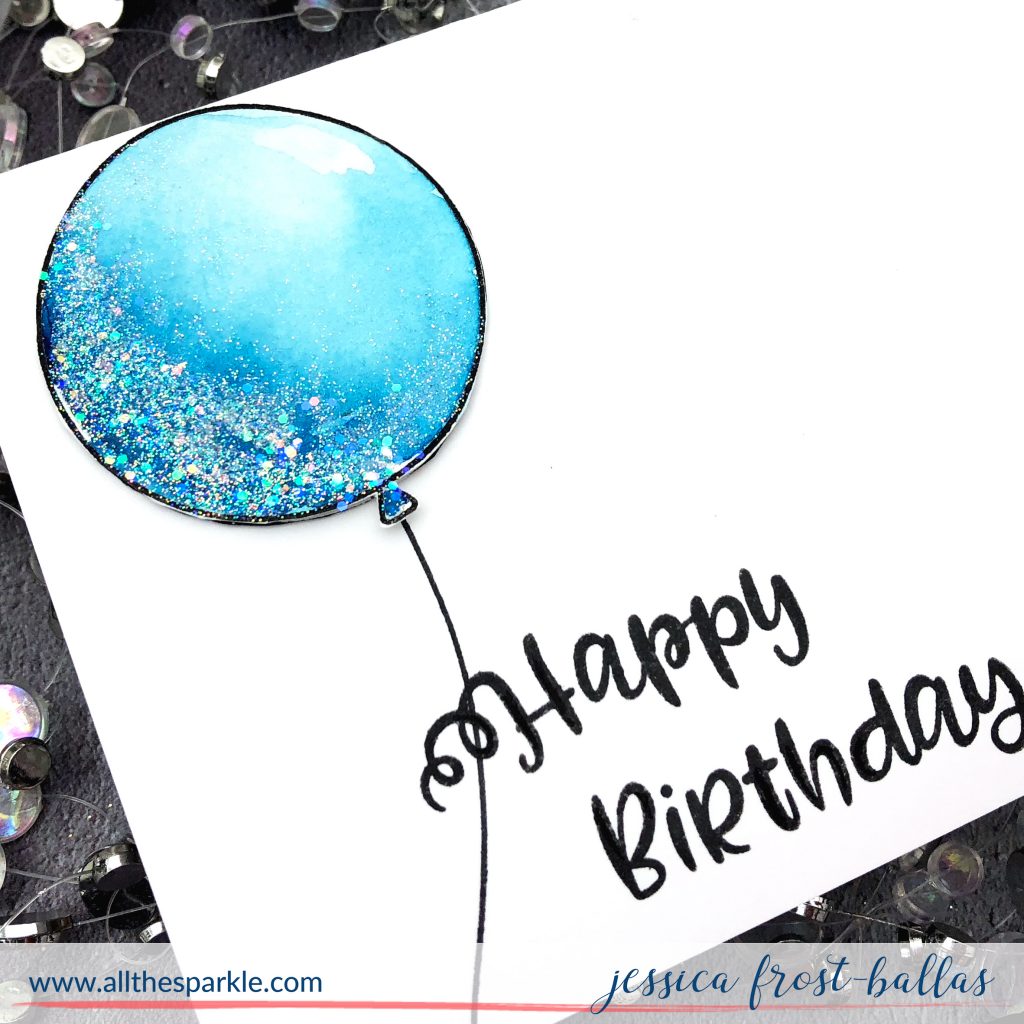
First I stamped the balloons onto watercolor paper with versafine and heat-embossed them with clear embossing powder. Then I watercolored them with mijello mission gold watercolors. I wet the entire balloon and then added concentrated color to the bottom right of the balloon. I took a damp paintbrush and carefully blended the color across the balloon but made sure to leave a lighter area in the top left. Once I was done I fussy cut each balloon. I also stamped the balloons on regular white cardstock and fussy cut them to use as backers for my watercolored pieces. Then I applied adhesive to the backs of both balloons and sandwiched a thin strip of acetate between them.
I think this next bit is best watched in the video but to create my interactive pop up card base I started by die-cutting a piece of white cardstock to 5.5″ by 10.5″. Then I scored the longest side at 4.25″, 4.75″, 5.25″, 5.75″, and 6.25″. Basically starting at 4.25″ you’ll score the panel five times a half inch apart.
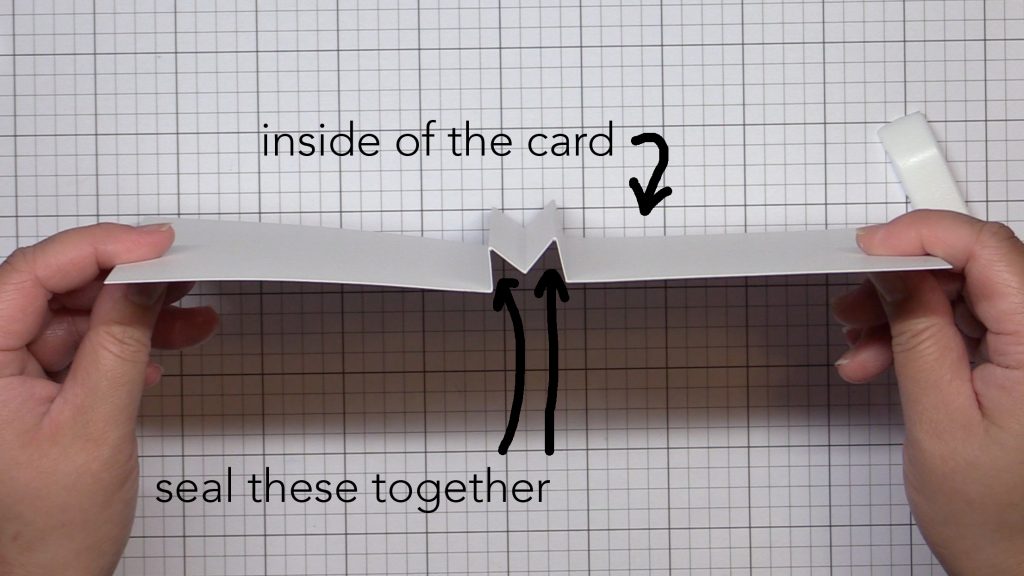
Next I fold the base by folding one end of the panel in towards the center. Then on the next fold I fold in the opposite direction. Then on the next fold, I fold it towards the center again, and on the last two folds you’ll continue to alternate.
You can see this best from a side view.
Next, I sealed up the folds from the back of the card. I turned it over, applied adhesive to the two outer scored areas, and then followed the natural bend of the score lines to seal up the card. Then I trimmed the acetate strips down to fit inside the card. I added adhesive to the inside of the flaps, laid the balloon strips along the flap, and then closed the card to seal the flaps together. When you open the card the balloons pop up!
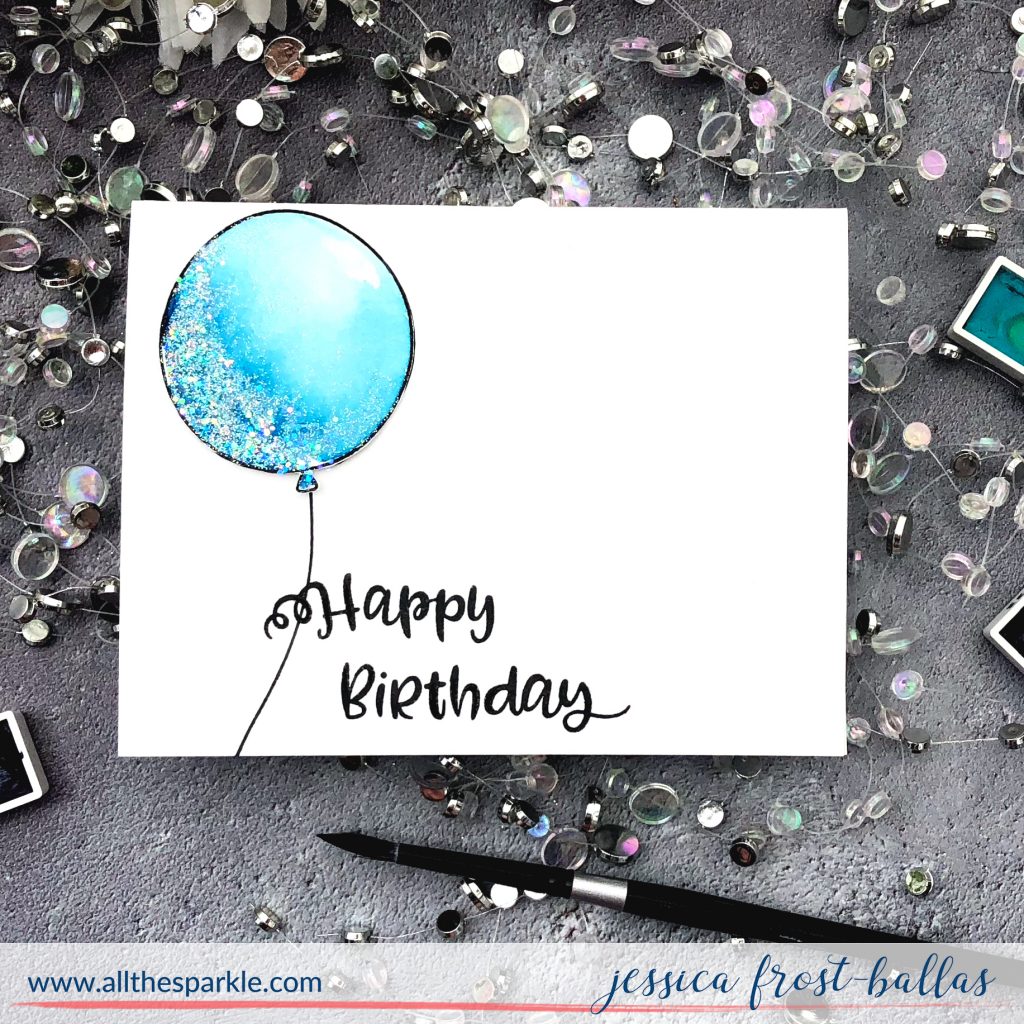
Next I stamped the sentiment from Tie One On on the inside of the card with High Dive ink. Then on the front of the card I stamped the balloon string and adhered the last balloon. I stamped another sentiment onto the front of the card with intense black ink and finished the card with a little chunky and prisma glitter for a little extra sparkle!
Thanks so much for visiting and have an amazing week!
 Interested in the products I used? To make them easy for you to find, I have listed them below. (Affiliate disclosure can be found here). Your purchases help keep my blog running and I thank you for the support!
|



This card makes me smile…so fun. Thanks for the great video and the simple explanation on the fold. I think even I could make this work.
A cute card!
Absolutely love this, Jess! I will definitely be trying this technique.
Great fun card. I enjoyed watching you paint the balloons.