This is my second post today! If you’re looking for my Butterfly Reflections Ink (and my Summer Coffee Lovers Blog Hop card) post please scroll down or click here!
 This week A Blog Named Hero is challenging you to use your favorite…it could be your favorite stamp, die, or stencil…favorite ink…favorite technique! The sky’s the limit! My favorite is a new love…but I keep finding myself reaching for it…
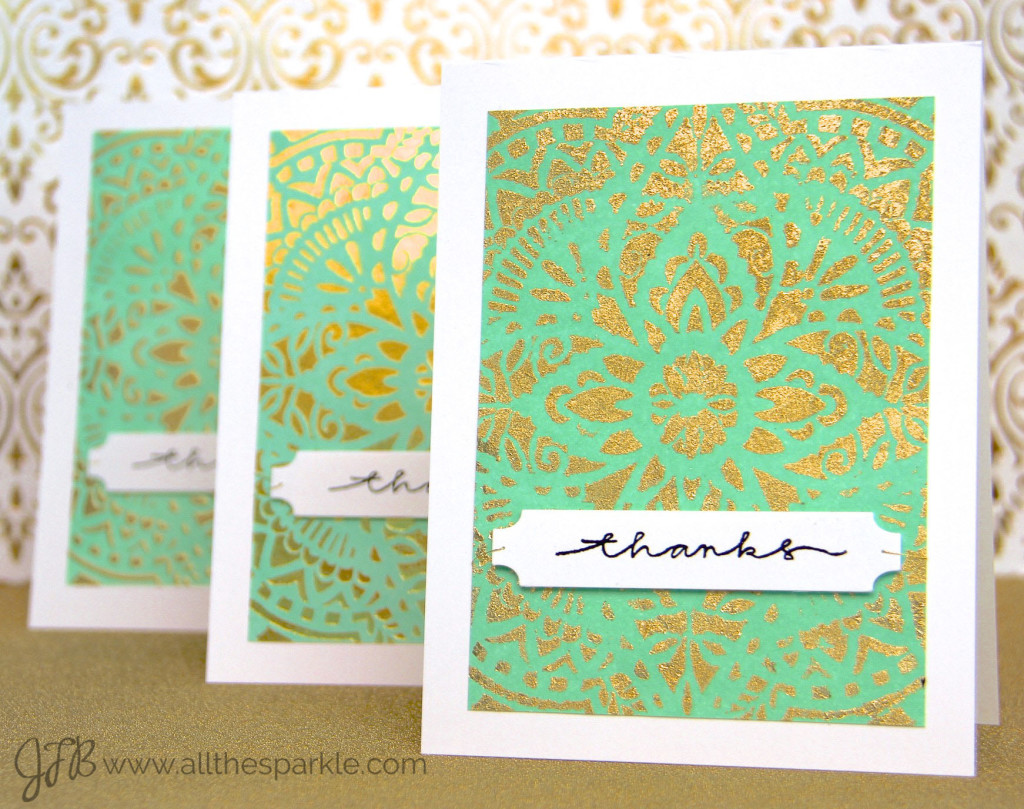 I ADORE this stencil! I’ve already featured it here and here and my love is not fading anytime soon! So for today’s cards I decided to try one of my favorite color combinations: pistachio and gold, three different ways!
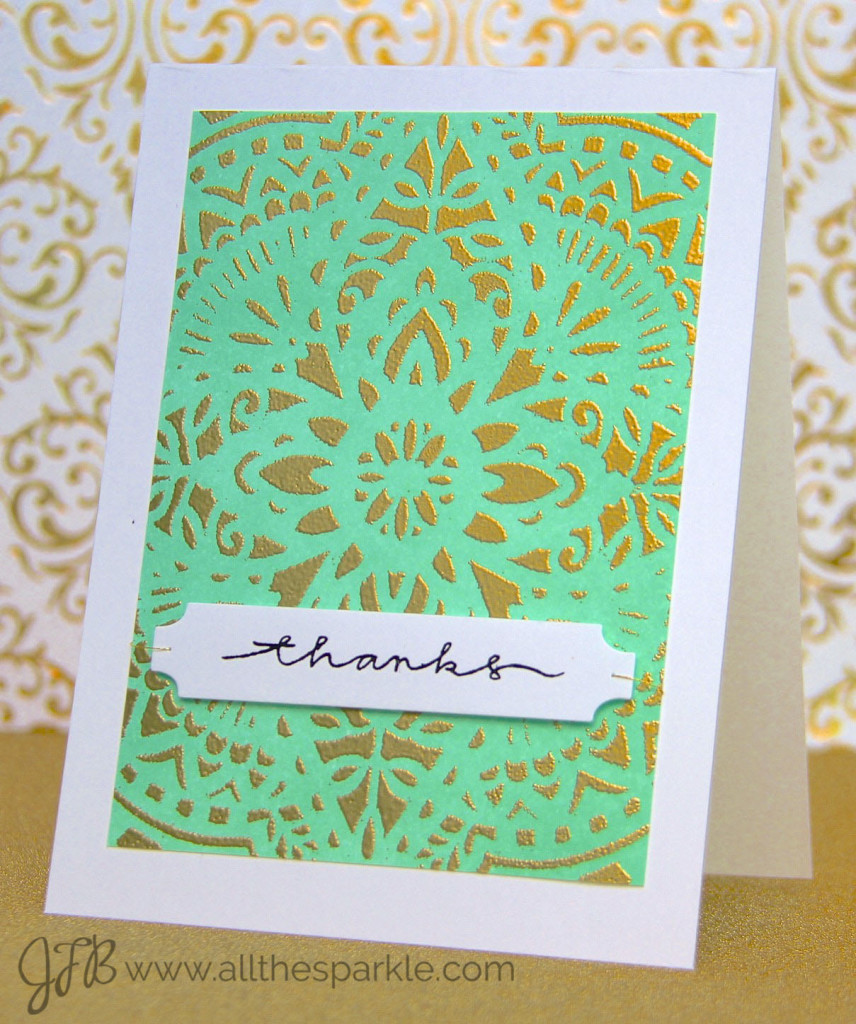
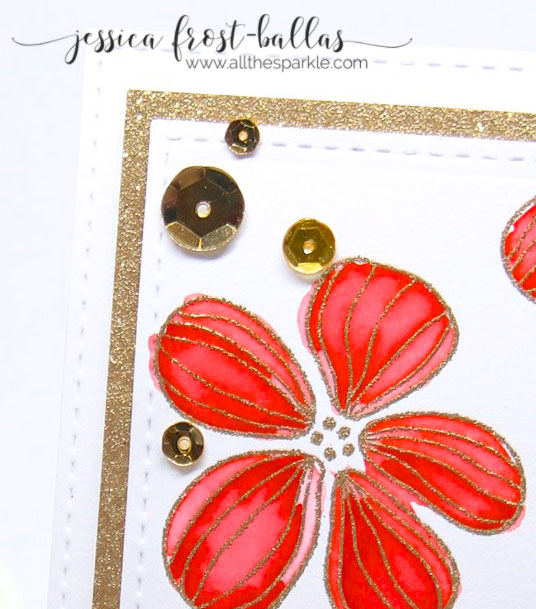
I started off by swiping Cracked Pistachio distress ink onto 3 panels of Neenah Solar White cardstock and letting it dry overnight. For the first card I taped the stencil down and used a blending tool to apply versamark to the stencil. Then I applied gold embossing powder to the card and heat-set the powder.
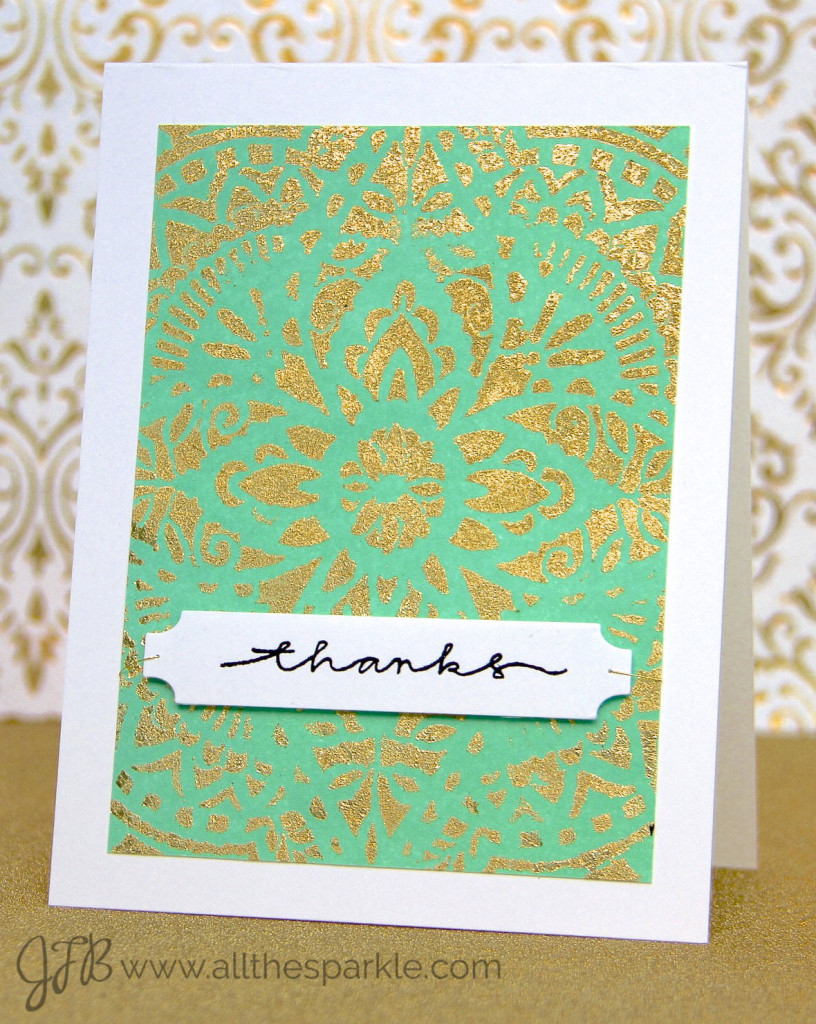 For the second card I taped the stencil down onto the inked panel and applied flitterglu to the stencil with foam. Then I applied gold gilding mega flake in Chariot of Fire to the card and lightly pressed it into the glue with my fingers. Once the glue was fully covered with flake I rubbed it lightly with my fingers to remove the excess flake. Finally, I used the scoochy sponge to burnish the flake and remove the rest of the flake dust.
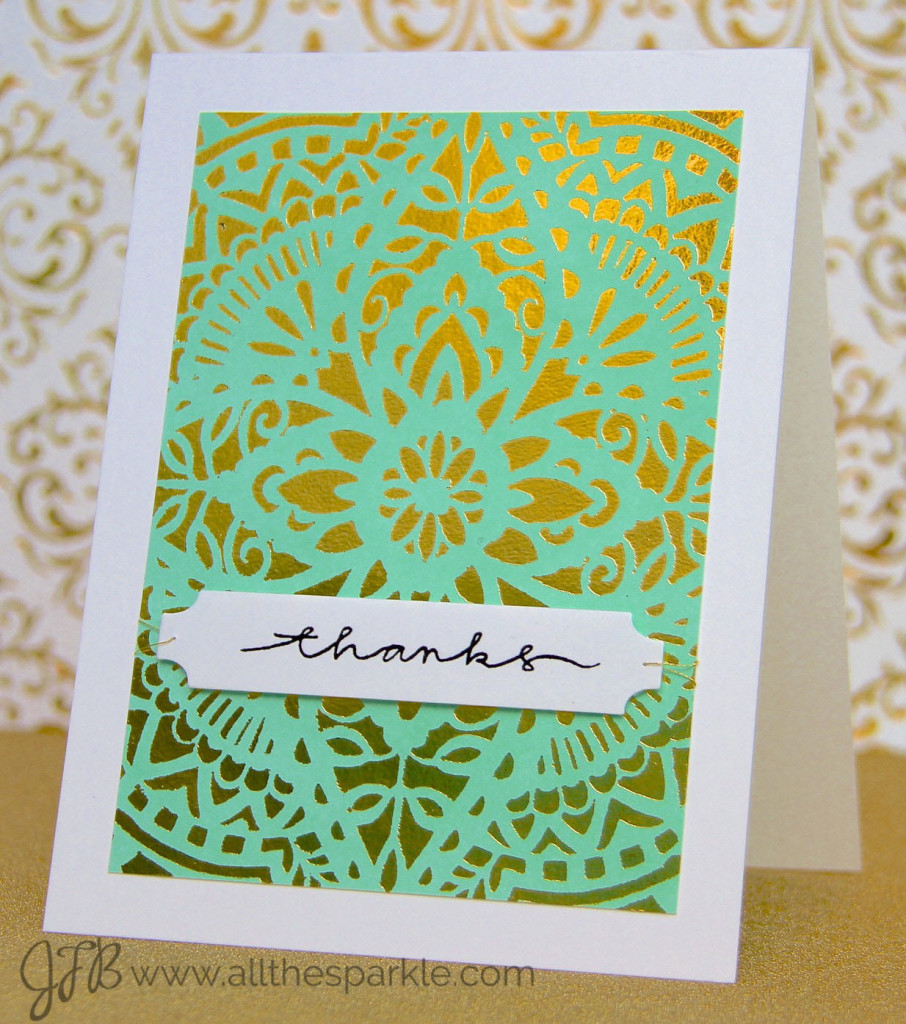 For my third card I taped the stencil to a scrap piece of white cardstock and applied Memento Tuxedo Black ink to the stencil with a mini blending tool. Then I loaded the distress ink panel into my laser printer’s paper tray and copied the inked stencil onto the distress ink panel. I needed the pattern to be printed with laser printer toner in order for it to foil properly. Once the panel was printed I ran it through my laminator with a sheet of Thermoweb gold foil on top. When it finished running through the laminator I carefully peeled off the gold foil and was left with a beautifully crisp image!
To finish the card I die-cut the Avery Elle banner with white cardstock and stamped the sentiment from Simon Says Stamp Thanks set! I poked holes on either side of the banner with a straight pin and threaded it onto metallic gold thread. I trimmed the stenciled panel down and used foam mounting tape to attach the banner. I wrapped the thread around the panel and taped it to the backside of the panel. Finally I attached the panel to a white top-folding card base.
So, my final thoughts…
The foiling definitely gives the cleanest and sharpest result and the shine is amazing. The heat-embossing is much softer and but gives a nice raised texture. And gilding with megaflake also produces a clean image but it’s much softer in texture and not as shiny. To be honest, all three produce gorgeous results and each one has it’s place for creating different looks. I’m very happy to have all three as options when creating metallic cards. So I can’t pick a favorite method for applying metallics but this stencil is definitely still my favorite! 🙂
I hope you’ll join in the fun and create something using YOUR favorite Hero Arts (and Simon Says Stamp) products for the challenge! The challenge runs until June 19th and we look forward to seeing your creations!
As always, thanks to our very generous sponsor, Simon Says Stamp:
 …who will award a random entry with a $25 gift voucher!
Make sure to stop by and see the rest of the team’s creations! Thanks for visiting!









Gorgeous cards!! Love these two colors together.
Jessica, these are BEAUTIFUL!!!! I love the teal + gold combination so mcuhhhh!!!
Wow three techniques, three gorgeous cards!!
What stunning cards! Love the color you used and the embossing is fantastic!
Gorgeous cards! I love the color and the pretty gold design! Great techniques!
So nice and bright! I understand that this stencil is your favourite. The stamp of the same design is one of mine too! Really nice cards. isa