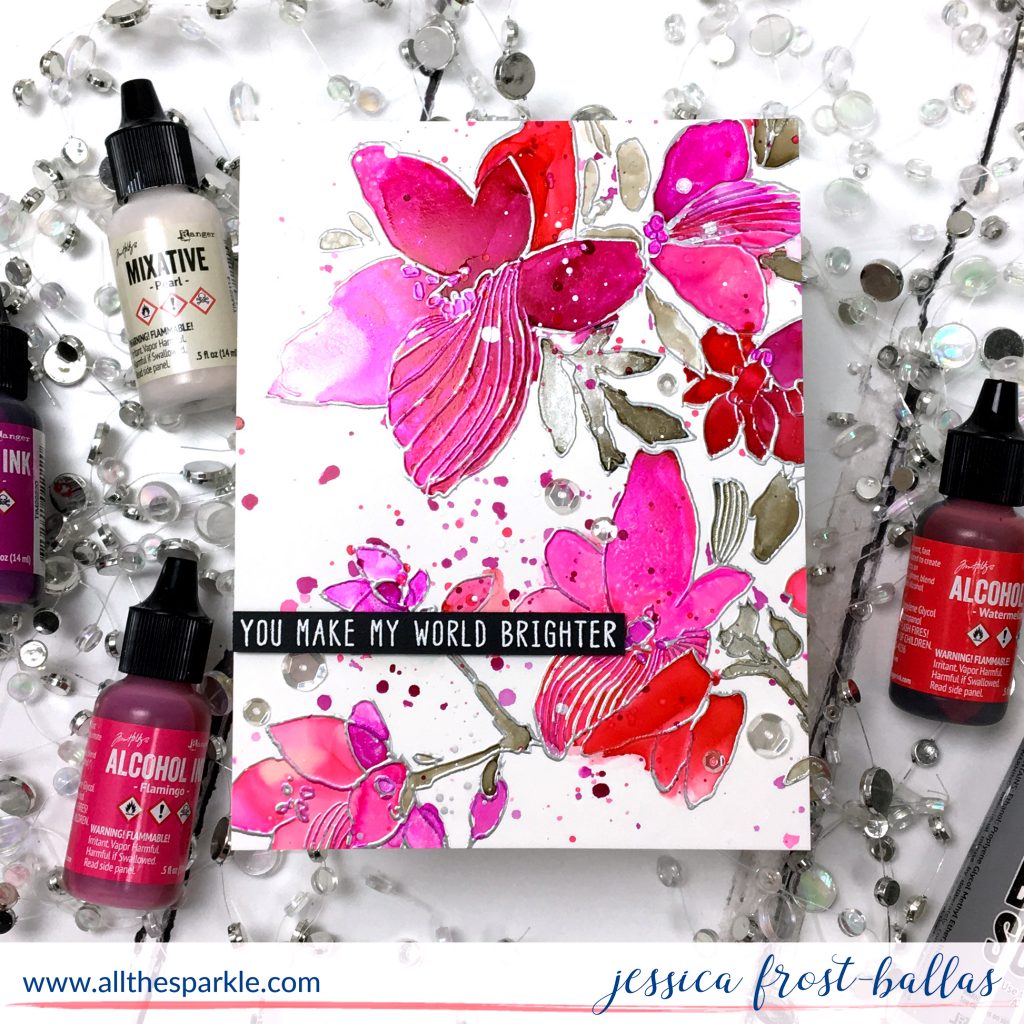
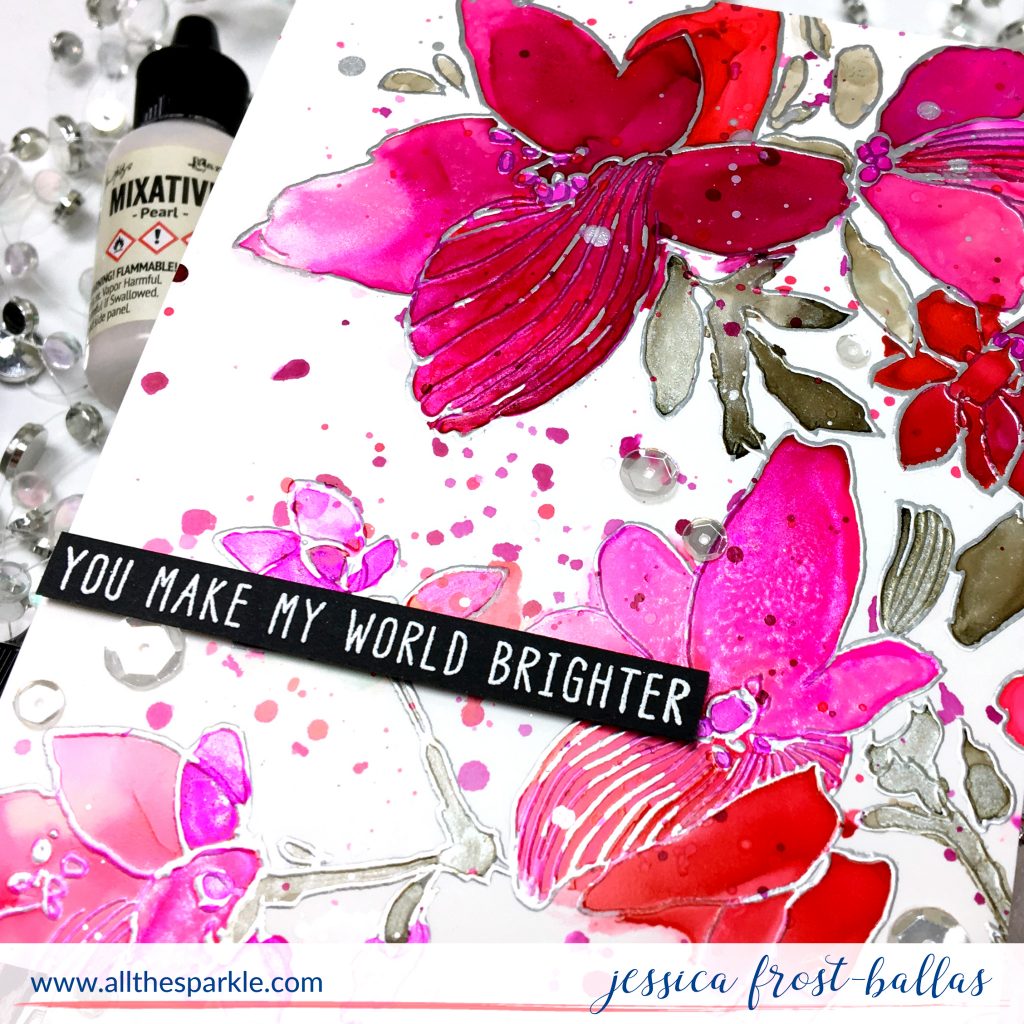
Good morning! A few weeks ago I shared this card where I “colored” a heat-embossed image with alcohol inks. I promised a video tutorial and I’m excited to share it today! 🙂 You can watch the video below or at my Youtube channel!
I love the resurgence of alcohol inks in the crafting world and I have to thank Tae-Eun for this particular technique. She resparked my interest in alcohol inks a few months ago and after watching her coloring heat-embossed images with alcohol inks I had to give it a try! I LOVE creating large background patterns with alcohol inks like these but this is also a really fun way to use alcohol inks in a different way.
Full disclosure first, this is not the technique for the perfectionist. And it was definitely a challenge for me to give up control but when you’re working with drops of ink, you’re very much NOT in control. And the sooner you realize it, the less yupo paper you’ll waste! 😉 There’s a moment in my video where I’d guess some of you will think that this is not going to work out well…but I hope you agree that the effect of the finished card hides those ink imperfections nicely! Honestly, it’s easier to watch the video but basically you’re going to heat-emboss an image on yupo paper. I used the sketchy floral stamp from Altenew and heat-embossed it with silver embossing powder. I’ve heard several people say that they can’t heat-emboss on yupo…it’s trickier than regular cardstock but there are a couple tips that will help. First off, I always use a larger panel of yupo paper than I need. Yes, it’s a little wasteful but it really helps keep the warping to a minimum on your final project. The yupo warps most easily along the edges and if you’re already planning to trim those off you can take a lot of the stress away! Second, the weight of the yupo paper really makes a difference. Currently I’ve been using the heavyweight yupo paper but I’ve had success with the medium weight and the Ranger yupo as long as I adhere the yupo to a piece of 110lb cardstock first. I use a good amount of ATG adhesive and that seems to keep the yupo from warping. Finally, I make sure my heat gun is blazing hot before I bring it to the paper and then when I do I move slowly and steadily making sure to not let the gun focus on one area too long. When the image is totally embossed and the paper is still warm I bend it back and forth gently as it cools and that also seems to help keep the paper from warping!
You’ll see all those tips in the video! When I color the images I use my air puffer, plastic q-tips, paper towels and alcohol inks. I drop the color one drop at a time in the various embossed areas and then use gravity and the puffer to gently move the color around. A paper towel or q-tip dipped in blending solution helps to move around the ink if it flows outside of the embossed area. If I want the color to move more freely I can add a drop of mixative or a drop of blending solution to lighten and push the color. The ink WILL flow outside of the embossed areas occasionally and it won’t always do what you want it to do. But sometimes some of my favorite results occur when I least expect them, too! I finished my card with a sentiment from Altenew’s Hello Sunshine and a few sparkling clear sequins! I hope you’ll watch the card and give this technique a try. I’d love to hear from you if you do try it!
 I’d love to give someone the opportunity to try alcohol inks! I have a set of the Beach Deco ranger alcohol inks (Flamingo, Patina, and Amethyst) and a pack of Ranger white and Ranger translucent yupo paper to give to one of you! To enter, please leave a comment and let me know how you’d like to try alcohol inks! And for an extra entry subscribe to my youtube channel and leave a comment letting me know that you’re a new subscriber! Finally, the giveaway will close Monday, December 10th at 11:59 PM EST and all giveaway winners will be announced here!
 Interested in the products I used? To make them easy for you to find, I have listed them below. (Affiliate disclosure can be found here). Your purchases through my links help keep my blog running with no additional cost to you and I thank you so much for the support!
|


Love your techniques, I watched the video and thought ‘oh no this isnt going to turn out good’ as to be honest it didn’t look great at one stage. But wow it’s truly a work of art. I’d personally put this in a frame. TFS. xx
The more and more I watch videos on the alcohol inks the more I can’t wait to try playing with them! 🙂
Beautiful!! You are so patient with this process. I would love to try the Yupo paper, but every time I pick up a pack of the Anger and see the price I quietly put it down and walk away!
I’m a YouTube subscriber! I love your work!
I am a You Tube subscriber & love your videos!
Thanks for all the great tips! I have mostly only tried the alcohol inks for backgrounds. I’ll have to give this a try!
I’d love to try alcohol inks on heat embossing, and to create amazing backgrounds.
Subscribed to You tube to watch this later!! Looks like fun..
this card is incredible! i can’t remember if i already commented lol
I just wanted to thank you for making this tutorial it is just beautiful
Need to get those supplies out lucky I have them all 🙂