Good morning and happy Monday! Not ‘new’ news but I’m excited to share that I am staying on the Chibitronics design team for another year and I am also serving as their new design team coordinator! I’ve been a member of the design team since the inaugural team began in June 2015 and I look forward to continuing to share cards using their innovative products! We’ve assembled a phenomenal team of crafters from all over the world and we have some amazing collaborations coming up over the next few months!
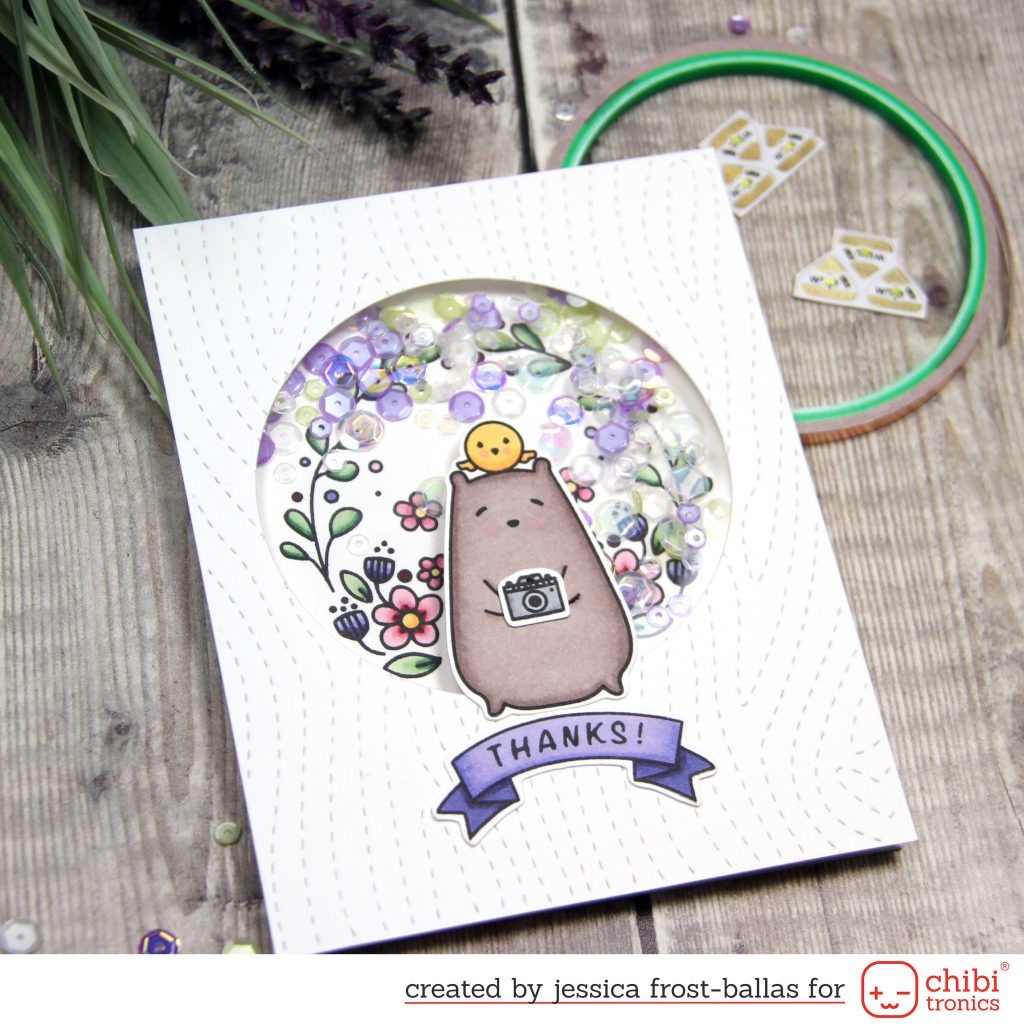
Today I wanted to share a fun light-up shaker card using stamps and dies from Waffleflower and Lil’ Inker Designs!
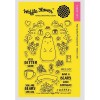
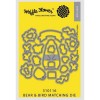
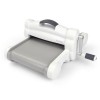
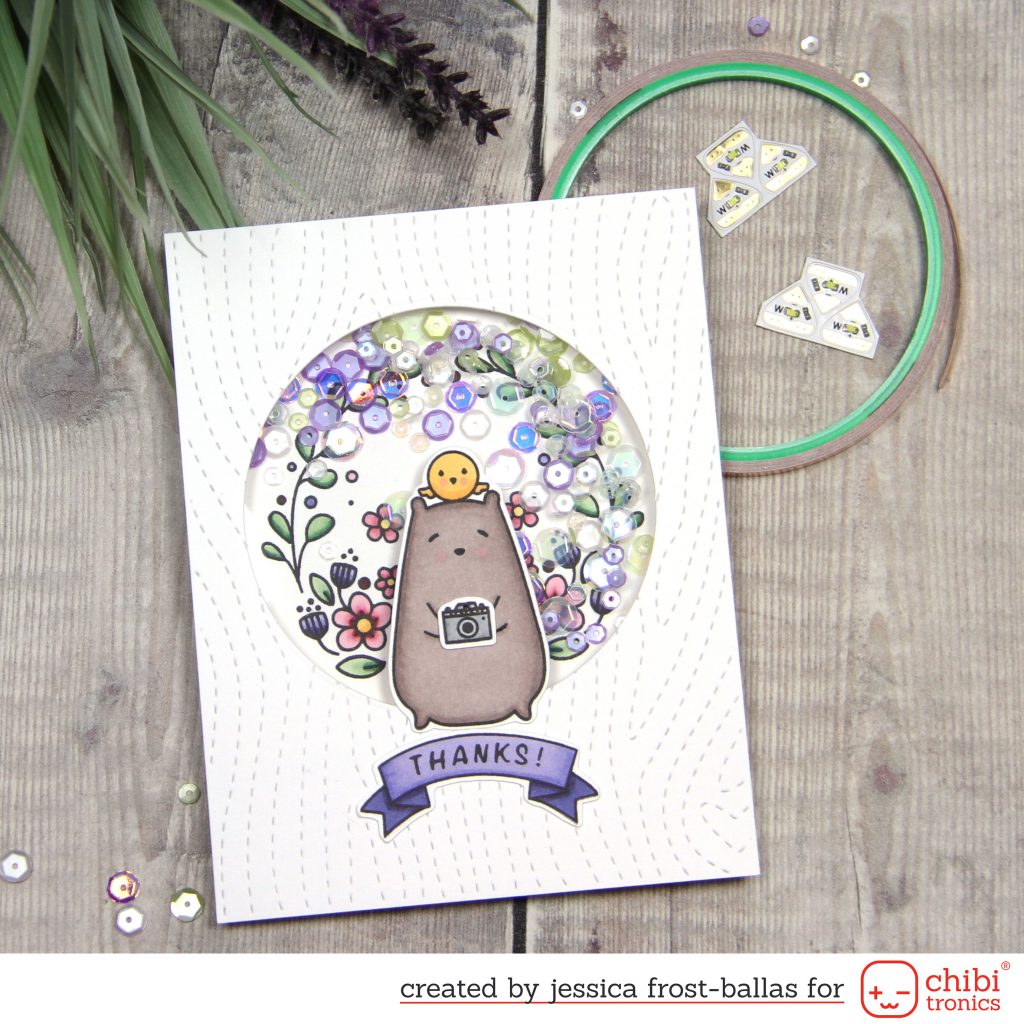 I started by stamping the adorable Bear and Bird images from Waffleflower onto cardstock with copic-friendly ink and colored them with copic markers. I used my ScanNCut to cut out the bear, camera, and banner. Then I ran a panel of white cardstock through my Bigshot with the Woodgrain Cover Up die from Lil’ Inker Designs and then die cut a circle from the panel for my shaker. Next I sketched out my circuit…unfortunately I forgot to take a photo of my completed circuit before I sealed the shaker but hopefully you can get the idea from my rough sketch:
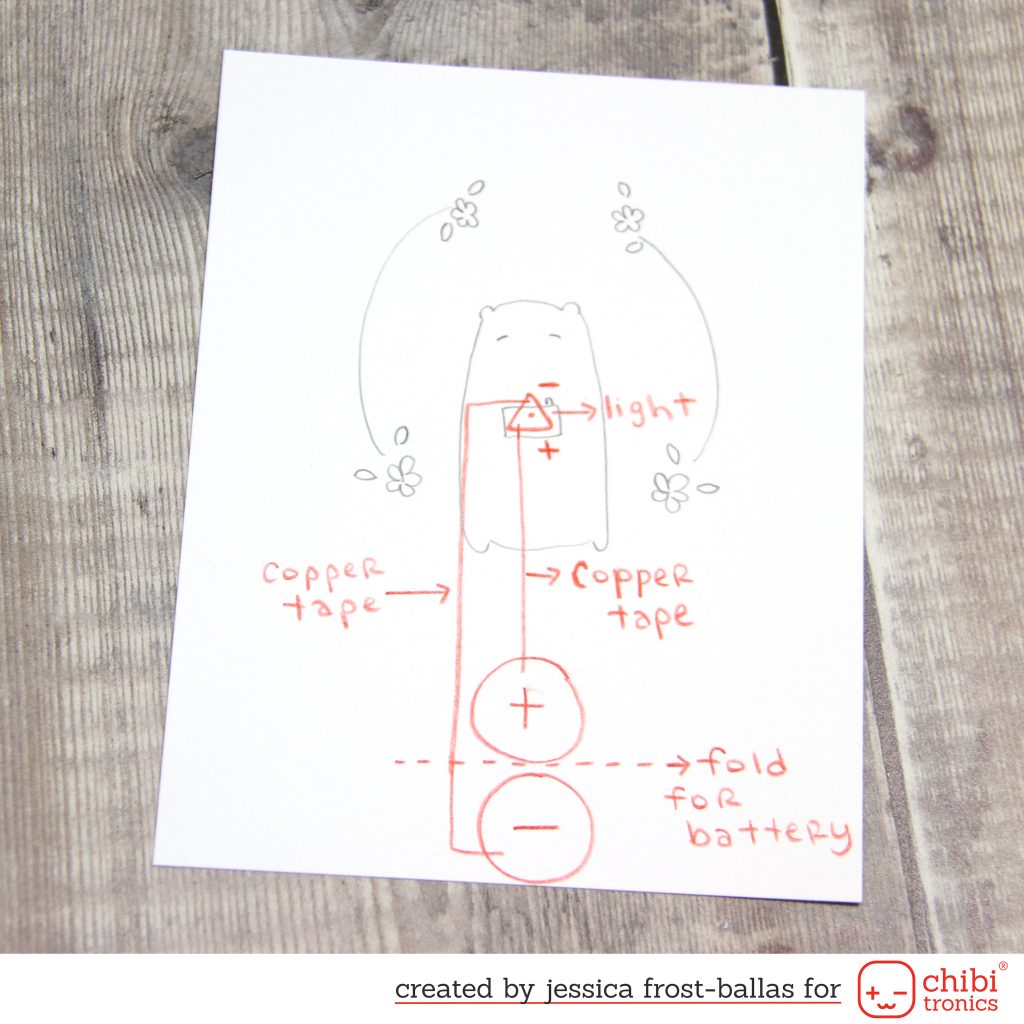 (Ahem, this sketch shows why I use stamps, I don’t create them…HA!) 😉
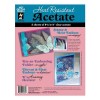
I adhered a piece of acetate to the back of the circular cut-out on my woodgrain panel and then attached the banner. I adhered the camera to the bear and laid them on a foam pad. I used a sharp pin to poke a hole through the camera flash and the bear so the light would shine through. Then I adhered the bear to the acetate.
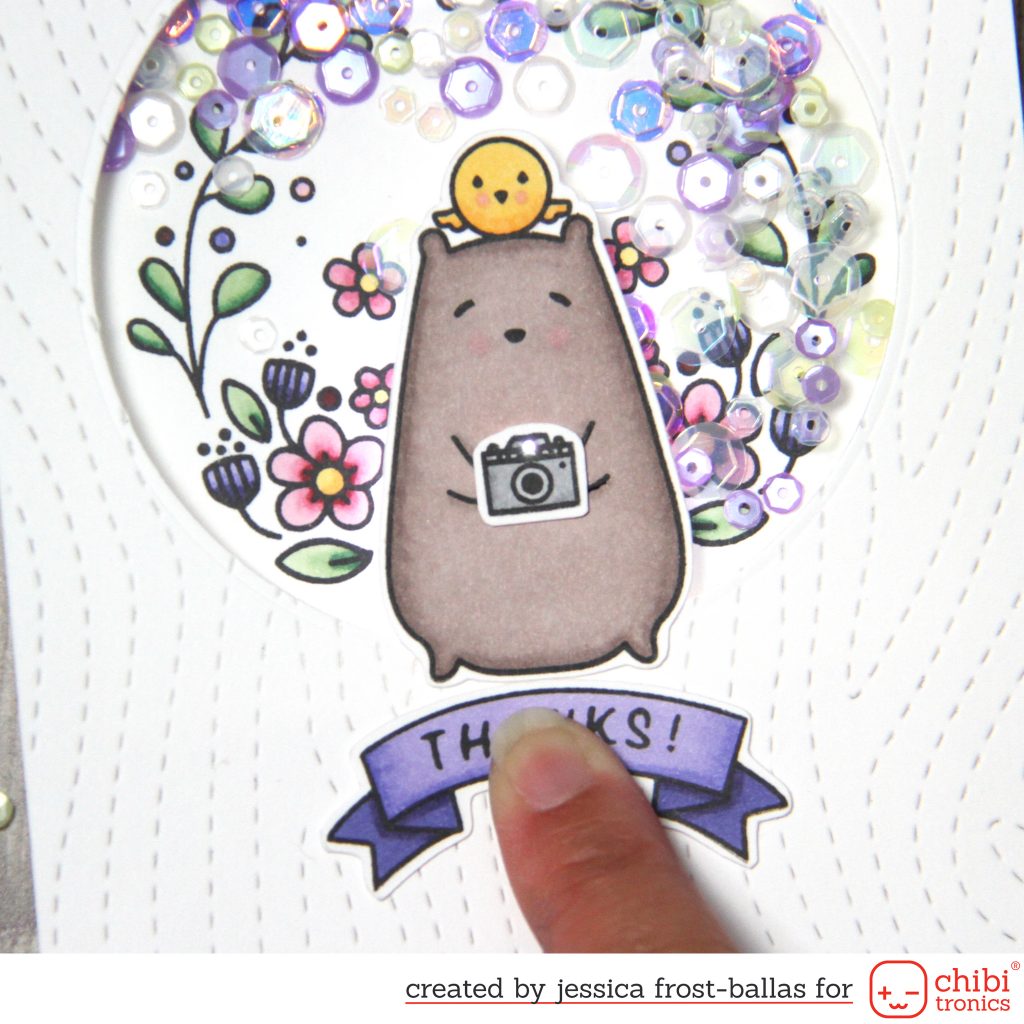
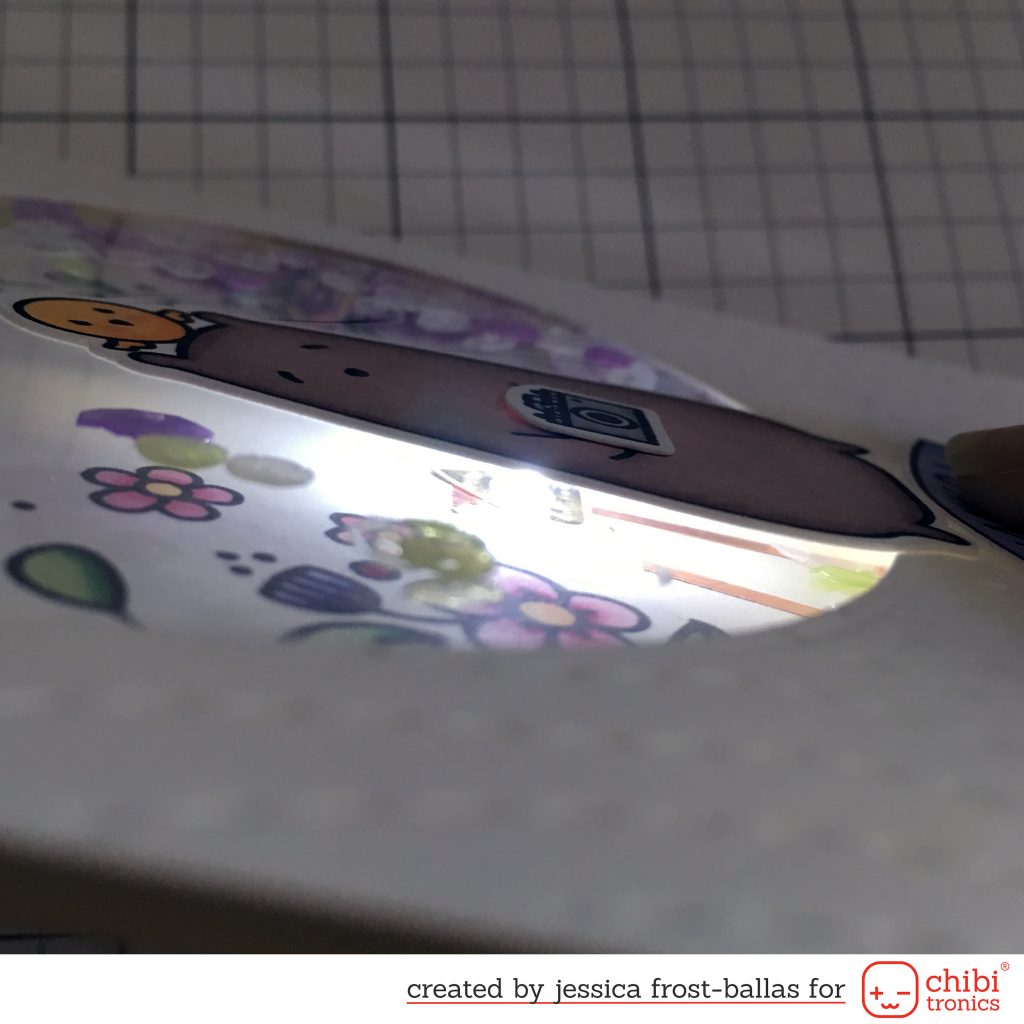
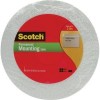
Next I created my circuit on my background panel (with the floral stamps) and then built up the shaker frame with three layers of foam mounting tape (this is not a flat card)! I filled the shaker with the Wisteria and Sparkling Clear sequin mixes from Pretty Pink Posh and then adhered the top panel over the shaker to seal it. When you push down on the banner the camera flash lights up!
 Here’s a view from the side. You can see where the circuit is created on the background panel leaving open space for the shaker contents to move around.
 And here’s a brief video of the card “in action”:
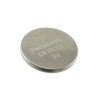
The card is designed so that the battery won’t complete the circuit unless you press down on the banner, thus preserving the battery. However, it’s still a fun interactive card without the light component when the battery finally dies.
 I hope you enjoyed my card and I am excited to share several more interactive light-up cards this month! 😉 Please join me in welcoming the new girls to the team and be sure to check out the fabulous projects and videos they’ve created for their intro posts! Also, we’ve just revamped the Chibitronics website and you can find a gallery full of projects, videos, and tutorials for crafting with Chibitronics LED stickers!
Thanks for visiting and have a lovely day!
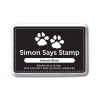
 Interested in the products I used? To make them easy for you to find, I have listed them below. (Affiliate disclosure can be found here). Your purchases help keep my blog running and I thank you for the support!!
Copics used: N2, N4, E40, E70, E71, Y23, YR12, R81, R83, R85, R89, G21, YG61, G28, BV02, BV02, BV04, BV08, BV13









So cute and clever!
Oh he is even cuter in that spotlight, Jessica!!! What a phenomenal idea! I also love that stitching allowing a little of that light through … very, VERY cute!
=]
Oh my gosh that card is so cute!!! You never cease to amaze me.
That’s awesome news, Jess! Congrats on the DT coordinator role. Loving your fun, stylish card too. It looks fab!
What a cute and fun card ! Congrats for one more term and new role 🙂
Yay you! This is adorable!!
I’m happy for you, dear Jessica!!!As always, I love your creations!!!! <3 <3 <3
So super cute!!