 Good morning! I’m back with my final card for shaker week as well as this week’s card for Christmas Card Challenges! We have this super cute photo to inspire you for the week!
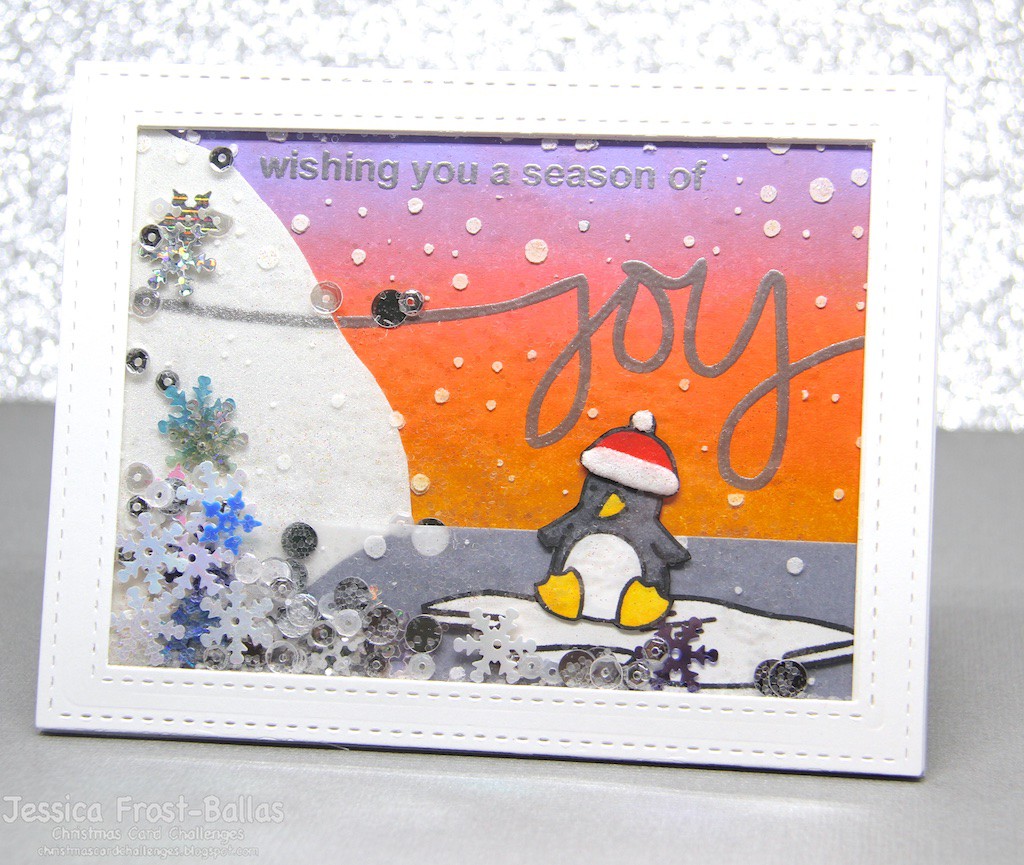 I decided to finish off shaker week doing a more “traditional” shaker card design using no fun foam or foam mounting tape! Intrigued?…Keep reading! 😉
So I started off by stamping the penguin, hat, and ice floe with Memento tuxedo black ink, coloring them with copic markers, and fussy-cutting them! Then I used my Pico Embellisher to add dimension to the hat, sprinkled a little glitter on it, and set them all aside while I worked on the rest of the card. Next I blended shaded lilac, worn lipstick, and wild honey distress ink onto a piece of Neenah solar white cardstock to create a dawn sky! I took a strip of Simon Says Stamp soft navy cardstock and adhered it to the bottom of the panel to create water. Then I took a piece of white glitter paper and cut it to resemble an iceberg and adhered it to the panel. Then I wanted to tone down the look of the water and also make it obvious that the iceberg was, actually, an iceberg so I took a strip of vellum and adhered it over the water and the bottom of the iceberg.
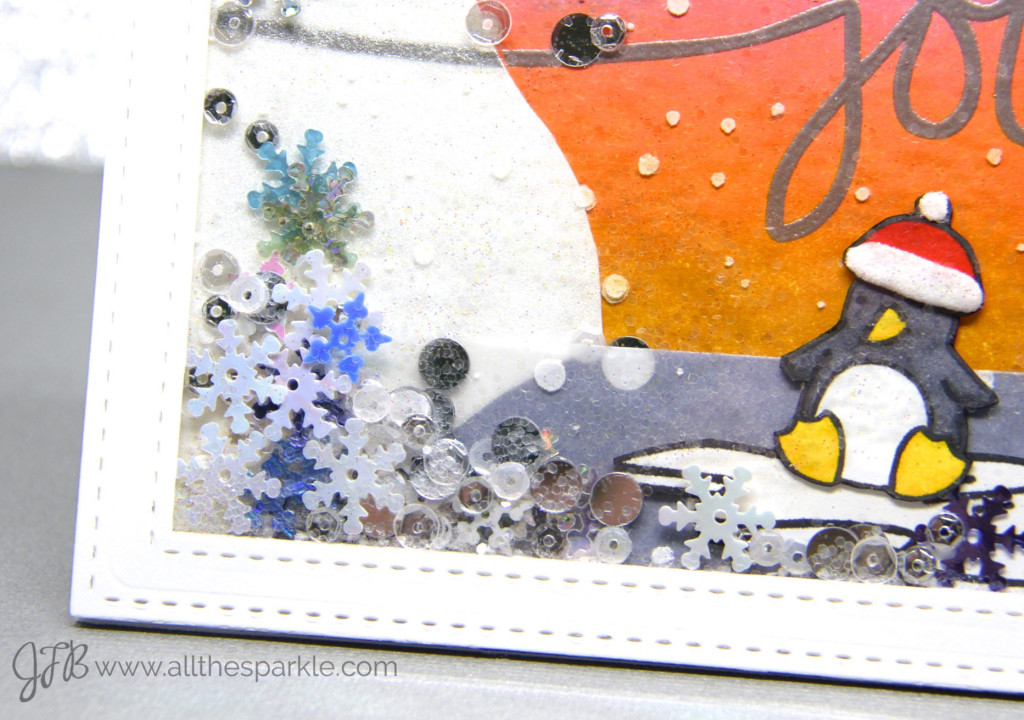 Next I ran my powder tool over the panel to prep it for embossing and then stamped the sentiment from Technique Tuesday onto the panel with versamark before heat-embossing it with Ranger silver powder. Then I placed the Simon Says Stamp Falling Snow stencil over the panel and applied texture paste with a spatula. I peeled the stencil back, quickly wiped off any paste that got onto the sentiment, and sprinkled the whole panel with microfine glitter.
Then it was shaker time! I die-cut the frame using stitched dies from Lil’ Inkers. I actually cut 5 frames and adhered four of them together. I adhered acetate on top of the 4 layers and then adhered the final frame on top of the acetate. I turned that over and filled it with snowflake sequins, silver round confetti, coarse glitter, and microfine glitter. I adhered the penguin to the iceberg and mounted that to the distress ink panel. Then I adhered that panel to the shaker frame, turned it over, gave it a good shaker, and I was done! 🙂
Lots of steps to create this card but nothing too challenging! If you don’t have fun foam or mounting tape, this is yet another way you can create a shaker card! Just make sure you use really strong adhesive (like an ATG gun) to make sure the contents don’t escape!
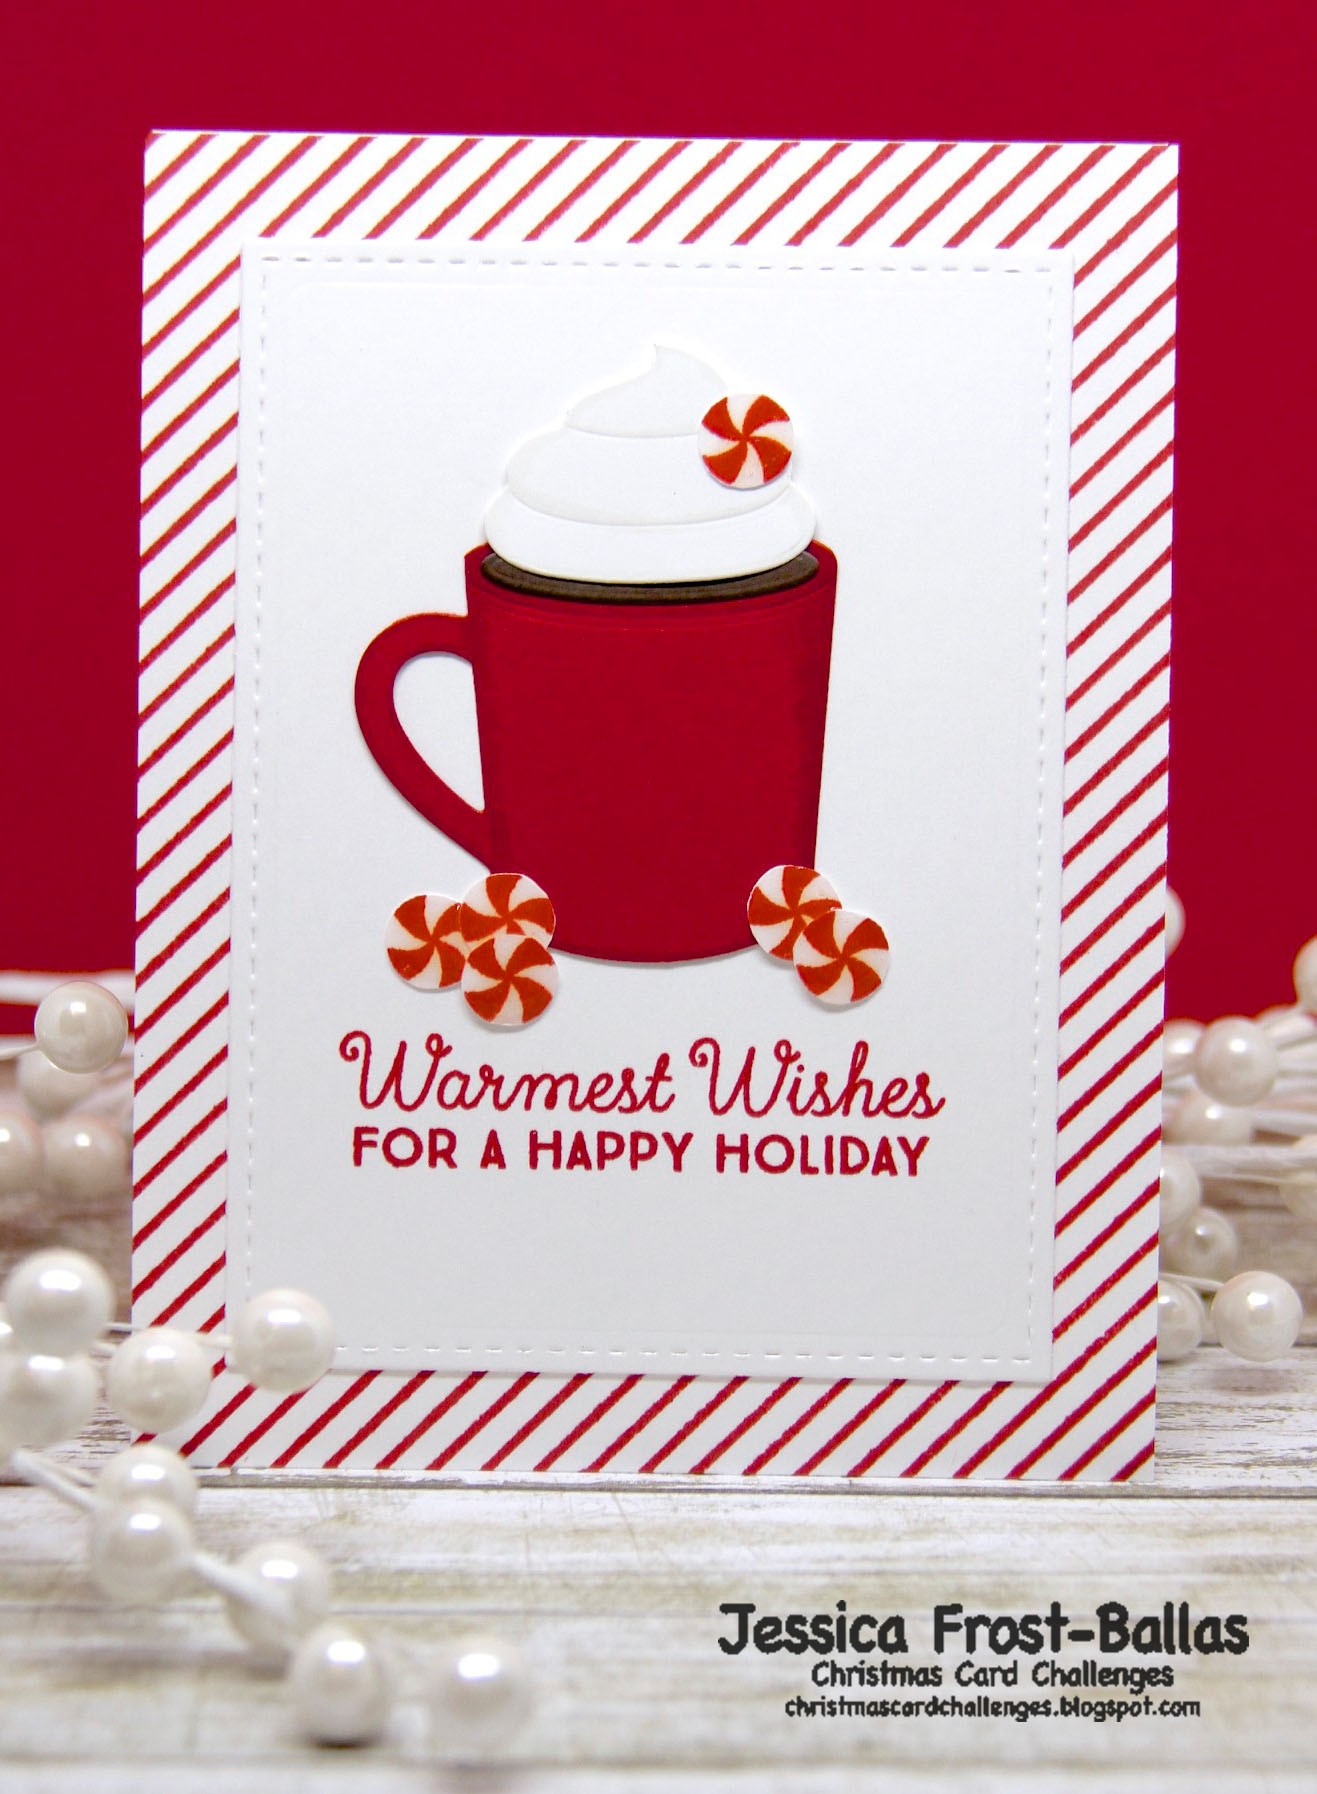
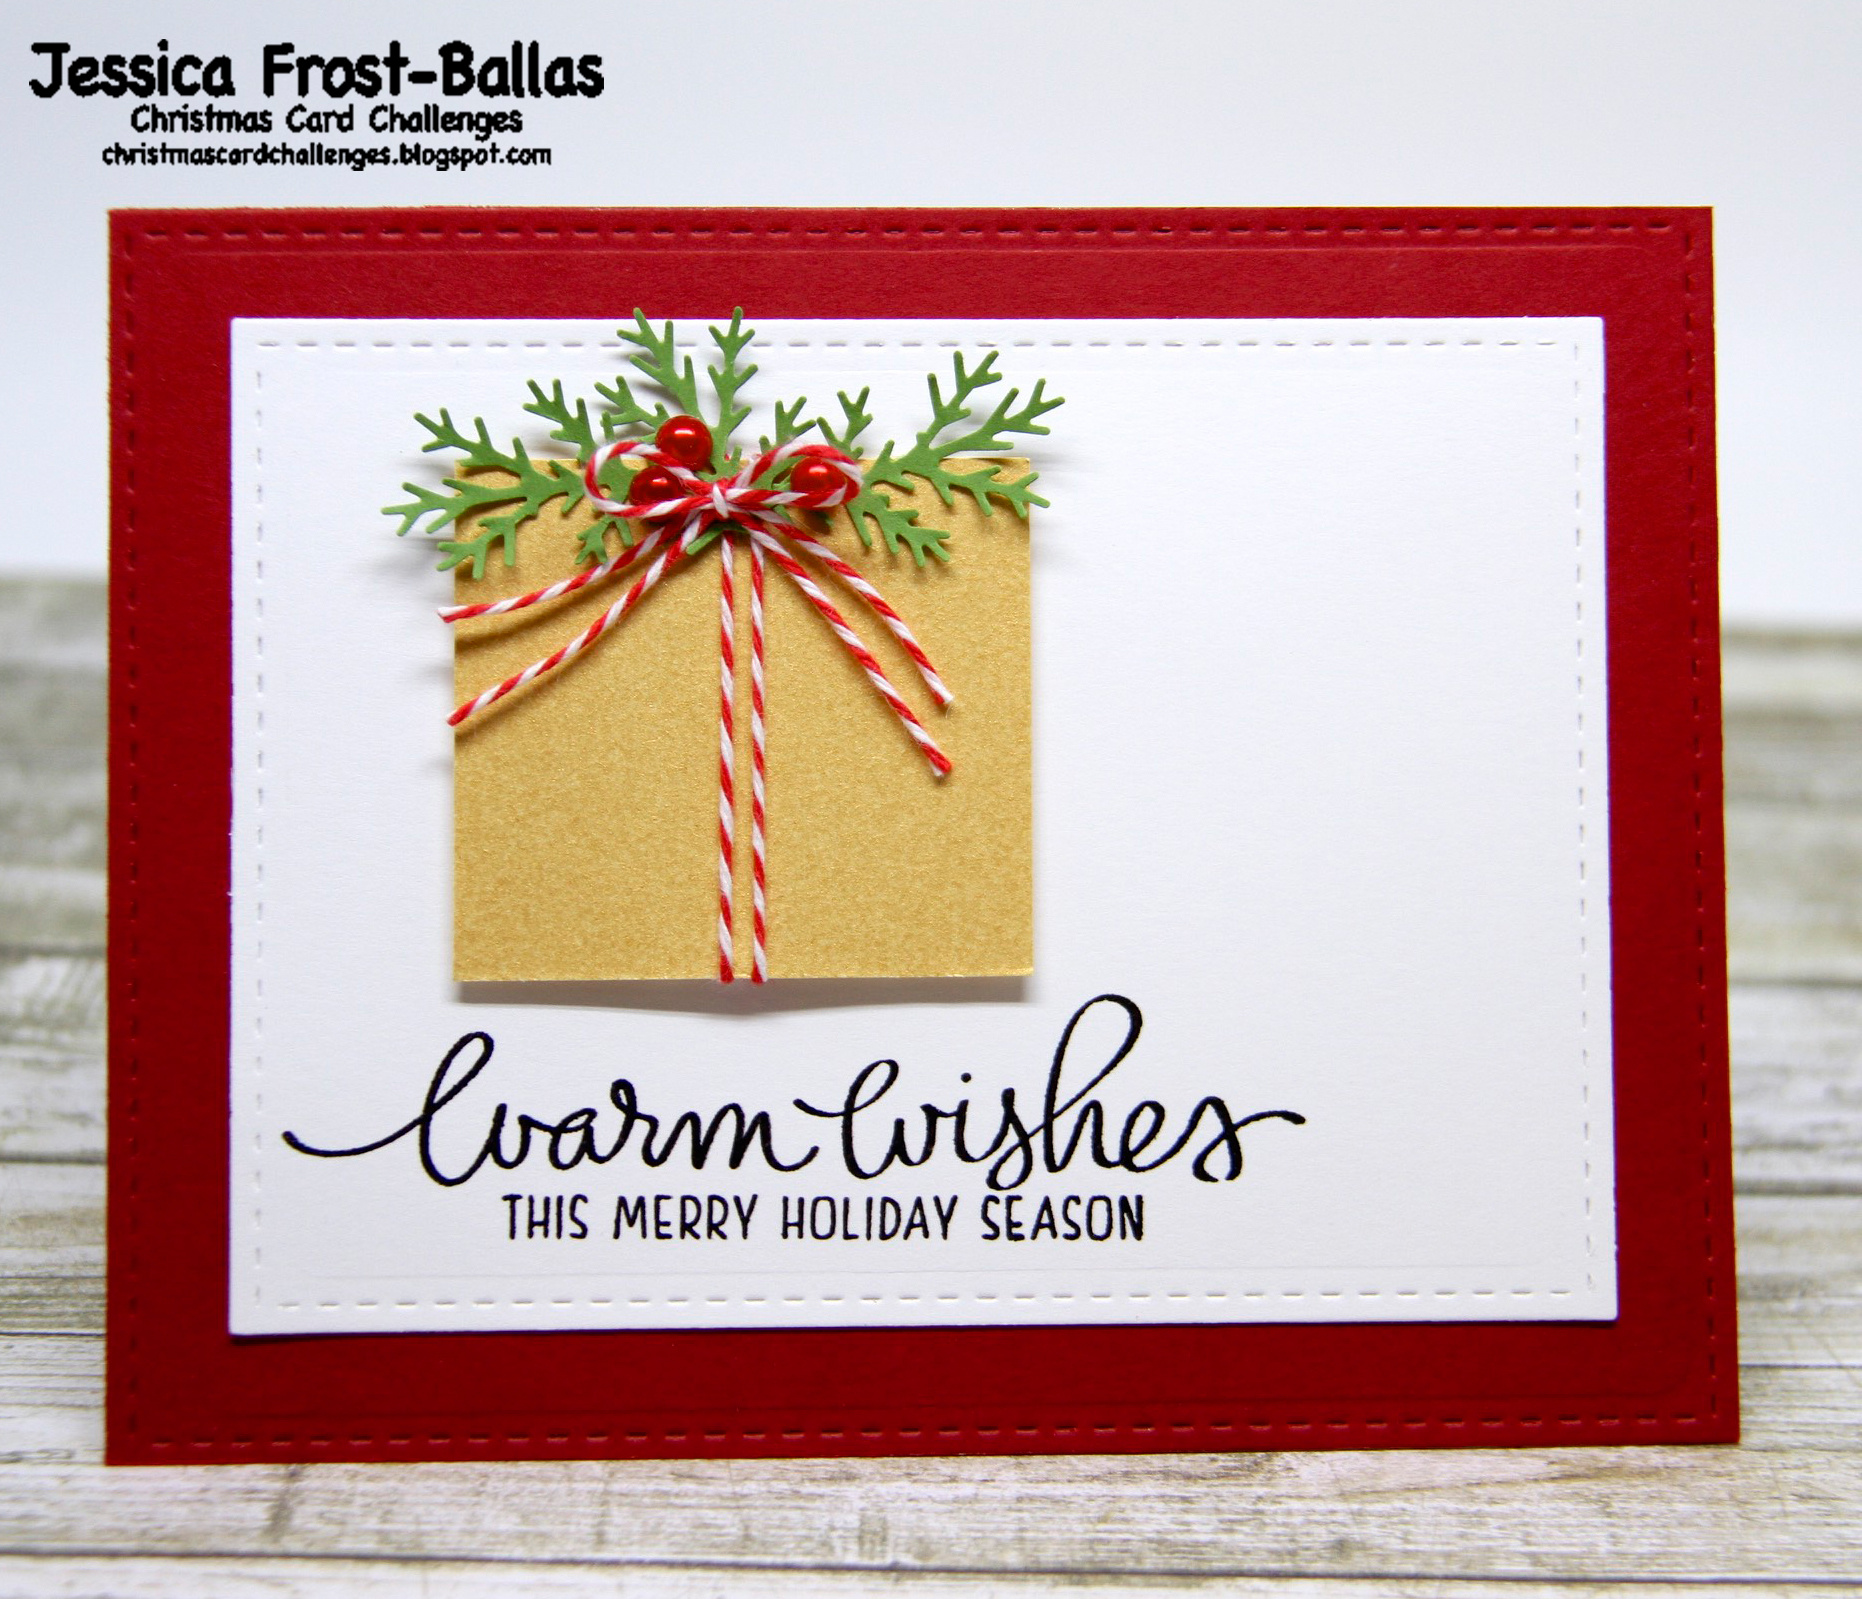
Thanks so much to everyone who commented all week long! And a very special thanks to everyone who watched my very first card tutorial video yesterday! I really REALLY appreciate all the support! I had so much fun creating all of these shaker cards and I look forward to doing it again sometime! Just for fun, here are the first 6 cards!
And congrats to Celeste Goff who won my giveaway of a $10 gift certificate to The Ton Stamps!! Random.org chose this sweet comment:
 Celeste, please send me an email to jessica@allthesparkle.com and I’ll get that certificate out to you ASAP! 🙂
Anyway, back to Christmas Card Challenges! I hope you’ll play along with the challenge this week! For even more inspiration, don’t forget to visit the rest of the design team!
Thanks so much for visiting and enjoy the rest of your week!




Such a cute card, Jessica. Congrats to Celeste!
Oh this is so cute! Love the wintery scene!
LOVE this, Jess! If you are quick you can add this over at Merry Monday too. I have really enjoyed your shaker cards this week. Have been busy so haven’t commented on each one but love them all. xoxox
Such a cutie pie shaker!
Such a cute card Jess and great to have that great shaker element too!