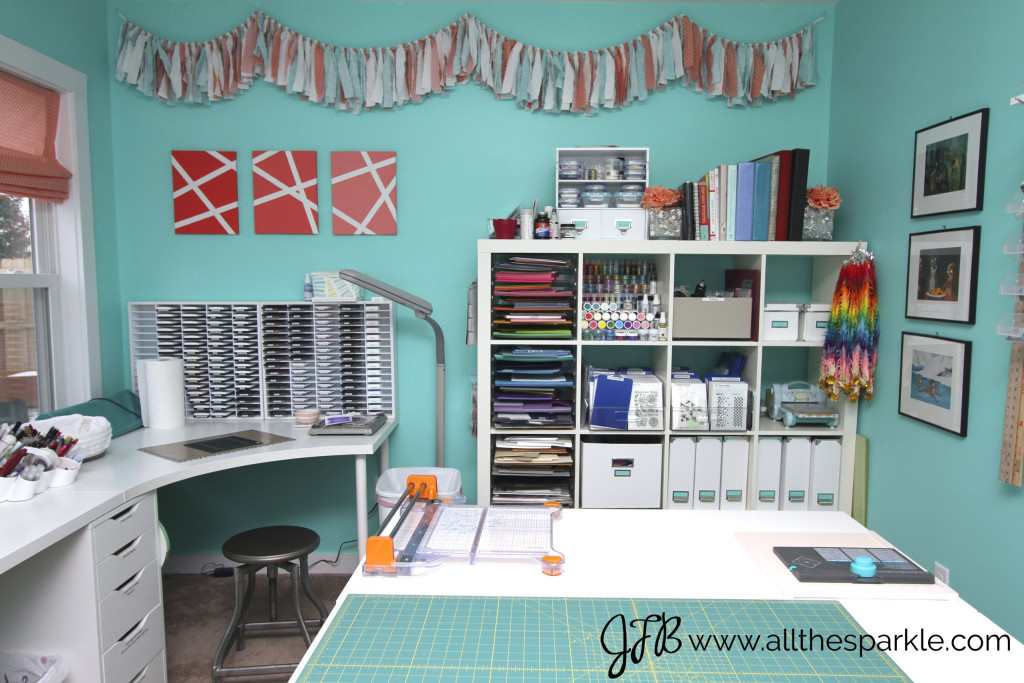
 Well, it’s been a little over a year since we first set up my craft room and there have been a few changes over the last few months. You can find my first craft room-related posts here, here, and here! Most of the changes are organization-related but I do have an amazing new workspace, thanks to my supportive and awesome husband! We’ll start there!
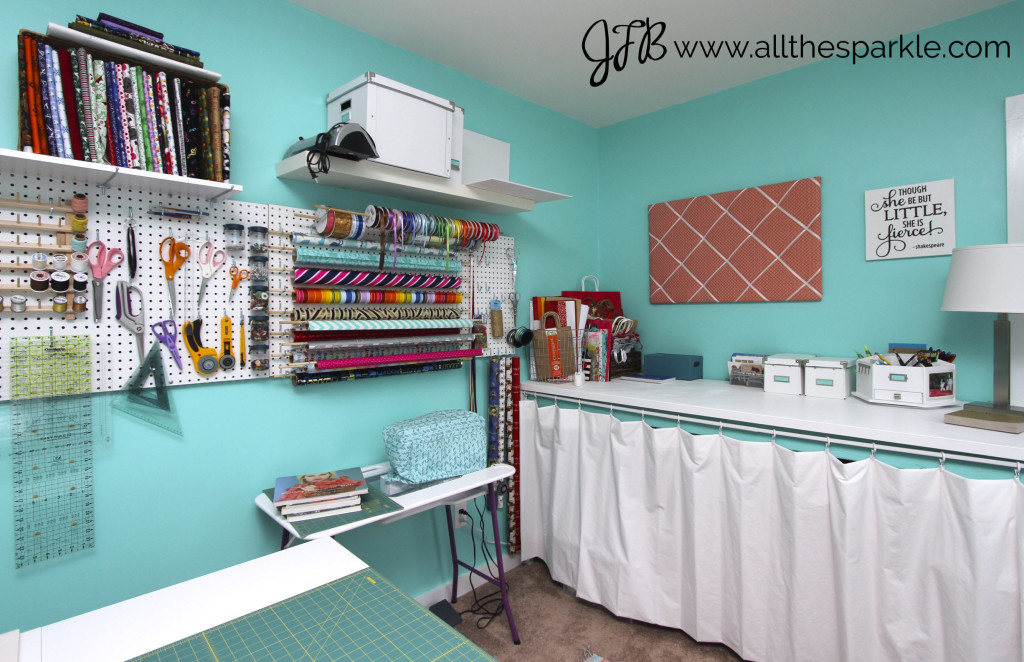 I am a huge fan of after-holiday sales and I tend to pick up wrapping paper, bags, and bows whenever I see them on sale. As a result I’ve got three wrapping paper storage containers full of paper that I always forget about because they live in the garage (and if you haven’t already realized…I’ve got some hoarding tendencies…ha). I’ve always wanted to set up some sort of gift-wrapping area and have been obsessively pinning gift-wrapping closets for months in hopes of transforming our guest room closet…
Last fall I received a grand piano from a family friend and when it arrived I moved my first piano, a Baldwin spinet, into my craft room for storage. Over the last year the piano turned into a catch-all for my crafting supplies but it wasn’t functional space. Unfortunately there really isn’t another space for my piano in the house but it has great sentimental value (it was my mother’s piano, too) and I’m not ready to say goodbye just yet. A few weeks ago I saw a tutorial for making a table out of a hollow core door and stair posts and it gave me the idea of building a table over the piano so that I could leave the piano where it is but also have a nice workspace above it! We also had another pegboard in the garage so I decided to move my gift-wrapping plans into the craft room!
Over Christmas break Steve and I set out to build our first table…Ha, it’s probably not going to win any awards for superior craftsmanship but it’s sturdy, solid, and cost less than $50! To conceal the piano under the table I took a twin sheet, folded it three times, ironed it, and then clipped it to a tension rod with curtain clips. I also have enough room underneath the table to store two of my gift wrapping containers, a storage box full of bows, and a small box of gift tags. On the side of the table that is closest to the door I took a piece of fabric that matches the curtains and used silver thumbtacks to attach it to the frame and give it the look of a nail head trim!
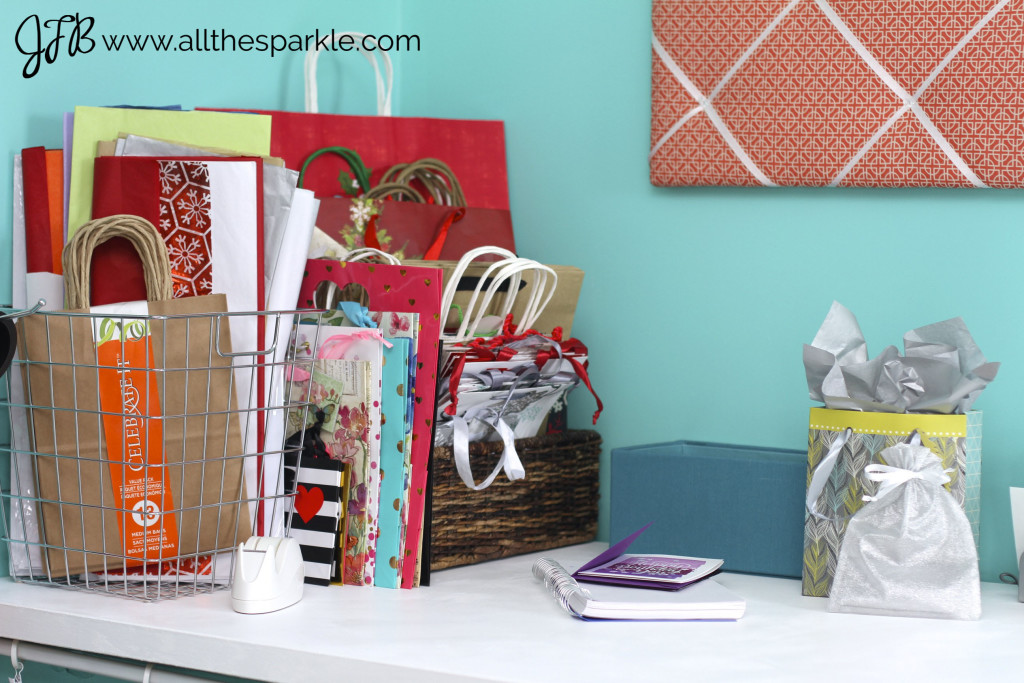 On top of the table I keep my extra gift bags and tissue paper. I can also use the space to store any gifts that I buy early. I have two boxes of my finished cards, my address book, postage, and some of my favorite writing utensils so that I can quickly write a card or note without having to search for items all over the house.
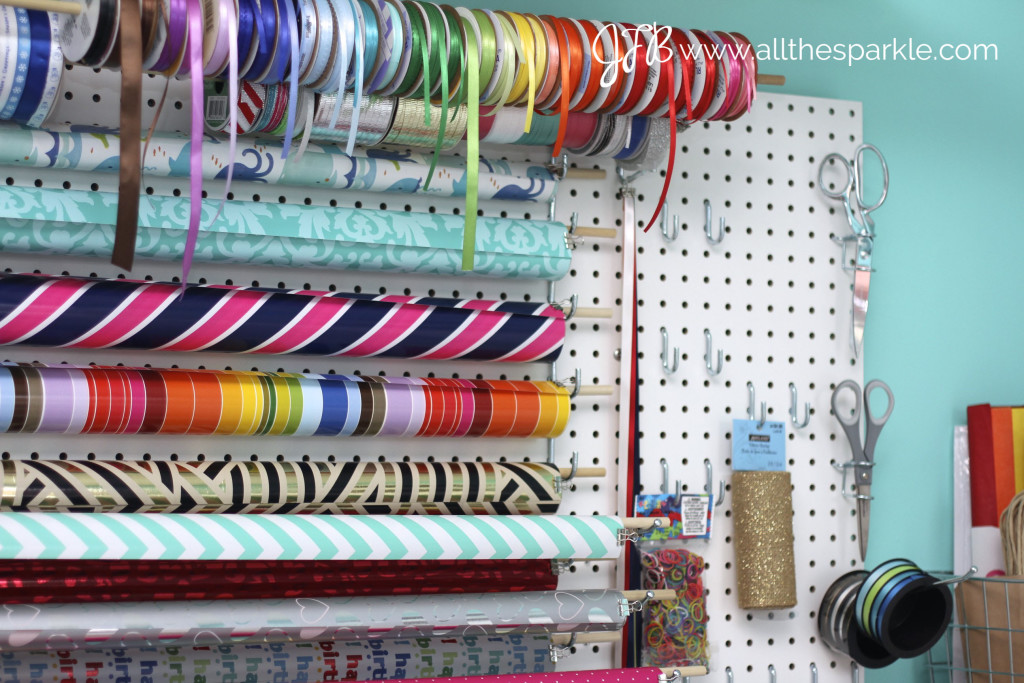 We attached a second pegboard next to the first and I’ve used a mix of hooks and dowels to store my everyday wrapping paper and ribbon. I use small binder clips to keep the paper from unrolling on the dowels. I also keep a bag of the cheap rubber bands from a rainbow loom on the pegboard. I put those on the wrapping paper tubes that sits in the storage containers so that they don’t unroll and tear. Finally I store oversized paper from the bottom of the pegboard using the same types of hooks and binder clips clipped to the end of the tube.
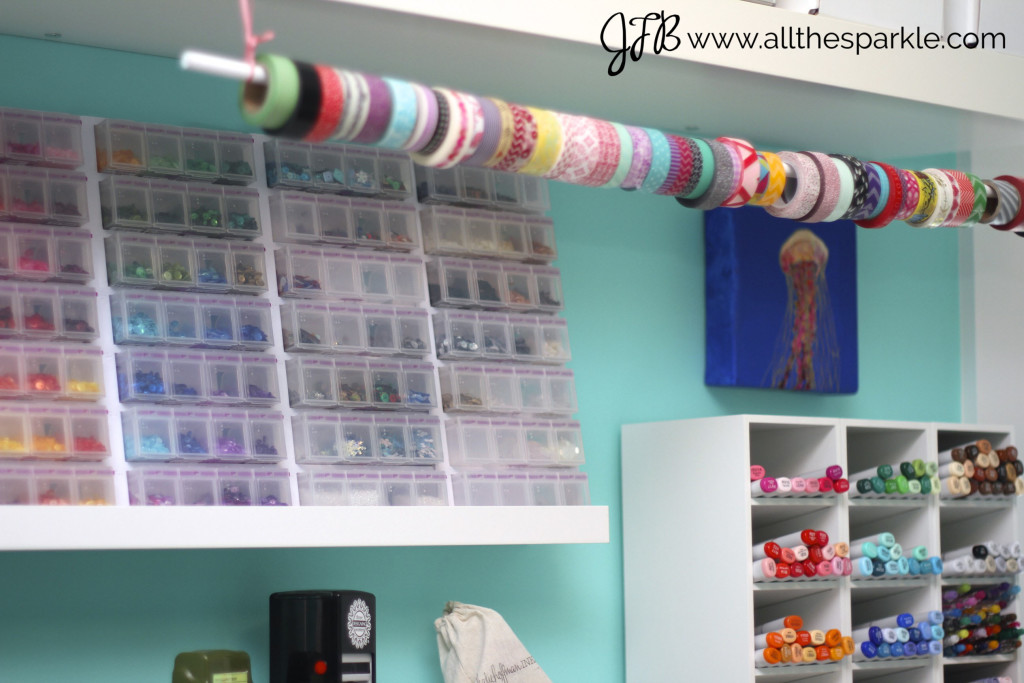
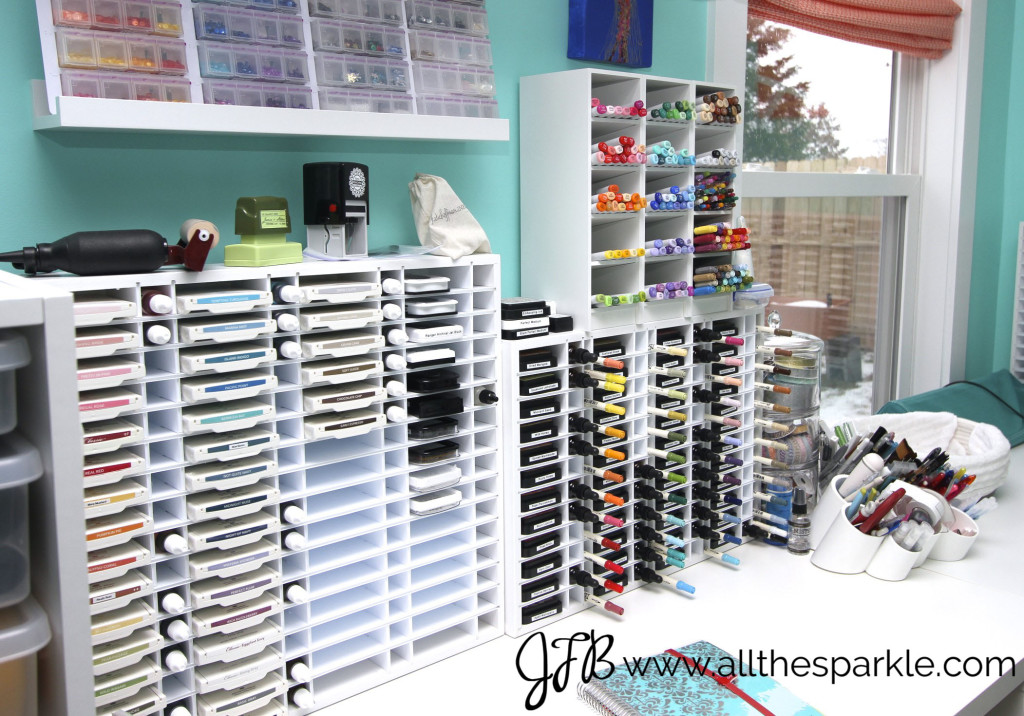
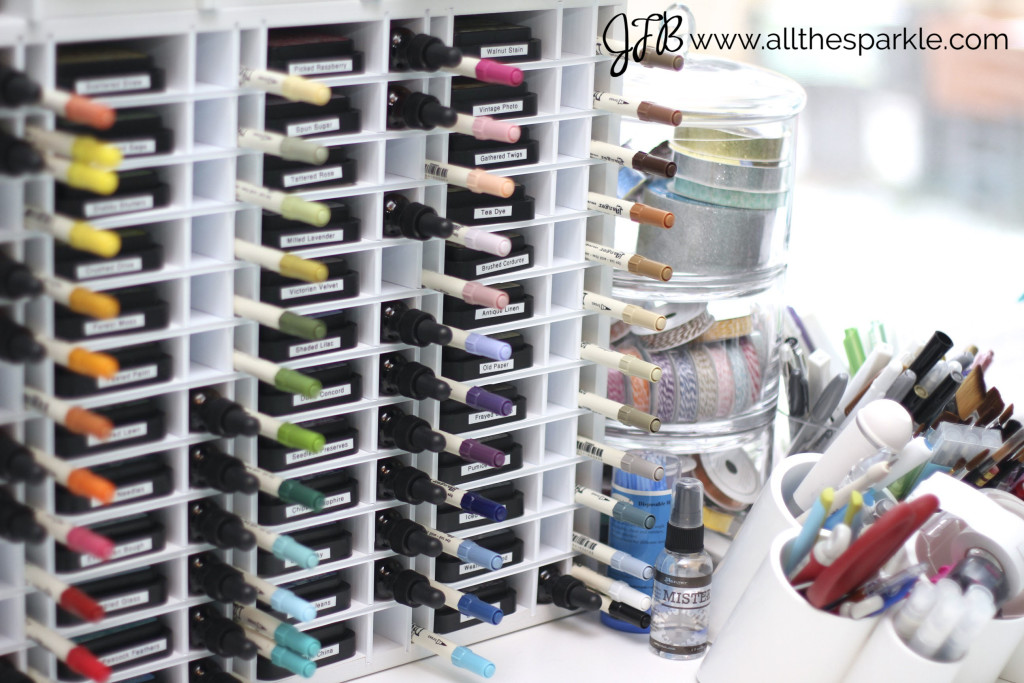
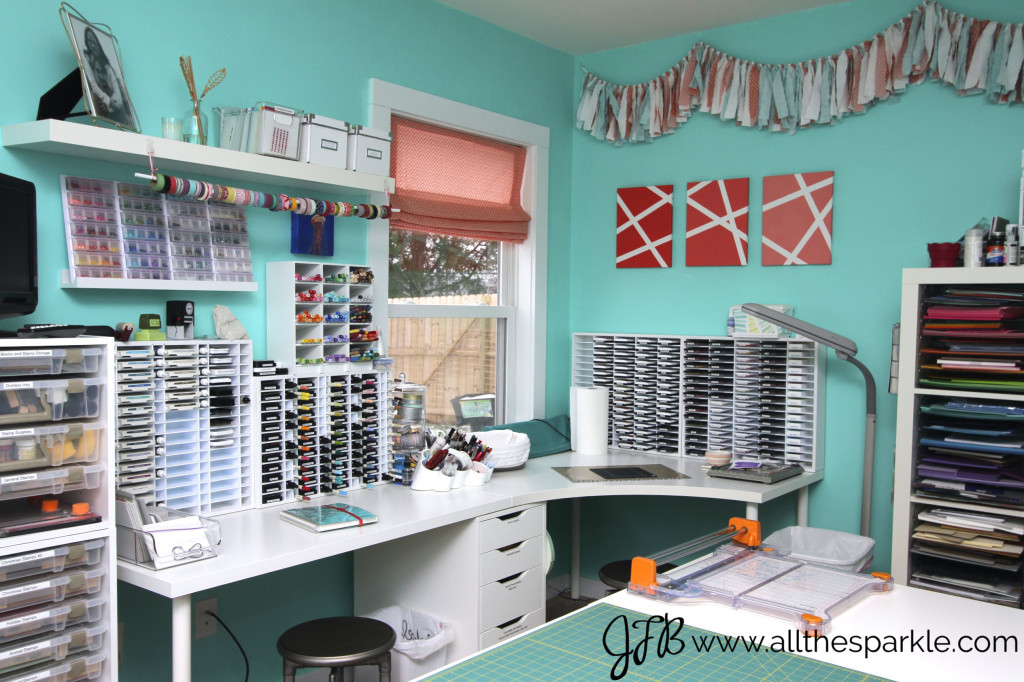 The biggest change on my main crafting workspace is my inkpad storage. I have four units from Organize More and I adore them! On the right side I have two Pro Ink organizers that hold my dye inks from Simon Says Stamp, Studio Calico, and Hero Arts as well as my pigments inks from Mama Elephant, Avery Elle, and Memento Luxe. On the left side I keep my distress inks, reinkers, and markers on one unit and my Stampin’ Up inks, reinkers and everyday pads on the other. I used to keep my stamps on a Clip-it-Up but I quickly realized that I would outgrow that system and switched to Jennifer McGuire’s method of storing stamps in Fridge Binz containers. We also installed an additional Ikea shelf to hold my sequins. It’s nice to have them where they’re easily accessible and they’re also just pretty to look at! I added a dowel to my existing Ikea shelf and use it to store washi tape.
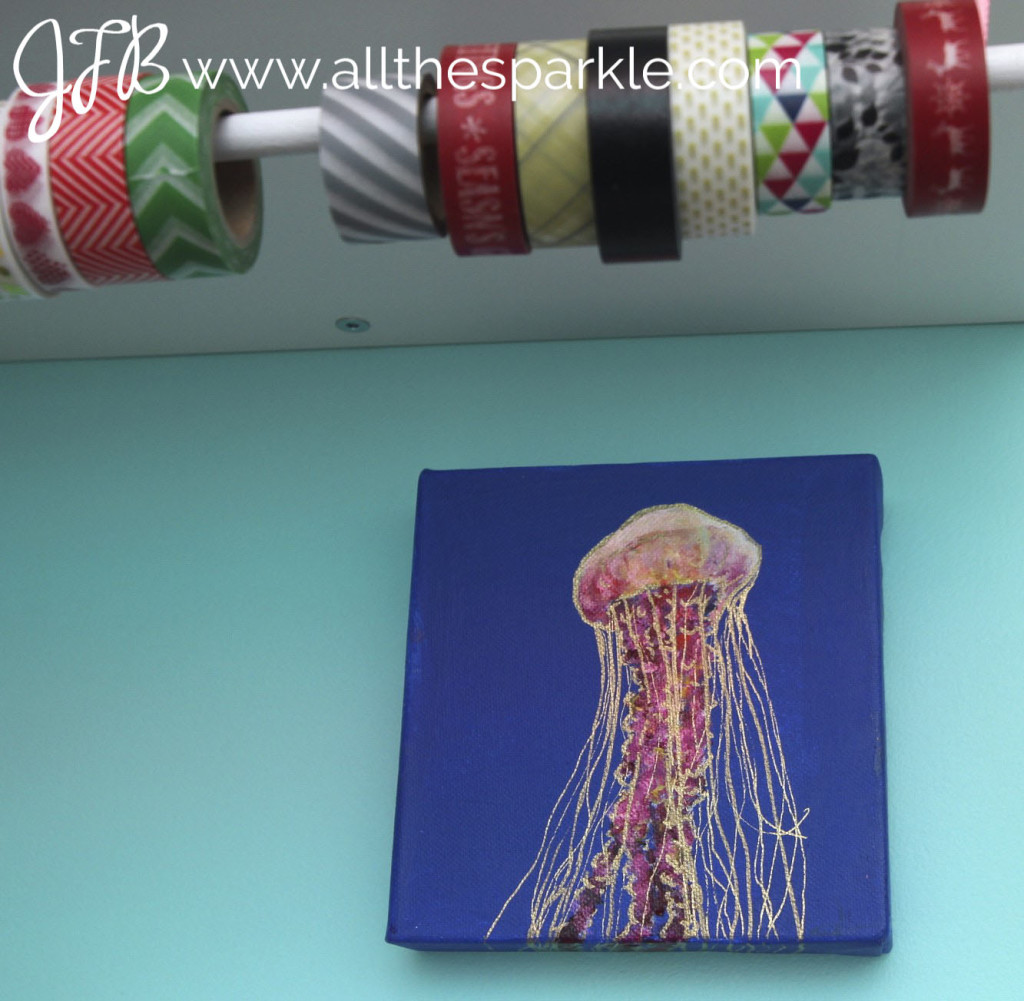 And I found a place for my fun jellyfish print that I found in a Virginia Beach coffee shop! I’m still trying to figure out the name of the artist…it’s called “Strawberry Jellie” and I LOVE the bright colors! Here’s a couple closer shots of my main workspace.
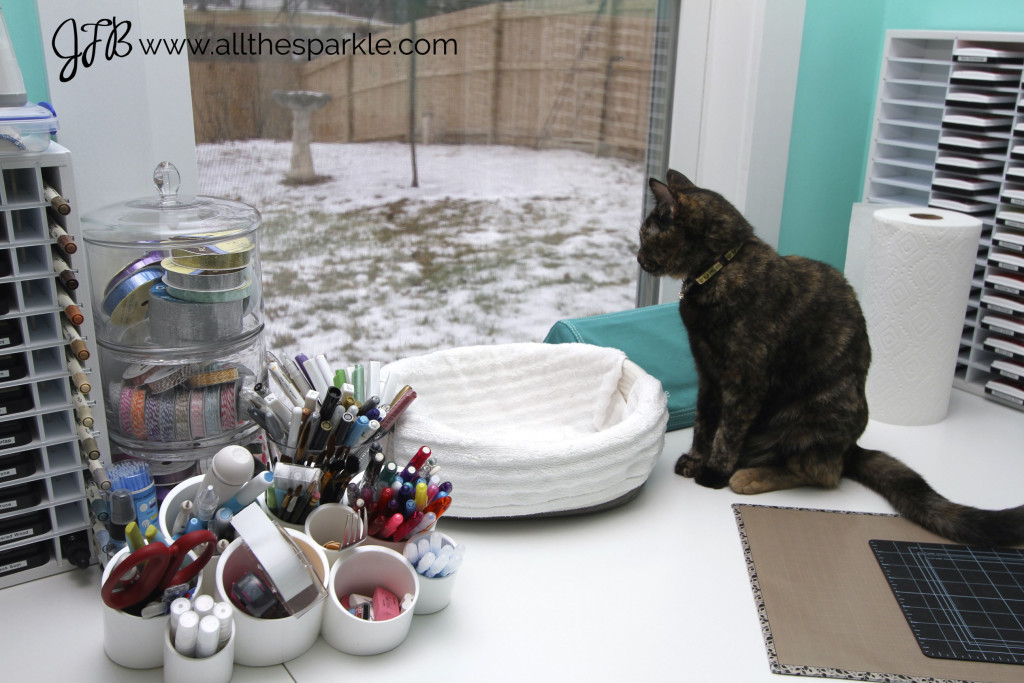 Cutest crafting companion ever!
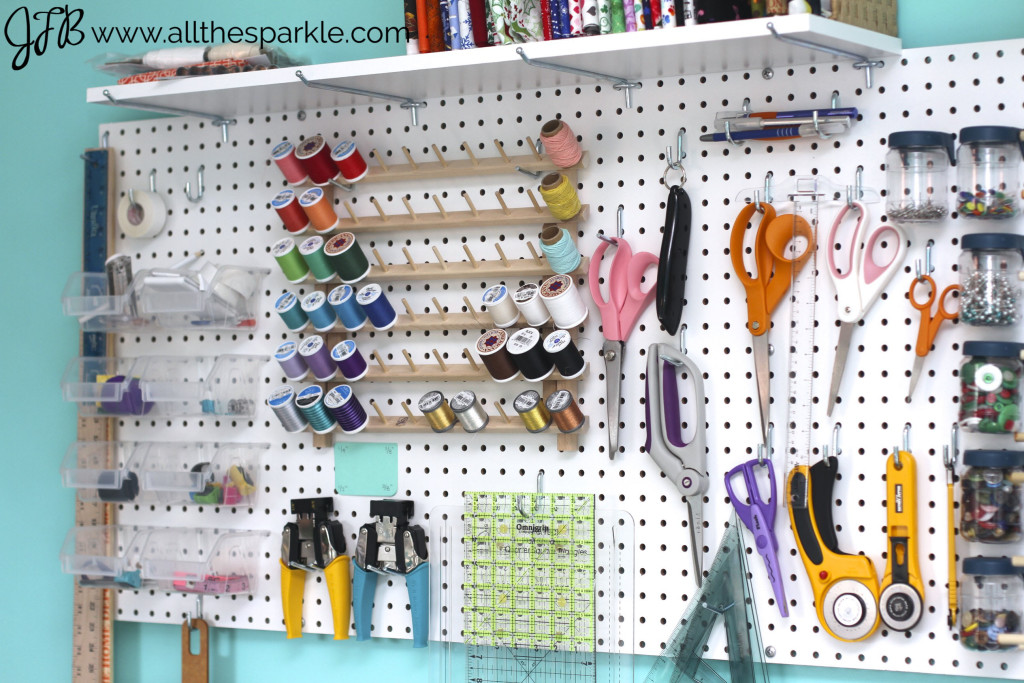 On the other side of the room I’ve made some adjustments to my pegboard and also rearranged my Expedit. As I’ve lived in the craft room over the last year I’ve realized that I don’t need everyday access to everything I originally stored in my Expedit or the pegboard and it’s freed up space for other things. My scissor collection is growing…
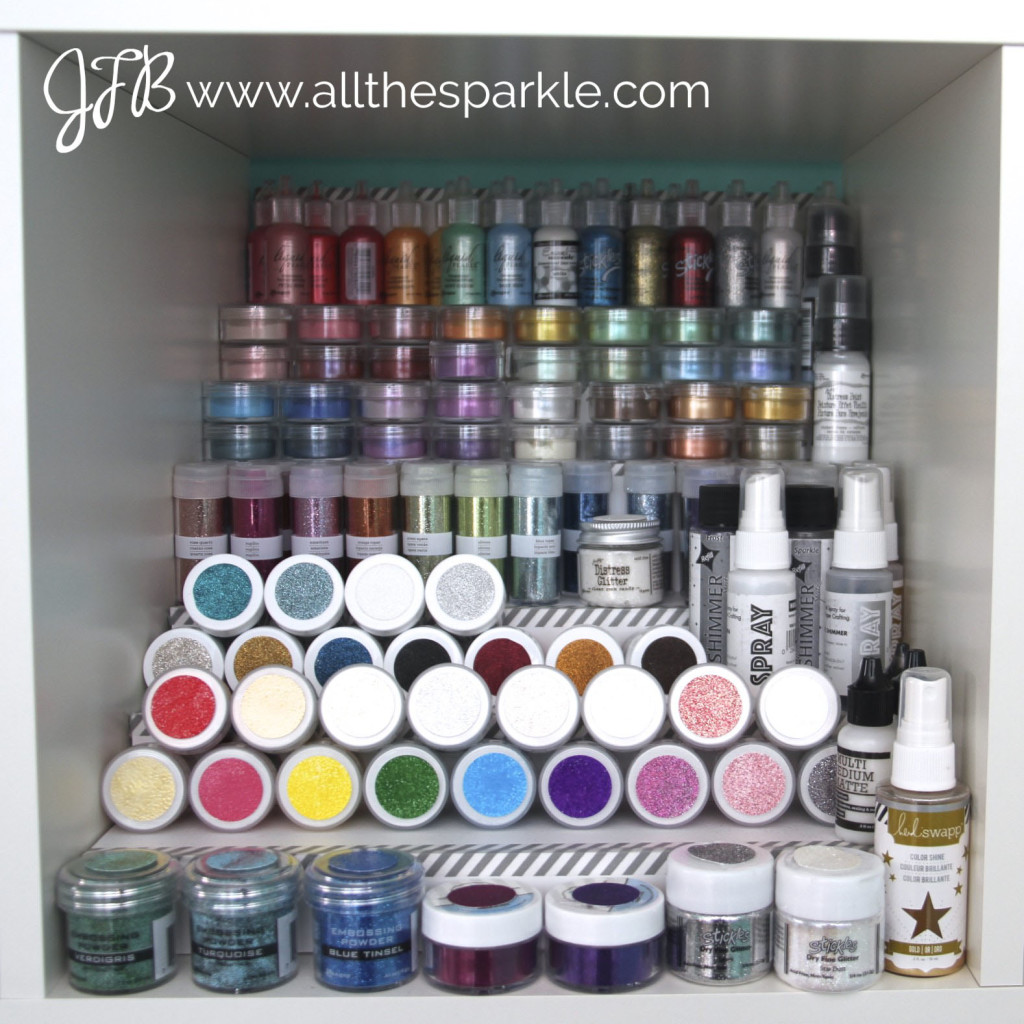 This is probably my favorite cubby in the Expedit…the home of all my sparkly stuff! I found this online tutorial for creating foam core shelving and it’s genius! I wouldn’t necessarily trust it to hold really heavy supplies but it’s perfect for small bottles and jars! For me, being able to see my supplies means I’m much more likely to use them. When I keep things hidden in drawers they never get used…plus it’s just fun to look at!
Seriously, with my love of all things sparkly and shiny, I think I was a magpie in a former life…
Anyway, that’s my update! There are a few things that I didn’t share but I’ve got plans to discuss them over on Craft Storage Ideas in future posts so you’ll just have to visit over there! Hope you enjoyed a sneak peek into my “wonderland!”



Great room! I was going to try the door table this weekend using a bookcase & cubby as legs, but wasn’t sure I wanted it that long, still deciding. What is the size of your room? I’m jealous yours is so great! My room is pretty small I’m changing.
Melanie, my room is about 10×16. I actually had to take the door off my craft room to get the door table to fit. It wasn’t a problem since I never have that door closed but yeah, the door is long! I had found this tutorial for cutting the door down if necessary: http://www.younghouselove.com/2010/06/office-progress-deciding-to-diy-a-desk/!
That was a good reference, thanks. My room is only 9.5′ X 9.5′. Then I battle in my head, should i keep some type of bed in there, or get a futon or sofa sleeper for when Emily comes home to visit, but I don’t even know when the next time will even be possible for her to do that, so that makes me want to fill room with more storage pieces. 😉
I love your craft room! The color is the same as mine, though, I have some antique white zones whiting my walls and ceiling, I was thinking to add more aqua! I also love your crafting companion, I got my own companions as well, even though sometimes they get in the middle of things!
Heidi, thanks! Yes I find a lot of craft rooms in teal….maybe because it’s a little too bright for a main room! 😉 But I think it’s very bright but still peaceful! Great for creating! 🙂 And yes, my kitten can be quite destructive…I usually have to decide what I’m going to sacrifice to her before I start working; otherwise, SHE’LL decide what she wants. Usually she’s content with paper scraps or a roll of washi tape! 🙂
i just found your blog & was so intrigued with all the house pics & updates that I had to sign up for your next blog updates. Love your site & am really in love with your stunning craft room. I have a whole room for crafting & my office work but it really needs organizing. Thanks so much for all the great tips.