Good morning! I can’t seem to get enough of the new Folk Dance stencil from Simon Says Stamp and today I’m sharing a much more subtle way to use it than I shared last week. 😉
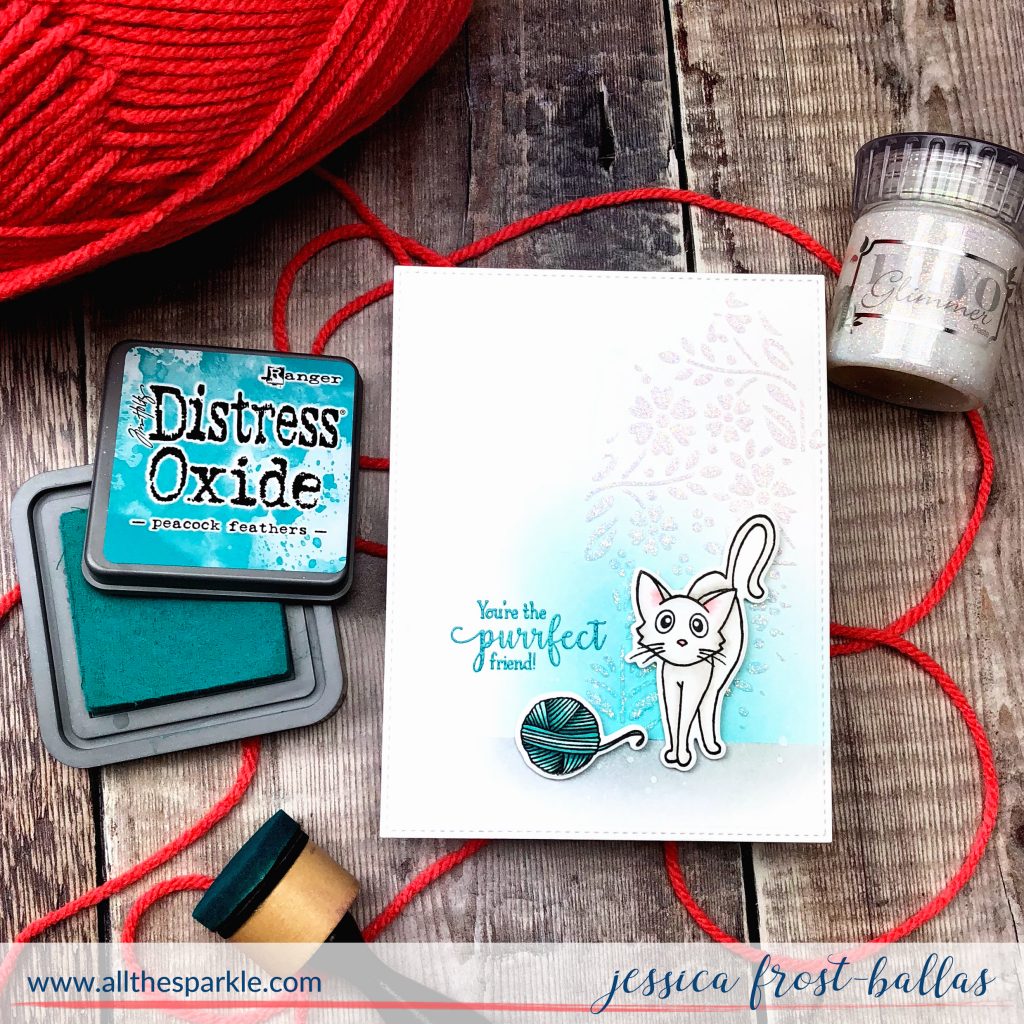
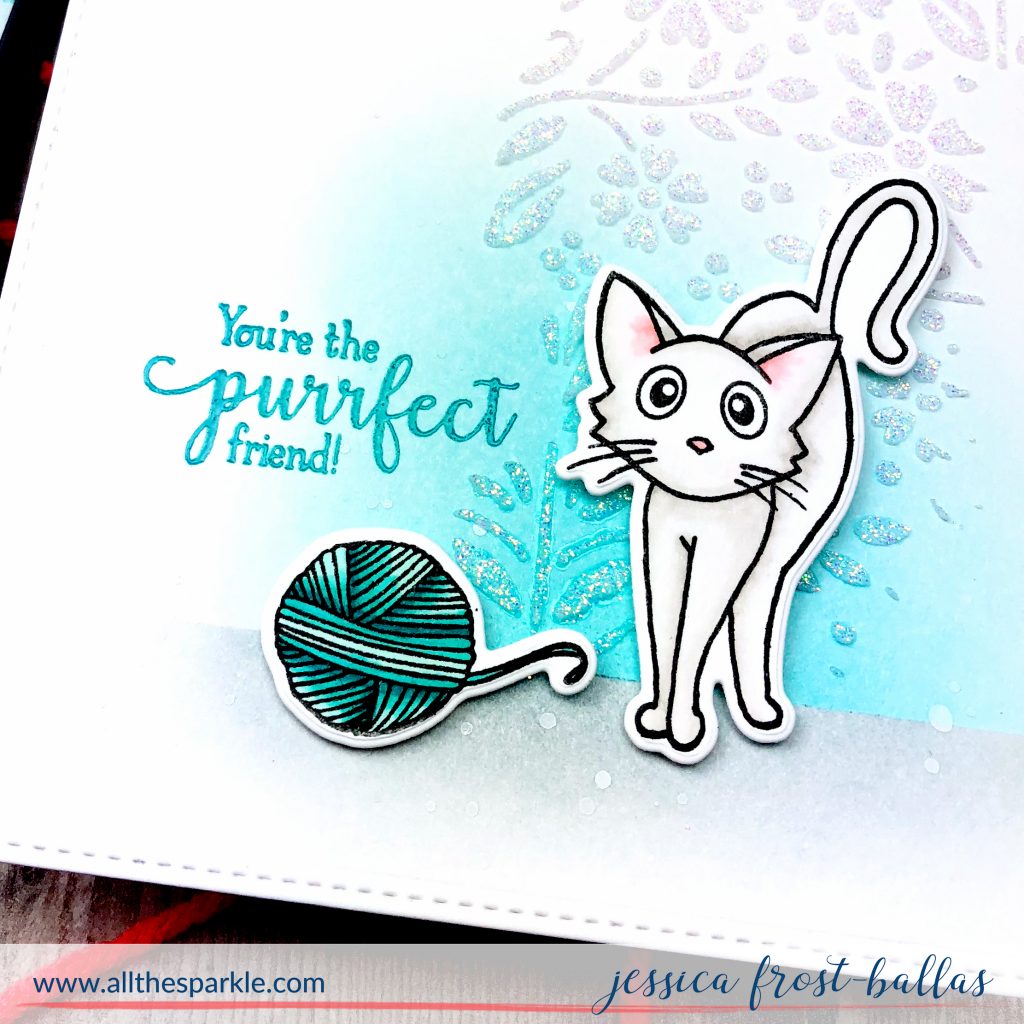
Have you seen these ADORABLE kitty stamps from Gina K Designs? They were designed by her daughter Alicia and they are my new favorite cat stamps! I think it’s because they remind me of anime cats (like the ones from Sailor Moon…am I showing my age now?)! And the expression on that cat’s face looks EXACTLY like my cat, Rogue, when she’s trying to convince me to give her more food. But I totally fail at coloring tortoiseshell cats so I decided to practice coloring my kitty white with copics. I’ve got a little ways to go but it’s much better than my early attempts at coloring white animals where I literally just colored the ears pink and considered it done! Ha! A little shading with warm grey copic markers goes a long way to adding dimension and depth! I also colored the yarn ball and then die-cut them with the coordinating dies.
Next I die-cut a stitched rectangle panel and masked off the bottom portion with post-it tape. I blended peacock feathers distress ink above the line, covered it with a mask and blended hickory smoke distress ink below for a little contrast. I spritzed it with water to add some texture and flicked on a little bit of copic opaque white. Next I stamped the sentiment with peacock feathers distress oxide ink and used a trick from my friend Lisa! Since the oxides are a little like pigment ink they stay wet longer…so I was able to heat-emboss the sentiment with clear embossing powder for a nice, shiny sentiment! I wanted to add a little more texture to my design so I placed the Folk Dance stencil over the panel and then added just a swipe or two of moonstone glimmer paste and let it dry! The finished result almost looks like a little bit of wallpaper! Finally I adhered my kitty and yarn using foam mounting tape. This is one of those designs where I didn’t quite know where I was going to end up when I started but I’m really happy with how the design evolved! For those who ask, this is generally why I don’t make videos for all of my cards…most of the time my cards start in one direction, meander over the river and through the woods, and end up somewhere totally different! 😉
 Interested in the products I used? To make them easy for you to find, I have listed them below. (Affiliate disclosure can be found here). Your purchases help keep my blog running and I thank you for the support!!
|



So cute!
That’s adorable. That little bit of glitter paste adds just the right touch. I hadn’t seen those kitties, yet, but they’re so cute!
Love this so much Jessica! I have trouble with backgrounds sometimes, and now that I have heat embossing down, I think this will be easy enough to accomplish! Great job!
Sounds like your cards are made like most of mine. They never turn out like my original idea! Love your “wallpaper”! This card is awesome & I don’t know how you could have a better turnout! Thanks for sharing the process.
Thanks for sharing your lovely kitty card. It is so adorable. Perfect coloring and lovely background for the kitty too. I have both the sets Alicia designed but have not used them as of yet. I was thinking of birthday cards for my grandchildren.
This is such a cute card! I love how you just used a little bit of the stencil and glimmer paste. Also, the kitty is adorable 🙂
You’ve colored Hannah…my white Turkish Van…and, your right, that is her “give me more food” expression, too. Perhaps it is with all cats. Using that background with the glittery paste really makes her stand out, beautifuly.
Very sweet card and that kitty is adorable!
Such an adorably sweet card! Love that funny little kitty!
So sweet, I love the colors!