Good morning! Over the next two days I’m going to share four birthday cards using the same fun HBD die from Simon Says Stamp and CZ Design! There’s a lot of variety in the finished cards and hopefully they’ll give you some new ideas! Today I have a pair of more feminine birthday cards to share!
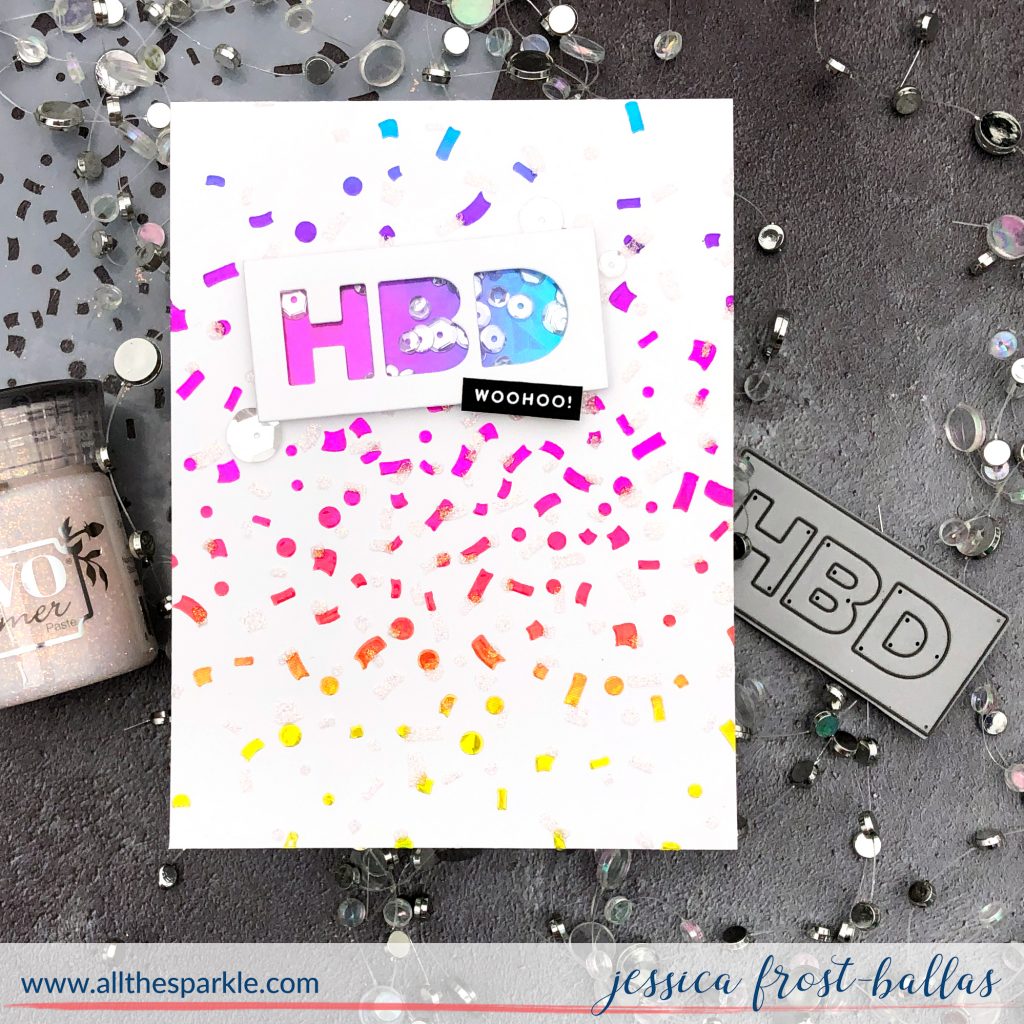
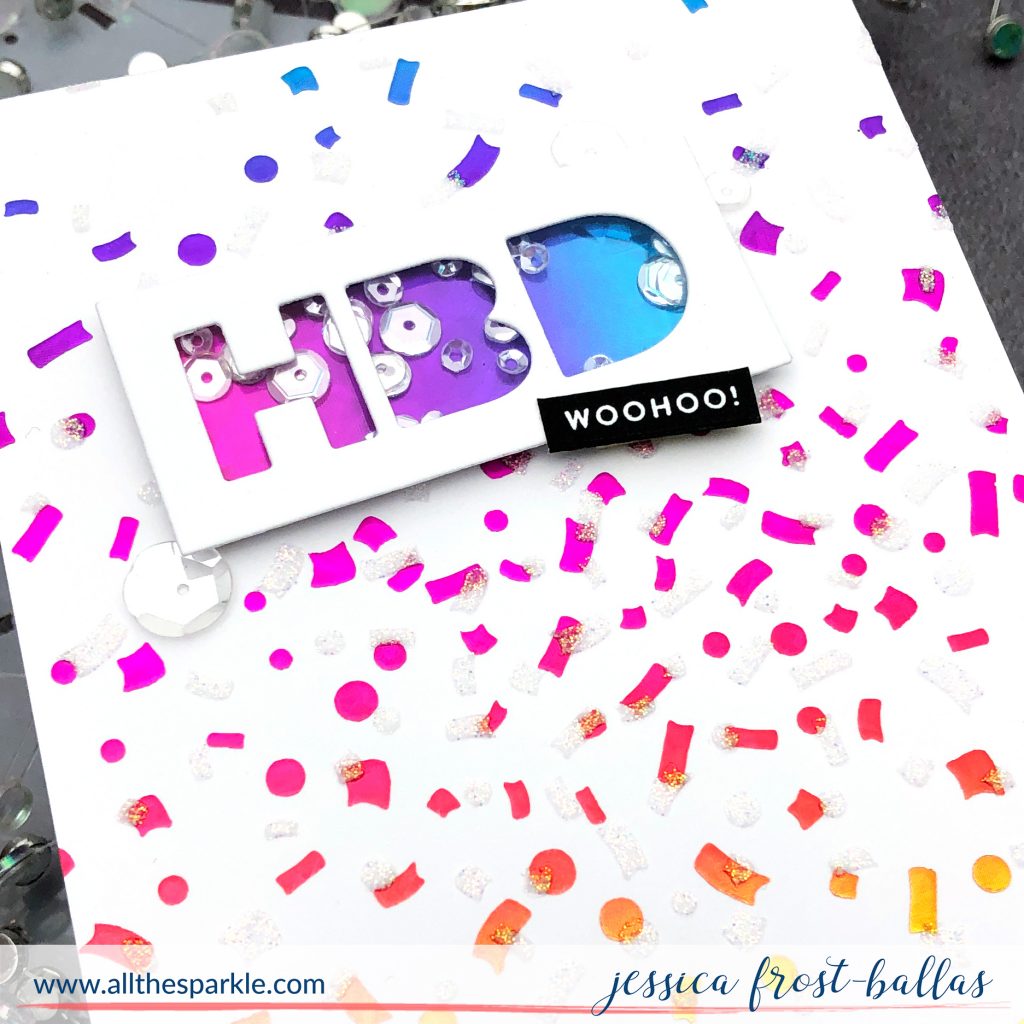
First up is a bright and cheerful card featuring foiling, glimmer paste, and a shaker! To start I applied a thin layer of foil transfer gel over the Confetti stencil and let it dry until it was totally clear. Then I placed a piece of shattered rainbow foil over the panel and ran it through my laminator. The foil sticks to the gel and reveals this gorgeous rainbow design! Then I placed the Confetti stencil back over the panel at an offset and applied a thin layer of moonstone glimmer paste over the stencil. I peeled off the stencil and let the paste dry completely. It’s hard to capture in a photo but the foil has gorgeous shine and, when it catches the light, the glimmer paste just sparkles!
While the paste was drying I die-cut the HBD die from white cardstock. I adhered a small piece of acetate behind the die and built up a layer of foam tape around the edge of the word. Then I filled it with sparkling clear sequins. I adhered a piece of the same shattered rainbow foil to a small piece of white cardstock fit to the same size as the die and then adhered that to the foam tape. I stamped the rest of the sentiment from Tiny Words Birthday onto black cardstock with versamark and heat-embossed it with white embossing powder. I trimmed it down to a thin label and added both sentiments to the stenciled panel. I finished the card with a few extra sparkling clear sequins scattered around the shaker! 🙂
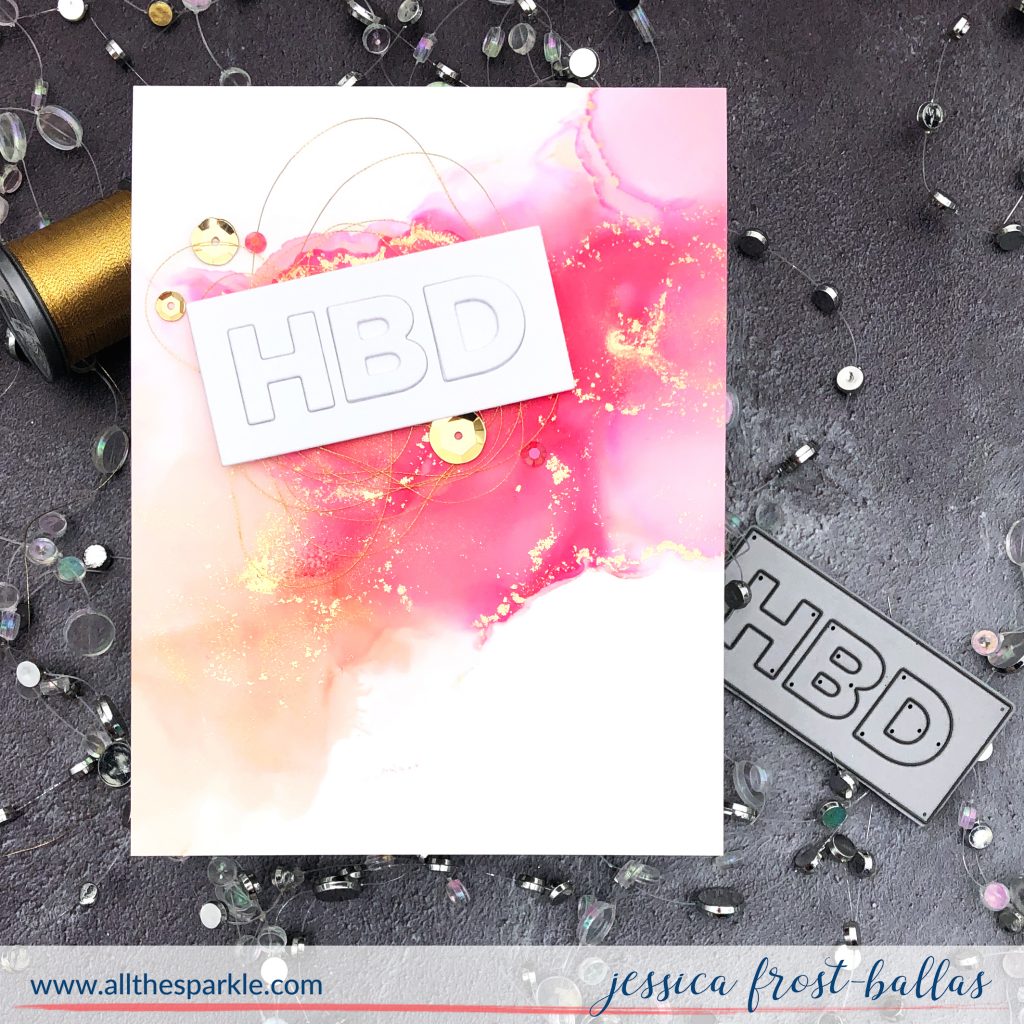
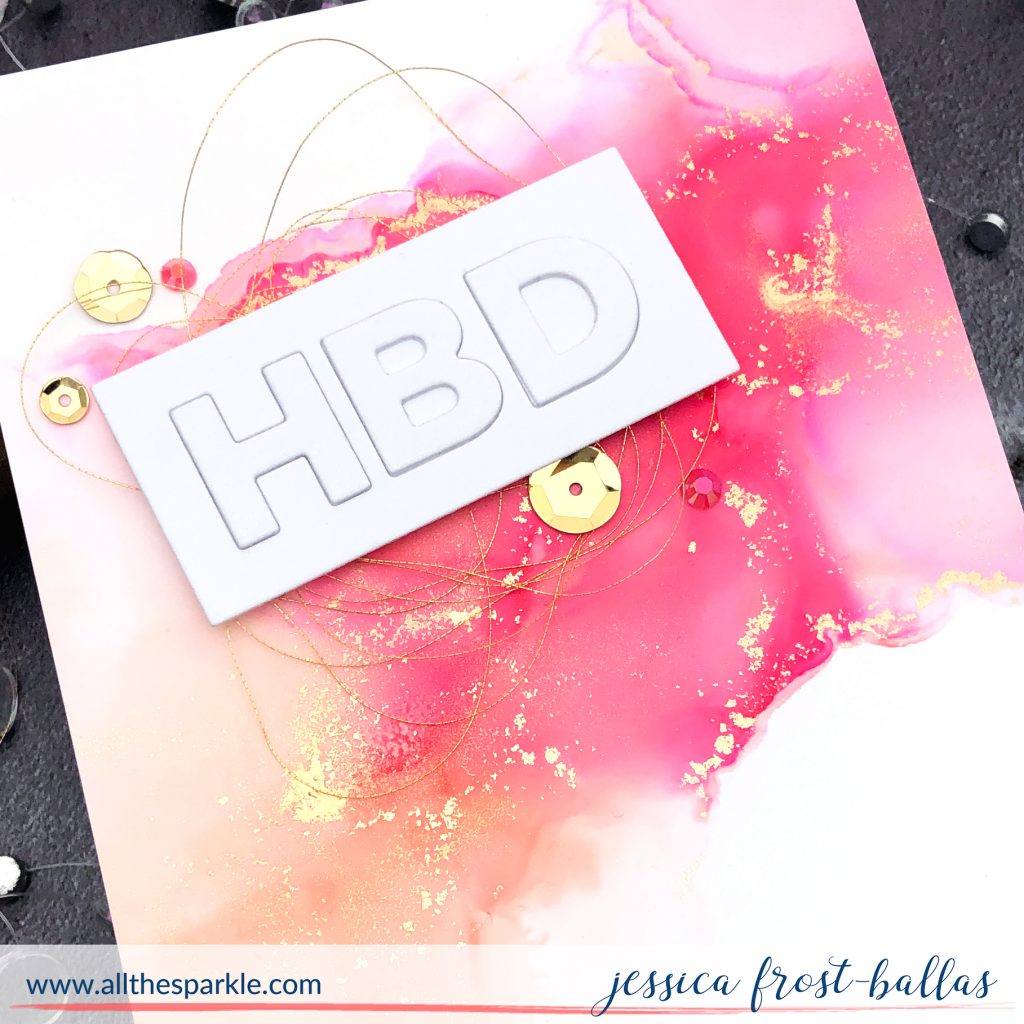
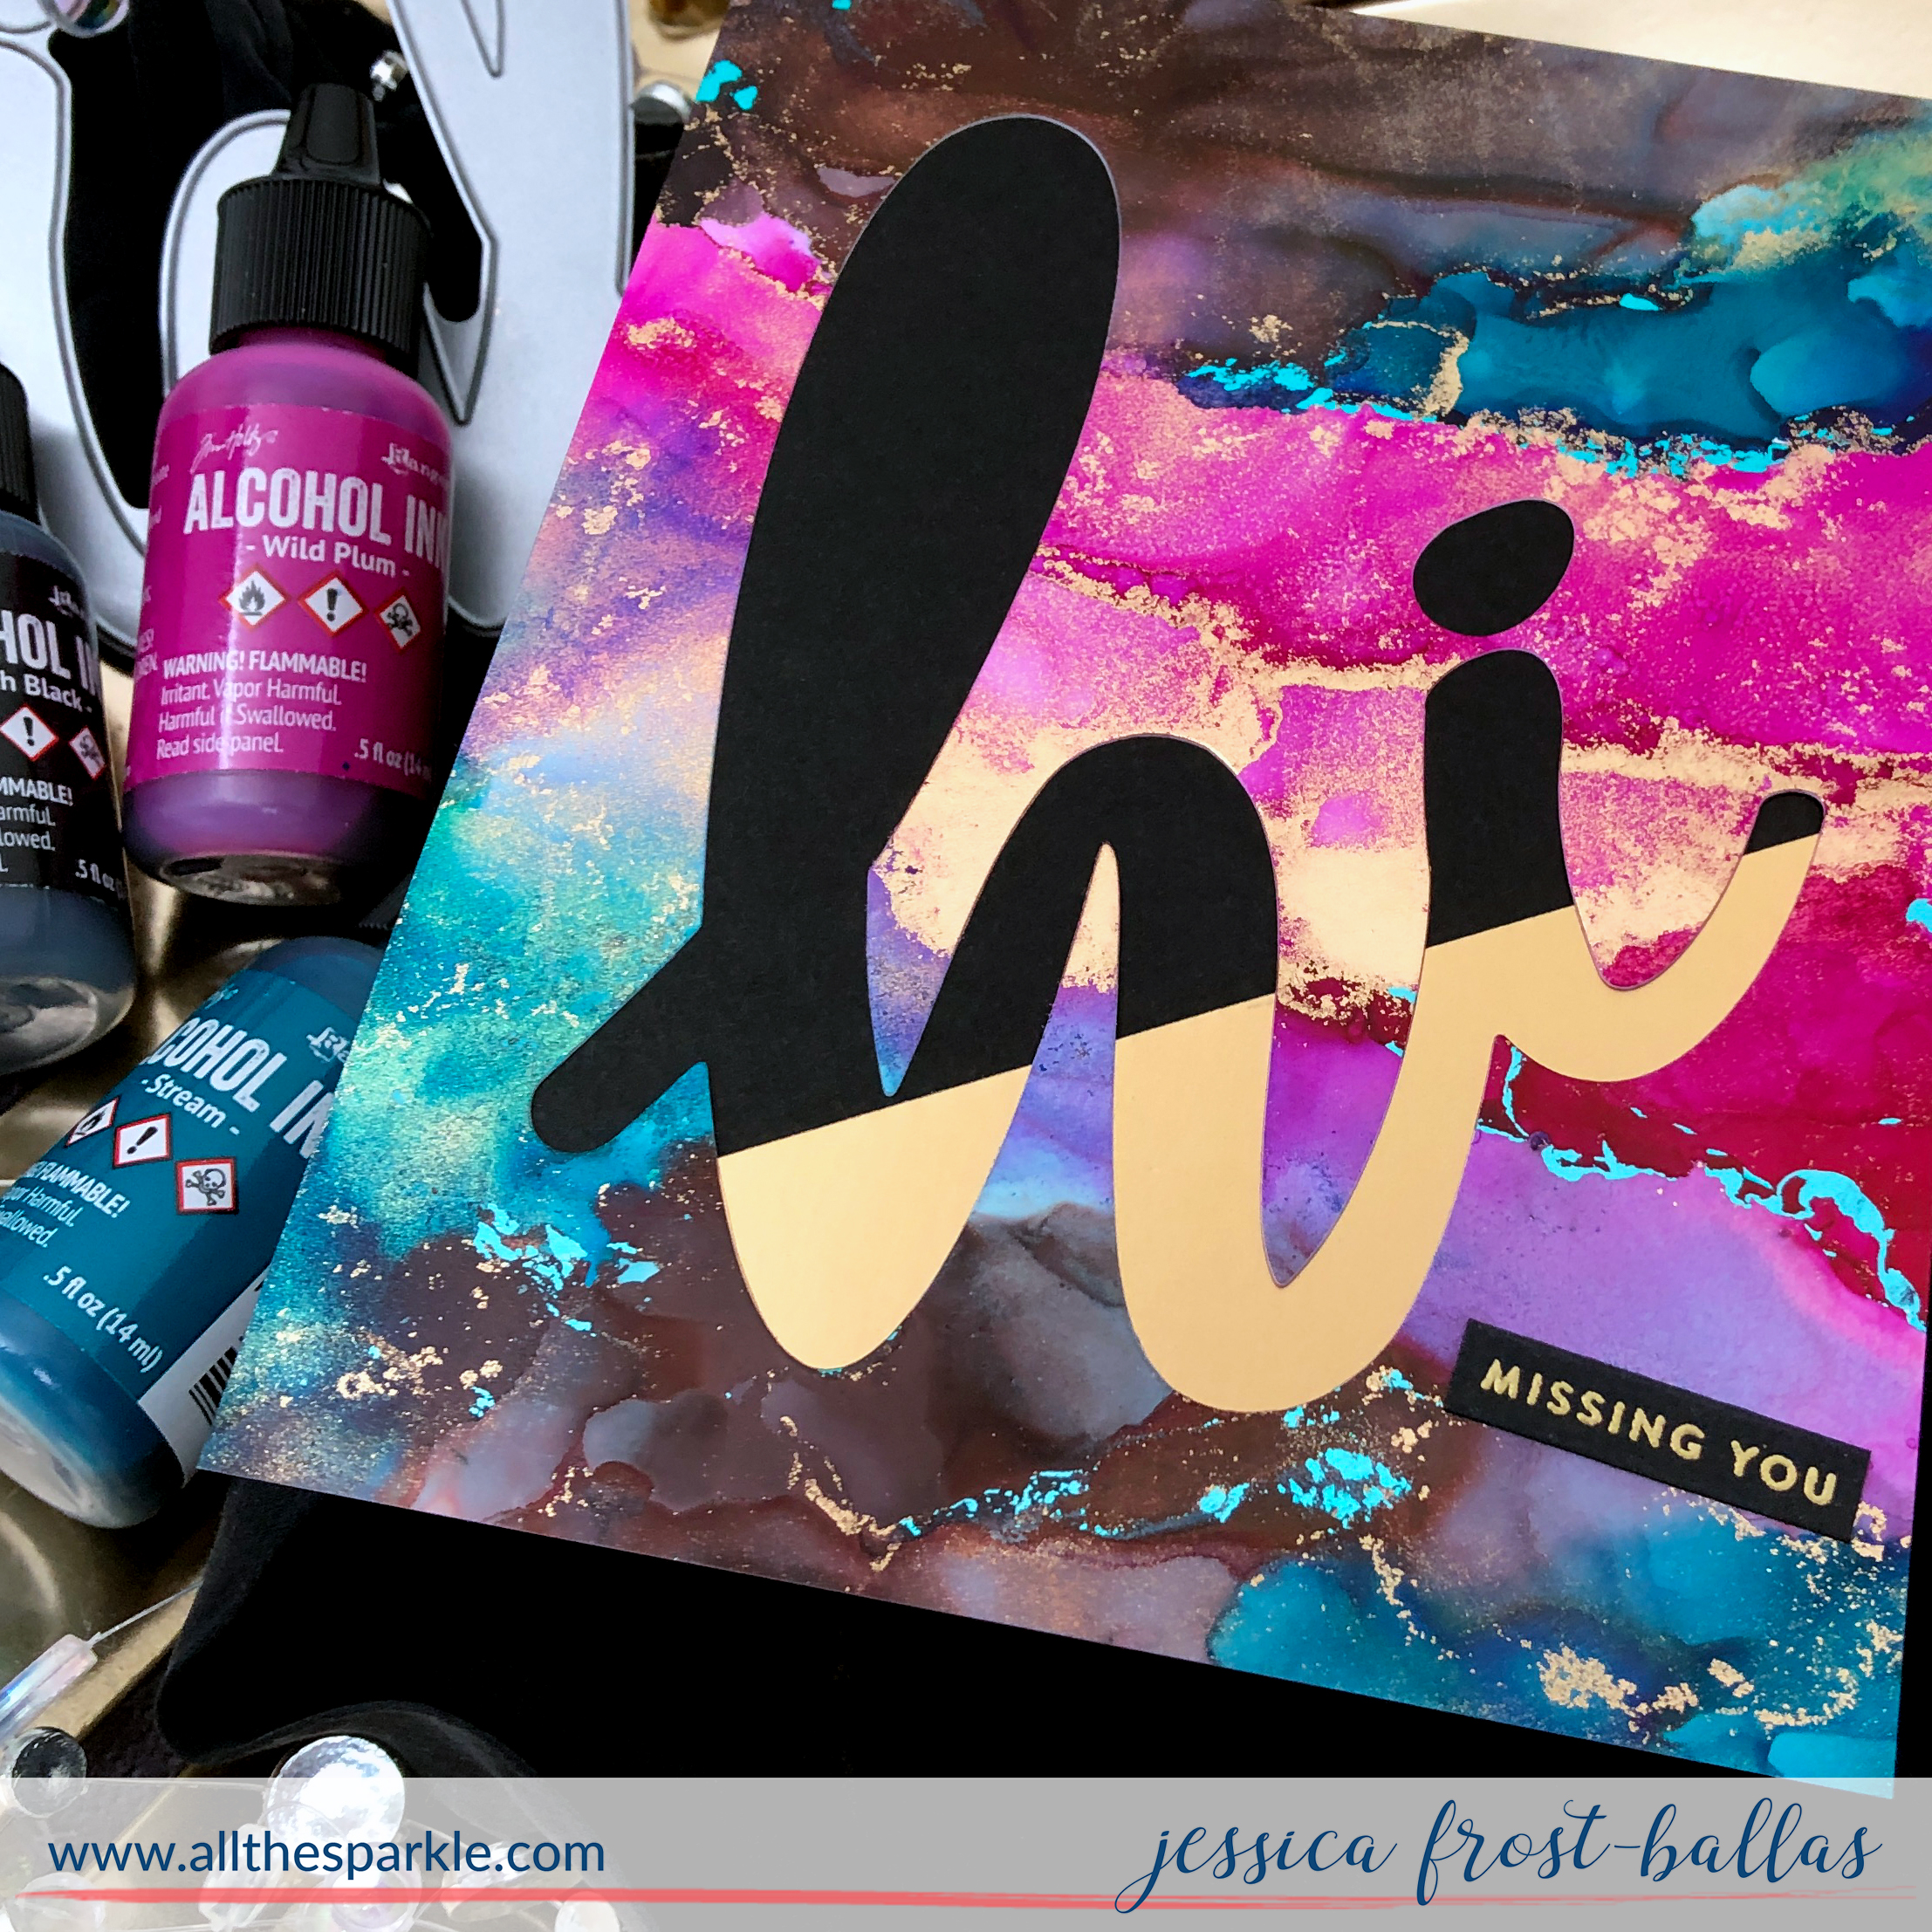
My second card was a little unexpected. I have a video coming next week with a few alcohol ink backgrounds and this one was a leftover panel I didn’t use. It didn’t quite work for those cards but was perfect here! I applied copic alcohol ink in R12, RV10, and RV14 to a panel of yupo paper along with Pinata brass metallic ink.
I die-cut the HBD die from white cardstock again and also cut a small panel to fit behind the HBD die. I adhered it behind the HBD die and then inlaid the letters back inside the negative space. I also adhered the leftover letters from the last card over them to create a slightly higher sentiment. Then I applied a single layer of foam mounting tape behind the sentiment and then wound some gold metallic thread on top I applied another layer of foam mounting tape over the thread and then adhered it to the card. I like sandwiching the thread between layers of foam tape to give the thread a little more movement! Finally I added a few gold metallic sequins to finish the card!
I hope you’ll stop by tomorrow to see my second pair of more masculine cards featuring a new-to-me product that I just adore! Also, don’t forget to take advantage of this awesome weekend sale from Simon Says Stamp!
Thanks for visiting and have a fantastic day!

Interested in the products I used? To make them easy for you to find, I have listed them below. (Affiliate disclosure can be found here). Your purchases help keep my blog running and I thank you for the support!!
|



two lovely cards, Jess – especially like the colors you used on your alcohol ink card!
Great BD cards, Jessica. Always enjoy more card designs to change up annually! tfs
Absolutely gorgeous cards! Love all the glitter & sparkle on the first one & the lushious colors in number 2. The metallic thread is the perfect touch!
Can’t wait for your video to come out so I can see how you got that gold foil with the alcohol ink. I just love the look. So pretty! You are a master when it comes to alcohol cards.
so lovely