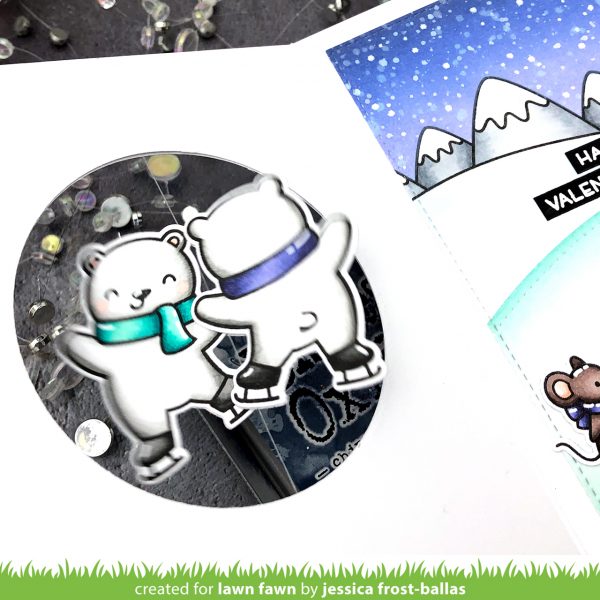
Good morning! I’m over on the Lawn Fawn blog with an interactive spinner card and a video tutorial! Here’s a sneak peek!
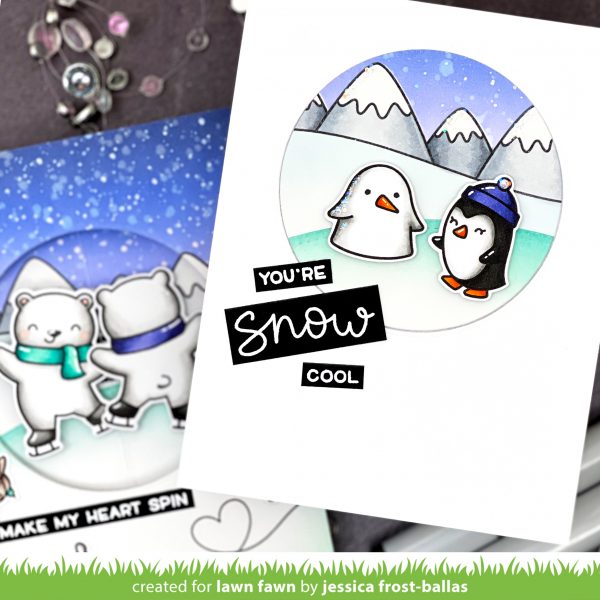
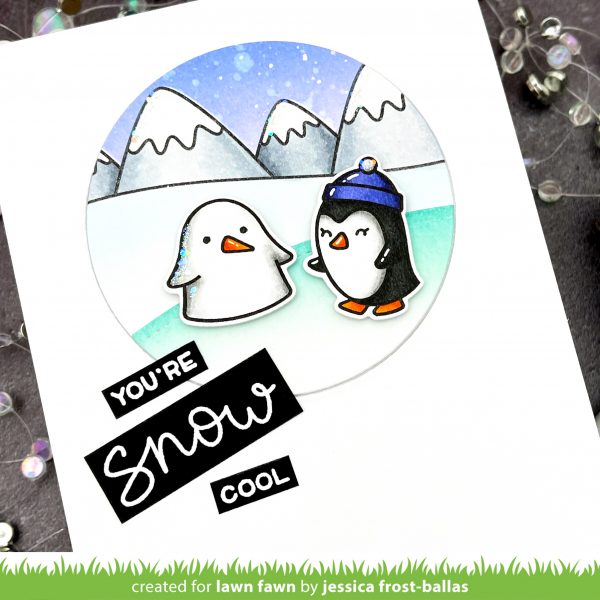
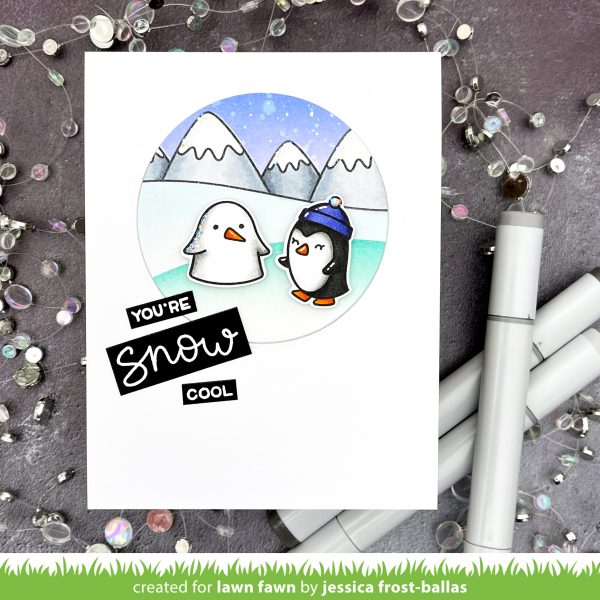
But before you go, in the video, I talked about saving the circle I die-cut from the front of the panel for a future card. Since it was already stamped, masked, ink-blended, and colored I didn’t want to just throw it away when it would work nicely for a clean and simple card! And here’s that card!
The details for the background are over on the Lawn Fawn blog and it was simple to create the second card. I started by die-cutting a circle of the same size from an A2 panel of white cardstock. I could have mounted the circle on a card base but I wanted it to have more of an inlay look so I pieced it inside the A2 panel and adhered that to a white card base. You can also see another sneak of my card over on the Lawn Fawn blog!
Next I stamped the critters from Snow Cool onto white cardstock and colored them with copic markers before die-cutting them with the coordinating dies. I stamped the sentiment onto black cardstock with versamark and heat-embossed it with white embossing powder. I added the critters with foam mounting tape and the sentiment with regular atg adhesive. I added a few white gel pen accents to the critters and then finished the card with some crystal glaze and glitter on the hat, snow penguin, and mountains!
I hope this reminds you to never throw anything away! There are always ways to use your scraps! Thanks so much for stopping by and be sure to check out the (way more involved) interactive card over on the Lawn Fawn blog! Have a wonderful day!
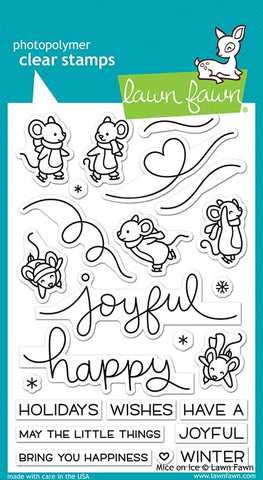
 Interested in the products I used? To make them easy for you to find, I have listed them below. (Affiliate disclosure can be found here). Your purchases help keep my blog running and I thank you for the support
|
















Super Adorable cards!!
Love the way these came put 🙂
so super cute!!