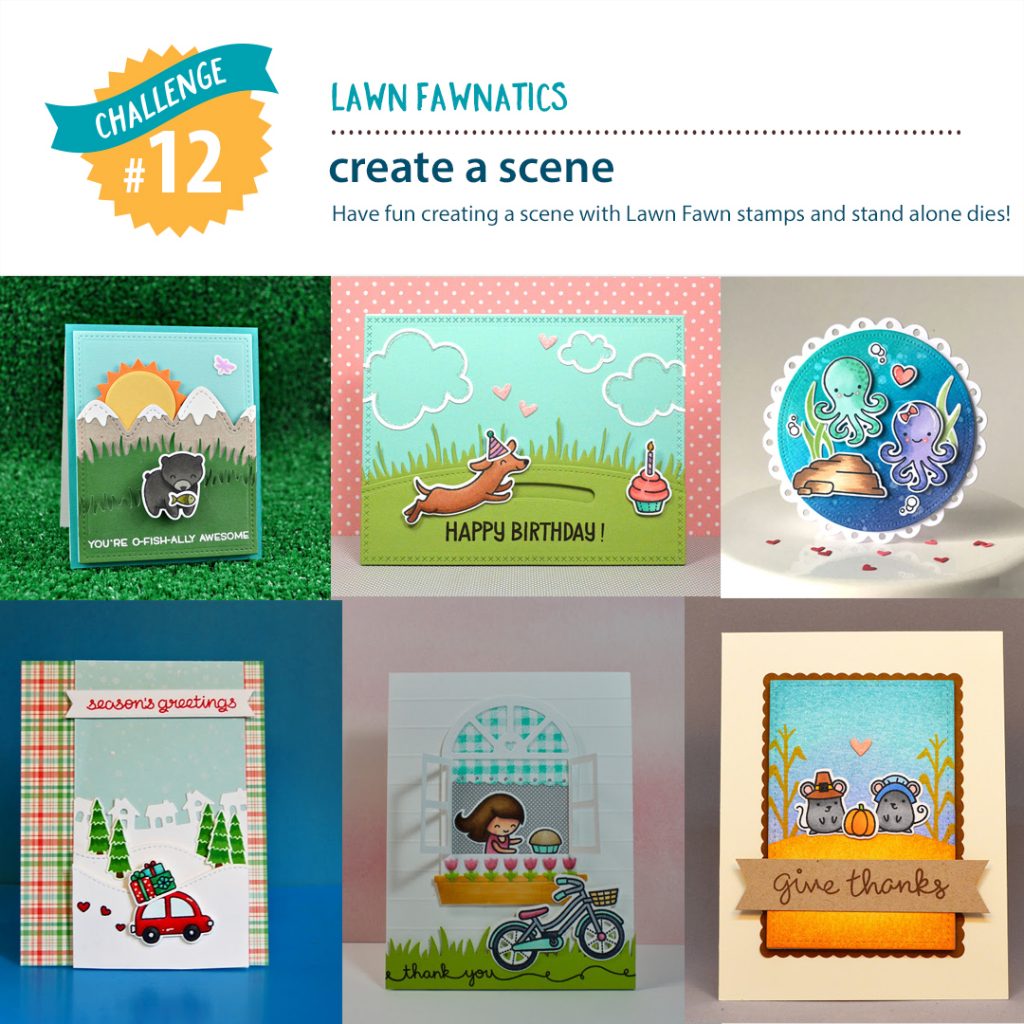
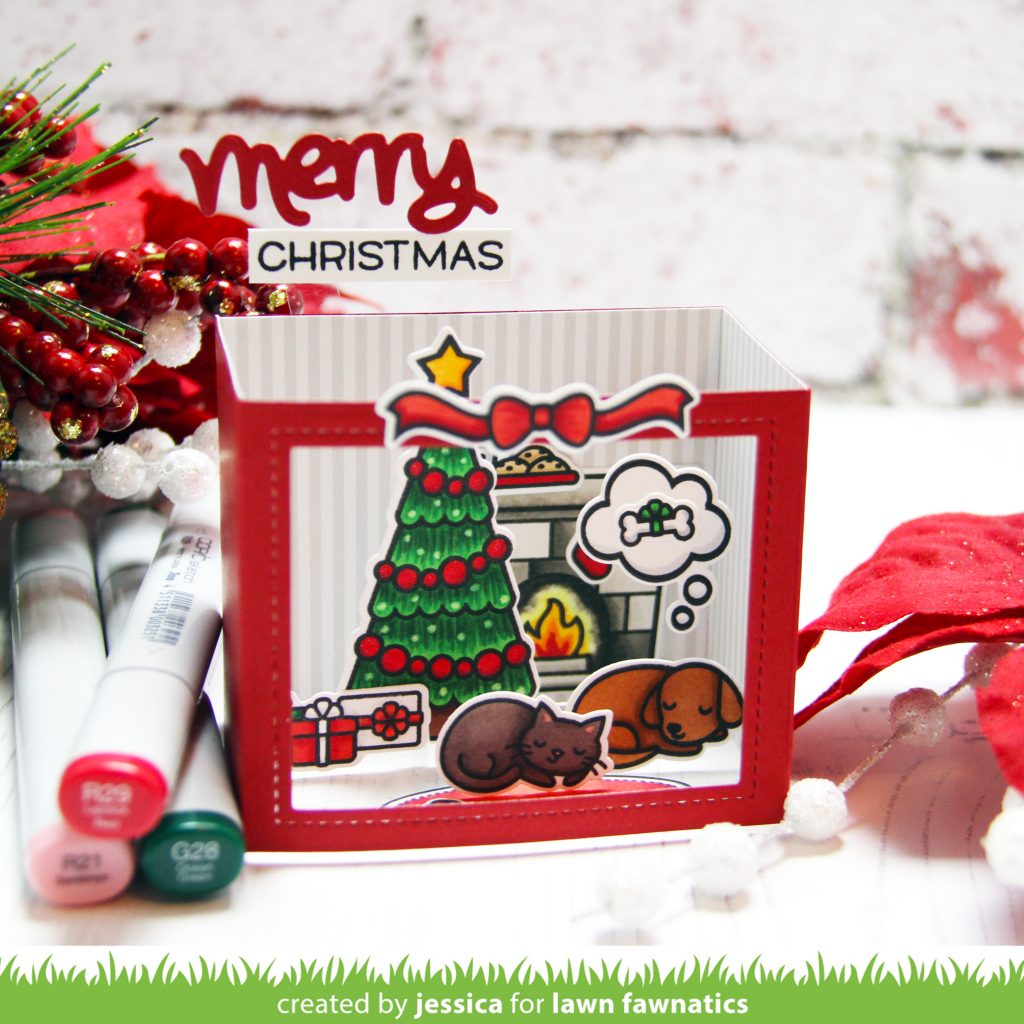
Good morning! It’s time for a new Lawn Fawnatics challenge and it might be my favorite one yet! We’re challenging you to create a scene using any Lawn Fawn stamps and dies! I decided to use some of the new stamps and dies from the Fall/Winter 2017 release to create a 3-dimensional scene!
I’ve been stamping and coloring images for The Daily Marker 30 Day Coloring Challenge and after coloring these cute stamps I really wanted to find a way to make them “come to life!”
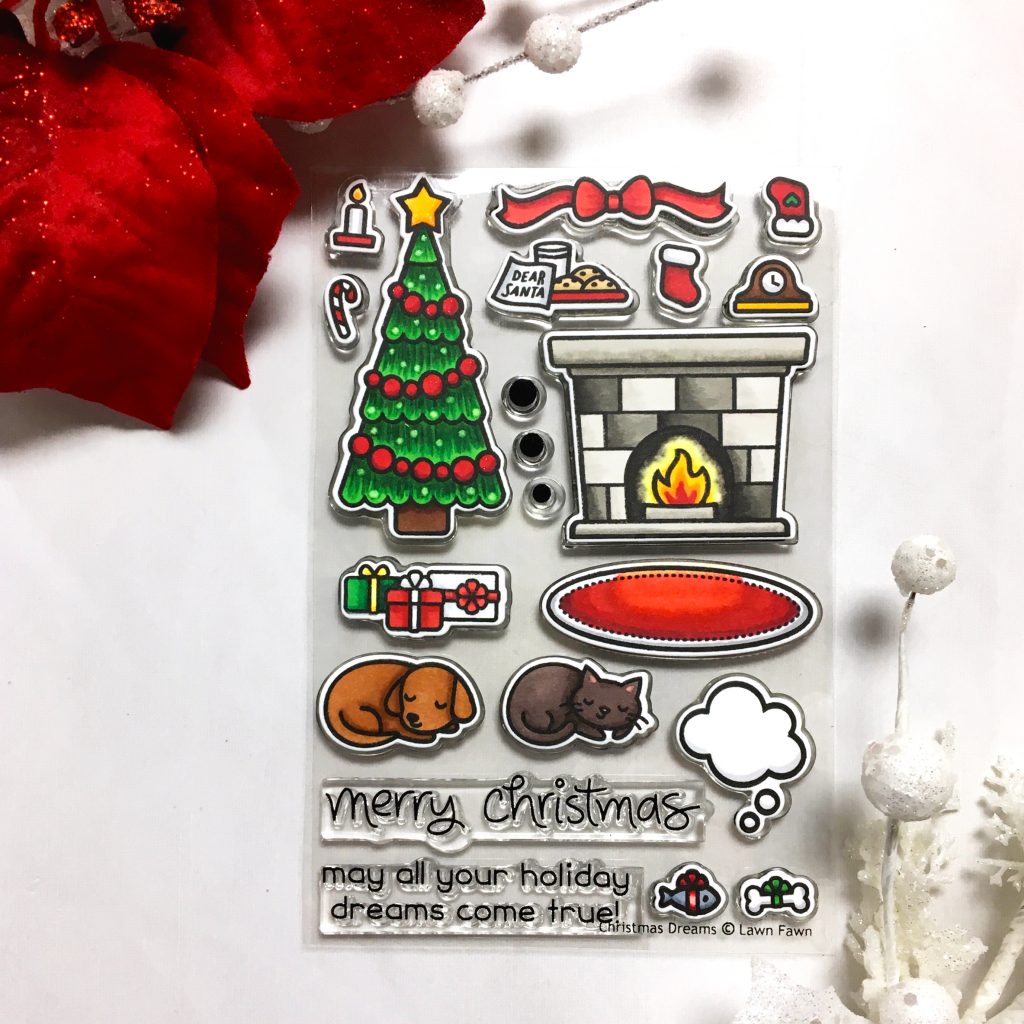
I stamped all the images from the Christmas Dreams stamp set with copic-friendly black ink and then colored them with copic markers. I die-cut them with the coordinating dies and then set them aside while I worked on my scene!
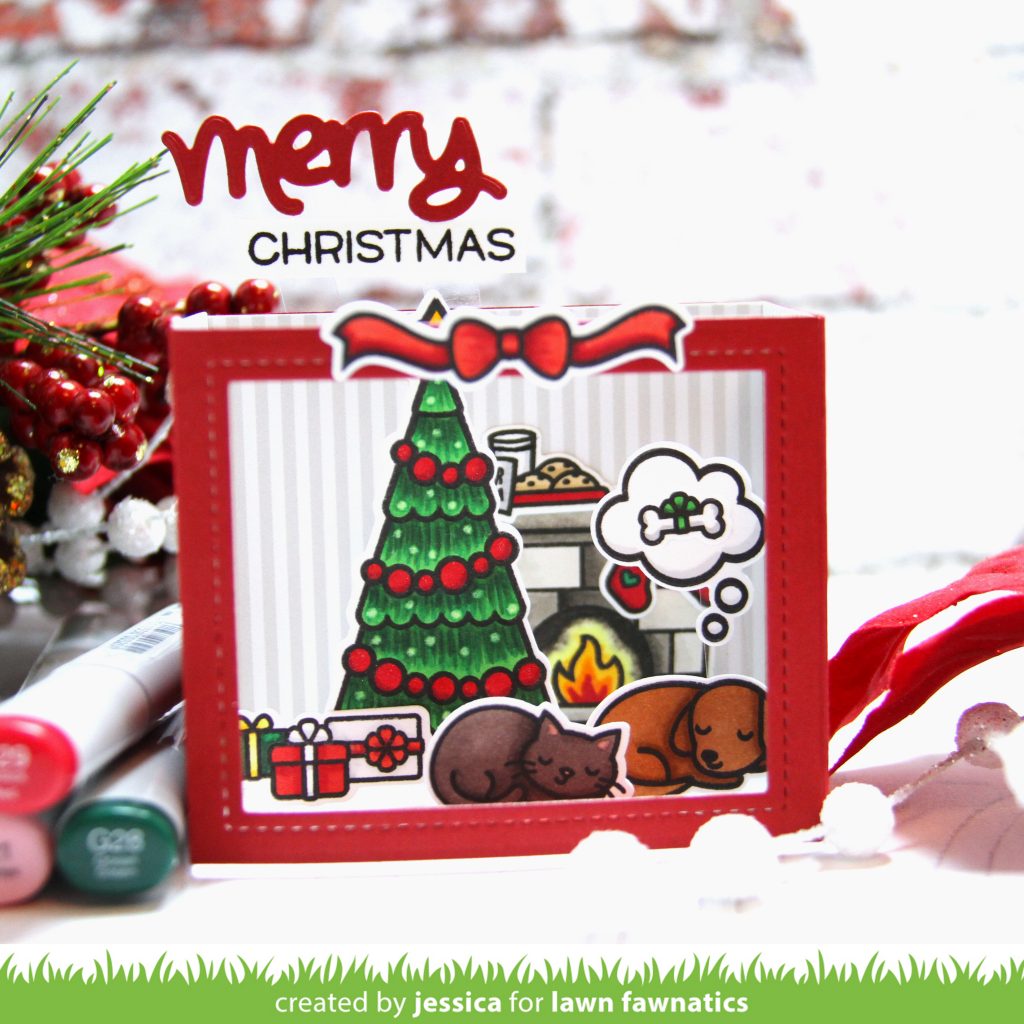
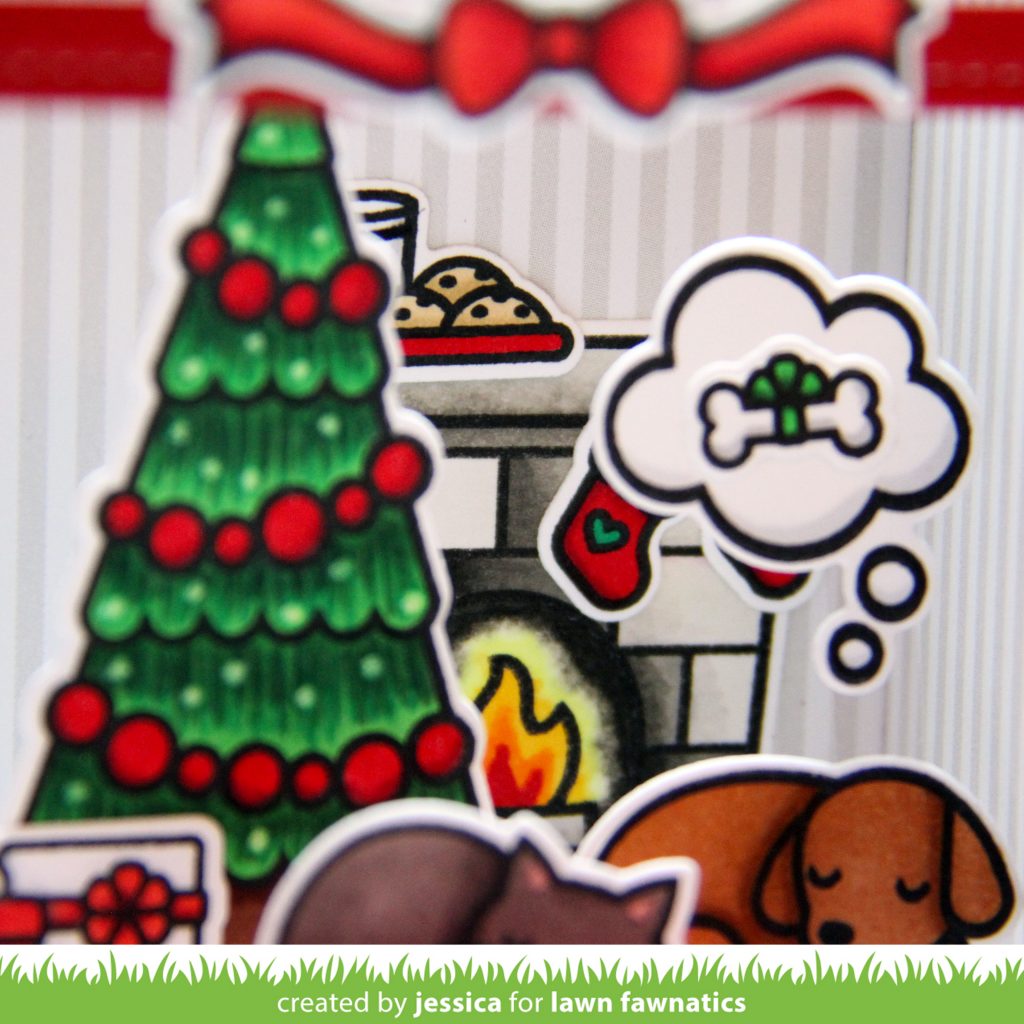
I die-cut the Shadow Box Card die with Chili Pepper cardstock and folded it along the score lines. I used scor-tape to assemble the box die and then started filling it! First I trimmed a piece of striped patterned paper to fit inside the three walls of my scene to look like wallpaper. Then I adhered the fireplace, stockings, and cookies that you can see in the background of the photo below! I was careful to leave a little adhesive-free area around the bottom edge of the fireplace so that I’d be able to tuck other elements behind it as I built my scene up!
Then I added the tree and presents. Full disclosure, my box card won’t actually fold up neatly like it’s intended but I plan to give it to a friend inside a small box where it won’t need to be folded. I cut a small strip of acetate, bent both ends, and added a tiny bit of scor-tape to each end.. I used a craft knife to carefully cut a slit in the wallpaper on the left side (but not all the way through to the chili pepper cardstock) and tucked one end of the acetate strip inside. Then I added adhesive to the back of my tree and presents and adhered them to the strip. I curved the strip slightly and then tucked the other end of the strip behind the fireplace to secure it. This means that the tree is slightly angled towards the front right corner of the box instead of parallel with the fireplace.
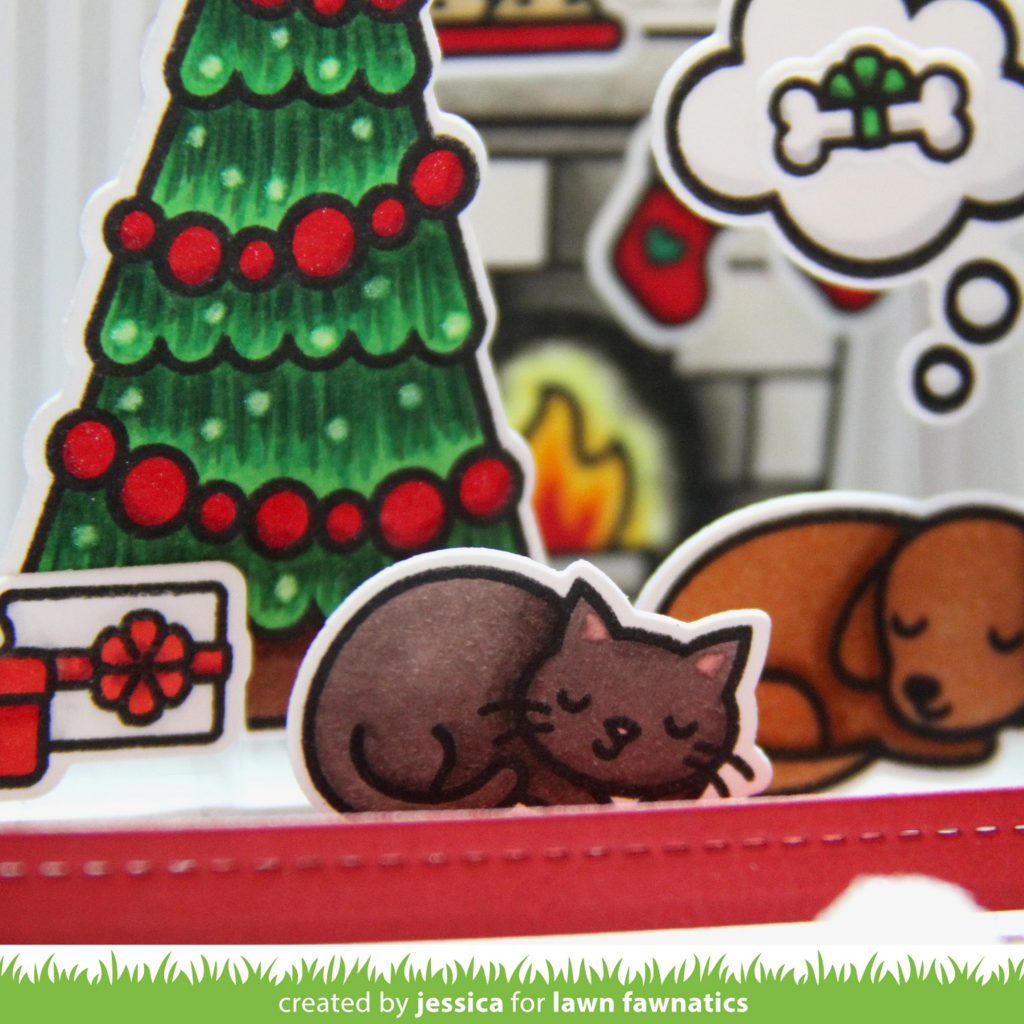
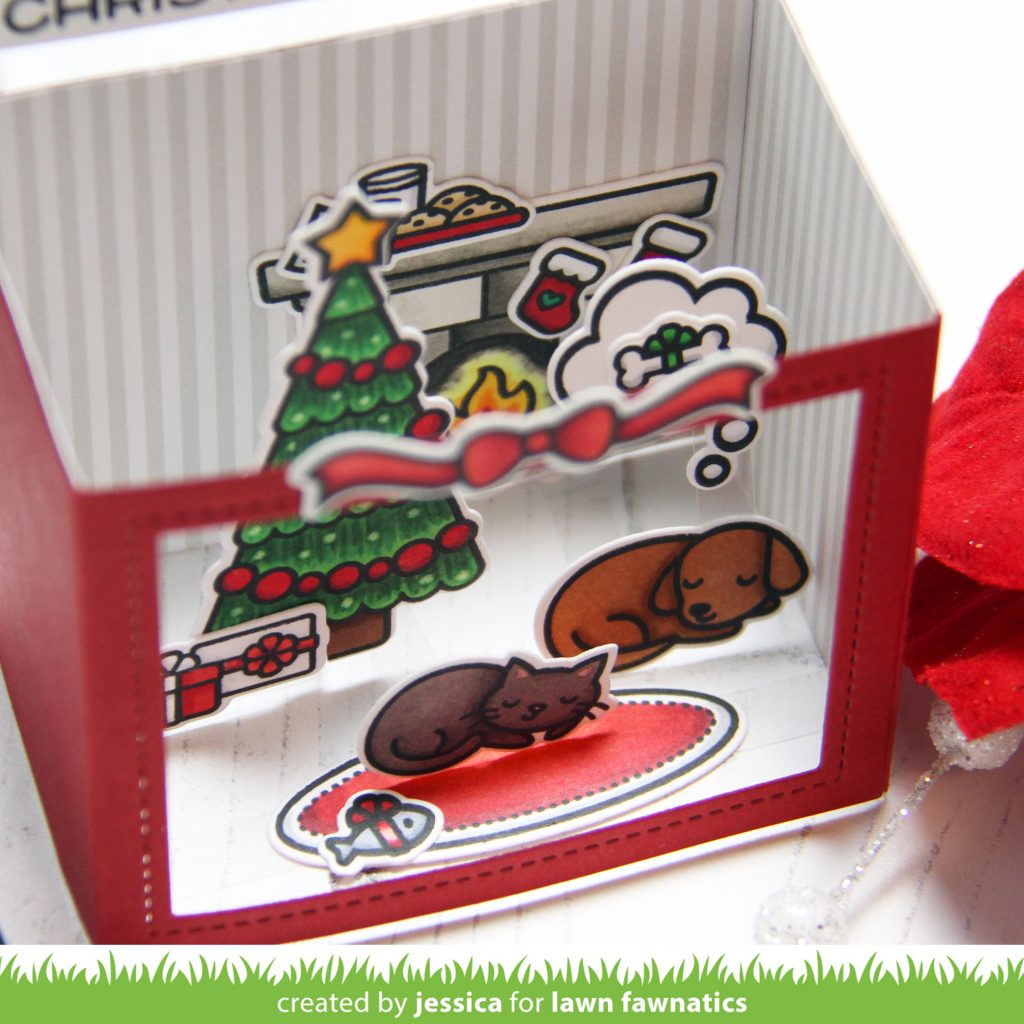
The next part of my scene was inspired by my cat and dog (though not colored to look like them because I have not yet conquered coloring a tortie cat or a mostly black dog). I like to imagine personalities for my pets and I feel like our dog, Archimedes, would be the kind of dog who would definitely plan ahead and buy Christmas gifts for his family. Rogue, on the other hand, would most definitely be a receiver and not a giver! Ha. So in my scene my dog is dreaming of his bone while my cat’s gift is waiting for her when she wakes up! 😉 Plus my cat tends to steal rugs and leave the dog on the hardwood floor so they’re also appropriately positioned in my scene! 🙂
I started by taking another strip of acetate, bending the ends, adding scor-tape to the ends, and tucking it between the “wallpaper” and chili pepper cardstock to create a bit of a ledge. Then I added adhesive to the back of my rug and adhered it to the acetate strip. Next I took two strips of acetate of different length, bent the ends and added scor-tape. I adhered one end to the backs of the cat and dog and tucked the other end behind the fireplace. Then I took another small strip of acetate and adhered it behind the thought bubble. I adhered that behind the dog to create the illusion of a floating thought bubble!
Finally it was time to add the finishing touches. I adhered the bow to the front of the shadow box and applied spectrum noir clear sparkle to all of the bows throughout the scene and to the red garland and star on the tree. I also added a little nuvo crystal glaze to the flames in the fireplace and let that dry while I worked on the sentiment. I die-cut ‘merry’ from the Happy Happy Happy Add-on and stamped ‘Christmas’ onto white cardstock that I trimmed down to a label. I added two strips of acetate behind the sentiment and then tucked the strips between the wallpaper and chili pepper cardstock at the top of the box to create a floating sentiment.
I hope my directions made sense. I am hoping to create a video tutorial creating a different scene soon and will share that with you as soon as it’s complete!
And now it’s your turn! We want to see your scenes! You can link up your entries on the Lawn Fawnatics blog and I can’t wait to see what you’ll create! Thanks so much for visiting and have an amazing Monday!

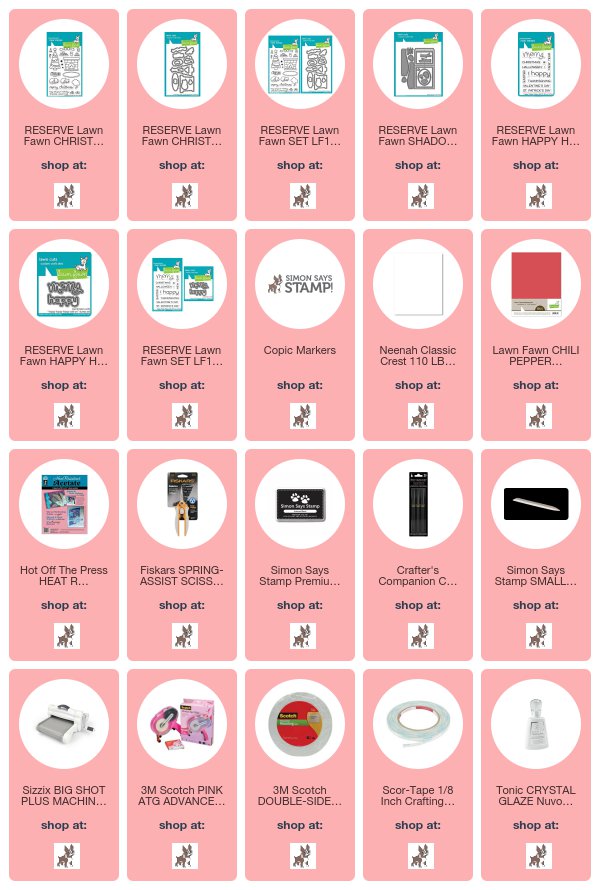
Interested in the products I used? To make them easy for you to find, I have listed them below. (Affiliate disclosure can be found here). Your purchases help keep my blog running and I thank you for the support!



This is amazing! Awesome card or box, not sure 🤔 how to categorize it! Gorgeous either way. I have a tortie cat too, never figured out either…I’ll try someday
What a fabulous card! I had to look twice to see that it was a collapsing card! Love it!
Holy Moley! All the detail in your little shadowbox is amazing. Looks like it took forever to put together but it is so worth it. Any recipient is going to be delighted with this tiny wonder.
Too stinking cute Jess!!!
So adorable! LOVE it! 🙂
Adorable! I purchased this set and can’t wait to create with it. Thanks for sharing
This is such an adorable scene! I really love the shadow box card die 🙂
Such a sweet scene!!
Amazing card. I’ve seen it a couple of times (Instagram, LF blog) before reading your post and I was so curious how you put it together. It looks sooo neat. Thanks for some great inspiration!