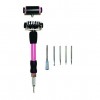
Good morning! I am super excited to be participating in the designer challenge between Ken Oliver and Maya Road! For more details and the designers from day 1 and 2 please visit Ken’s blog here! For my creations, I received a package of goodies from Maya Road and Ken Oliver that included Stick-It Adhesive and Ken’s new 9 in 1 Tool-It-All!
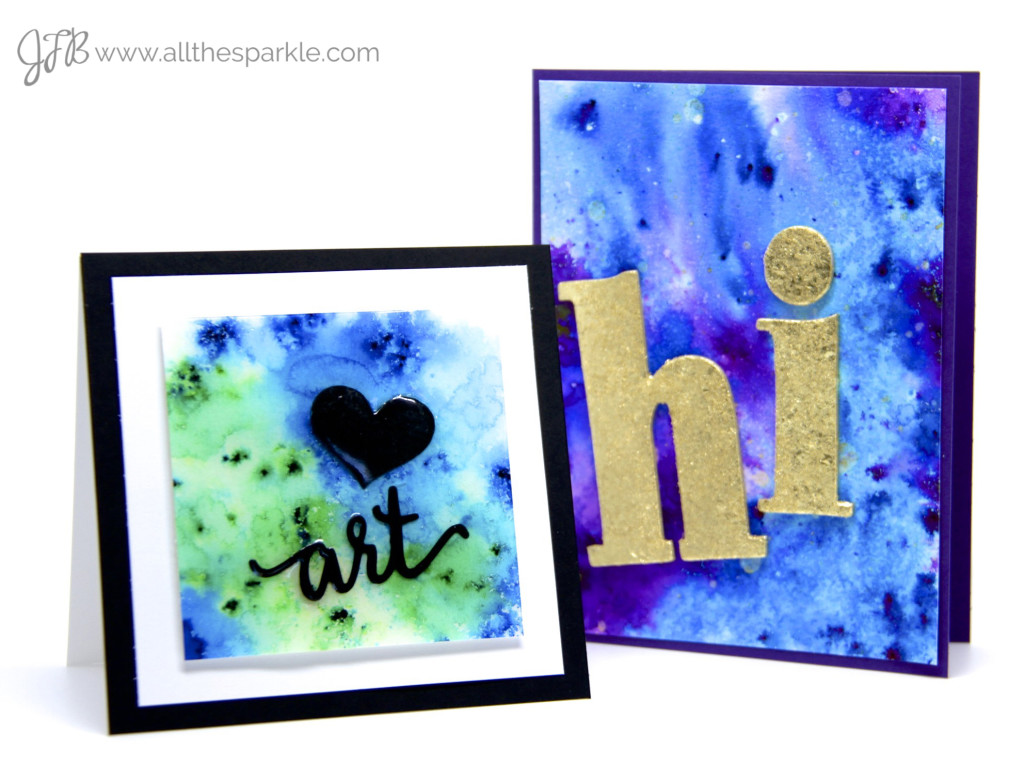
Here’s what I created!
If you’ve never tried Ken’s Color Burst Powders you should stop reading, go buy some right now, and then come back! 😉 Ha…but seriously, they’re that amazing!
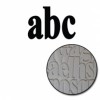
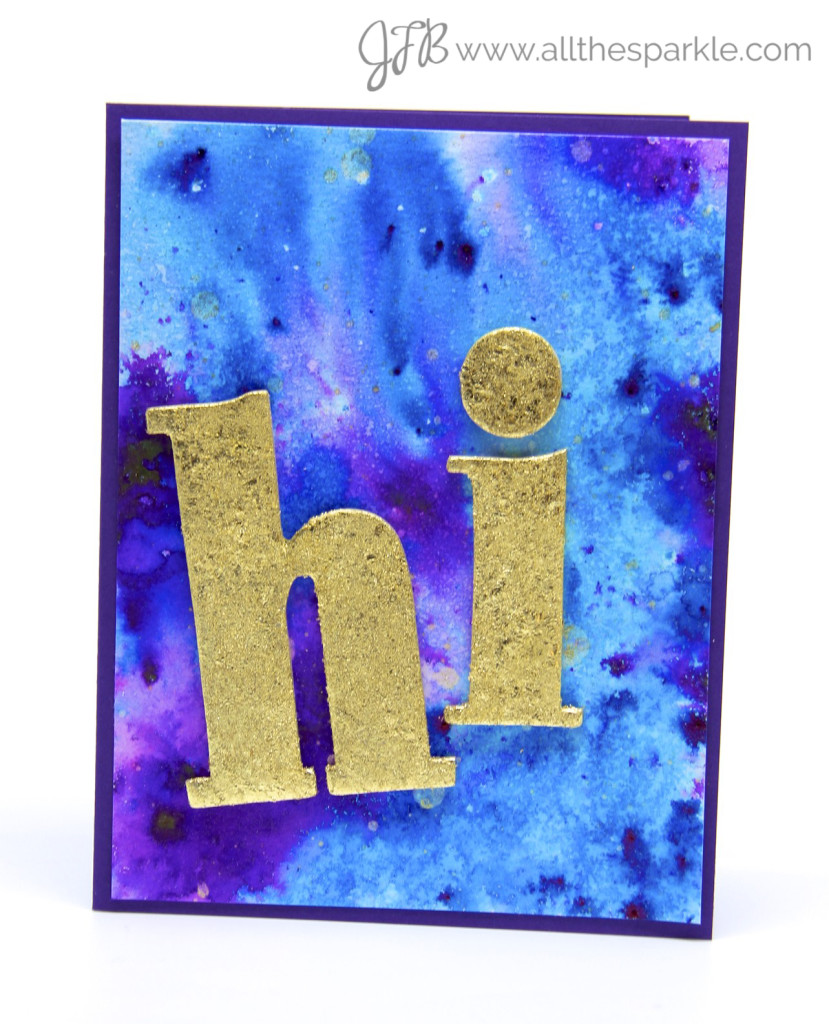 Anyway, for my first card I took a piece of Stick-It Adhesive and adhered one side to the front of two chipboard alphabet pieces from Maya Road. I carefully trimmed around the chipboard pieces and then removed the backing, exposing the other sticky side. Then I took a container of gold leaf and rubbed it over the sticky side. The gold leaf comes in pieces of various sizes so you rub the pieces over the adhesive and once all the adhesive is covered you can burnish off the excess. When using gold leaf on stamps you typically use flitterglu, but for dies or embellishments like these, Stick-It works like a charm!
To create the background I sprinkled Ultramarine Blue and Violet Color Burst Powders onto a piece of watercolor paper and spritzed it lightly with water. Once the powder started to dissolve I tilted the paper around to help the colors blend. I let it air dry and then spritzed on some gold spray. Then I added a little more Stick-It Adhesive to the back of the chipboard pieces and adhered them to the watercolor panel. Finally I mounted the watercolor panel to a side-folding purple cardbase. I love the texture of the gold leaf and how it kinda matches the look of the Color Burst powder!
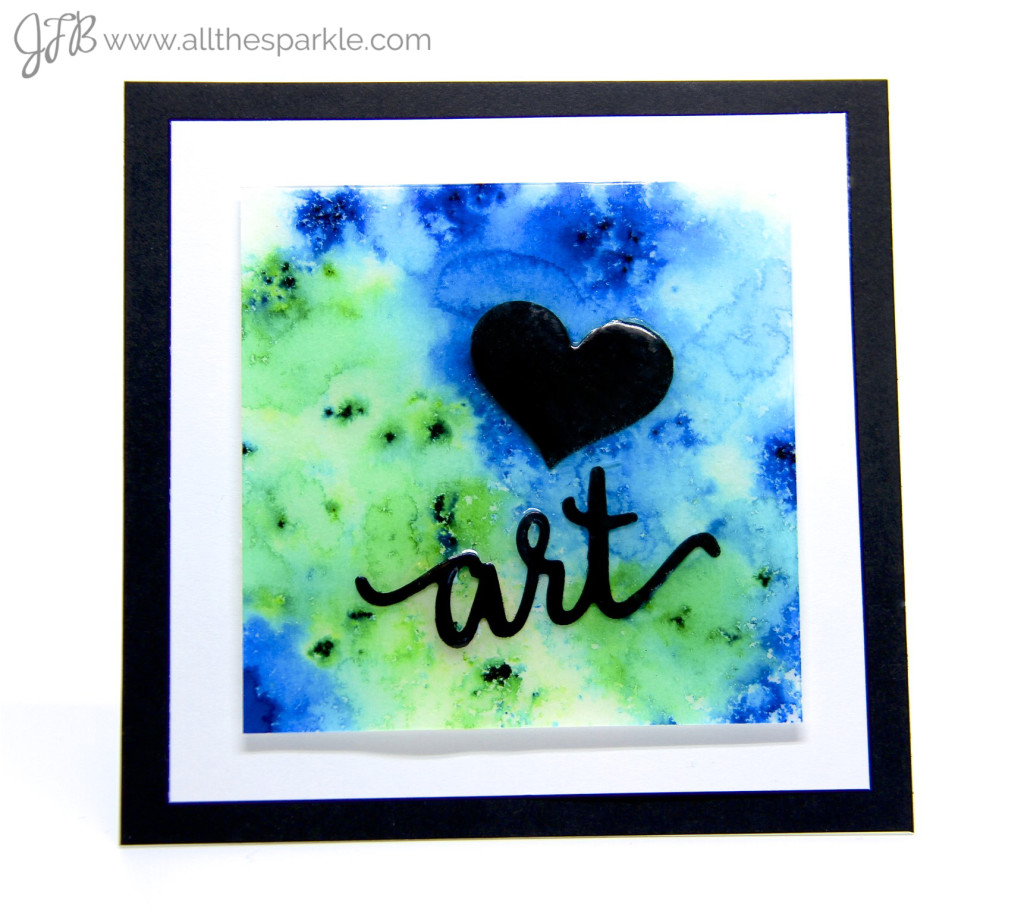 Then I went in a TOTALLY different direction for my second card! 🙂 I started off by die-cutting the heart and sentiment from Maya Road with black cardstock. I used the Tool-It-All to poke through the holes in the dies to release the cardstock easily! I set that aside and then started working on the background of my card. I wet a square of watercolor paper and then sprinkled it with Pthalo Green and Ultramarine Blue Color Burst Powders. I used a little more water on this card because I wanted the overall look to be softer and more blended. Next I applied versamark all over the square and sprinkled it with ultra high embossing powder. I heated that and then repeated the process once more. Ultra high embossing powder has really large granules and usually requires more than one application for a smooth coverage. After the second application I used a little Stick-It Adhesive to adhere the die-cuts to the embossed surface. Then I added two more layers of versamark and ultra high embossing powder. The powder sealed in the die-cuts and the finish is really smooth! I added a white cardstock frame and then mounted the panel to a top-folding black cardbase! It’s a really pretty art piece and I have two students already fighting over who gets to keep it! 😉
Thanks so much for visiting and I hope you like my creations! Don’t forget to visit Ken Oliver and Maya Road for more inspiration!
Giveaway:
And what’s a blog hop without a giveaway?! If you’d like to win a prize pack that includes Ken Oliver’s Stick-It Adhesive and the Tool-It-All plus goodies from Maya Road just leave a comment on my blog! One random winner will be chosen from the comments and the winner will be announced on Monday!
Supplies:
Interested in the products I used? To make them easy for you to find, I have listed them below. (Affiliate disclosure can be found here). Your purchases help keep my blog running and I thank you for the support!)






Both cards are beautiful. I live the vibrancy of Color Burst.
Wow, these are gorgeous! Love the Color Burst backgrounds! Great use of the adhesive sheets too!
These look super fun 🙂 Thank you for a chance 😉
Stunning backgrounds. Love the bold color
great project presentations