Good afternoon! Today is release day for the November My Monthly Hero kit from Hero Arts and I’m sharing three projects using the kit and add-ons! This fun holiday kit is now available for purchase at Hero Arts; but remember, once they’re sold out, they’re gone for good so make sure to head over and shop soon! And don’t forget that you can subscribe to the kits so that you never have to worry about missing one! Also, Hero Arts is running a fabulous promo right now where you can take $10 off any order of $25 or more…which means you can get this fantastic kit….for $24.99!!!
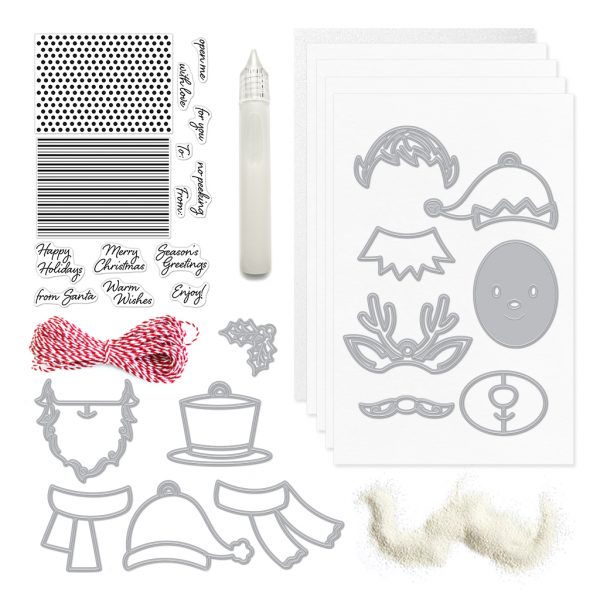
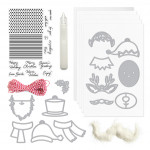
The November kit contains:
- 4″ x 6″ Clear Stamp Set
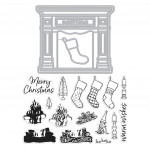
- 13 Coordinating Fancy Dies
- 10 Sheets of Snow Cardstock (5.5″ x 8.5″)
- 1 Sheet of White Glitter Paper (5.5″ x 8.5″)
- White Puff Embossing Powder (0.5 oz.)
- Lacquer Pen (0.5 oz.)
- Holiday Twine (1 yard)
This kit is valued at $70 and is an absolute steal at $34.99 (only $24.99 with the current website promo!)!
And there are several fun add-on sets available:
|
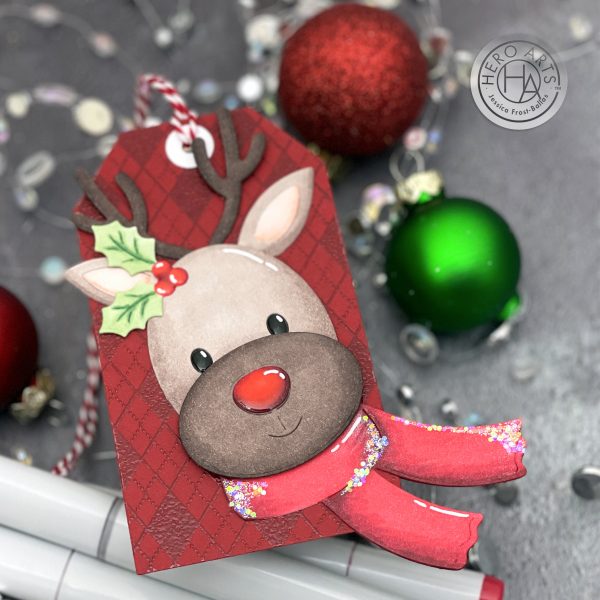
My first project is a tag using the main kit!
To start I die-cut all the pieces of the reindeer with white cardstock and colored them with copic markers to create my deer! I used E70s for the fur and antlers; G20s for the holly; and R30s for the scarf, nose, and berries. I adhered my reindeer together with a mix of regular adhesive and foam mounting tape. I added crystal lacquer to his nose, eyes, and berries and once it dried completely I added accents with a white paint pen. I also added a little crystal clear lacquer to his scarf and sprinkled it with Snowfall glitter and a loose prisma glitter!
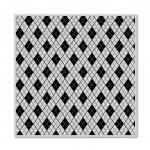
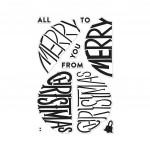
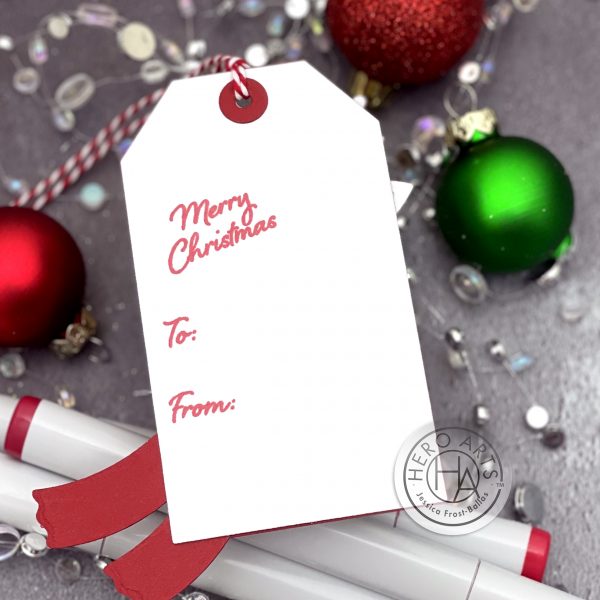
Next I stamped the Argyle Pattern Bold Prints onto a panel of Cherry cardstock with embossing ink and heat-embossed it with clear embossing powder. I die-cut the cardstock with the Tag infinity dies and added a circle backer from white cardstock. I also die-cut a tag from white cardstock and adhered it behind the red tag. I stamped sentiments from the kit set onto the white tag with Red Royal ink! Finally I added a circle backer with Cherry cardstock and looped some of the included twine through the hole!
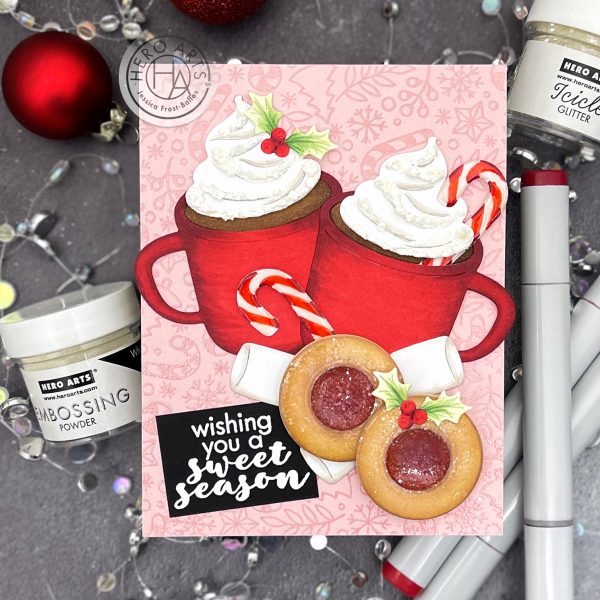
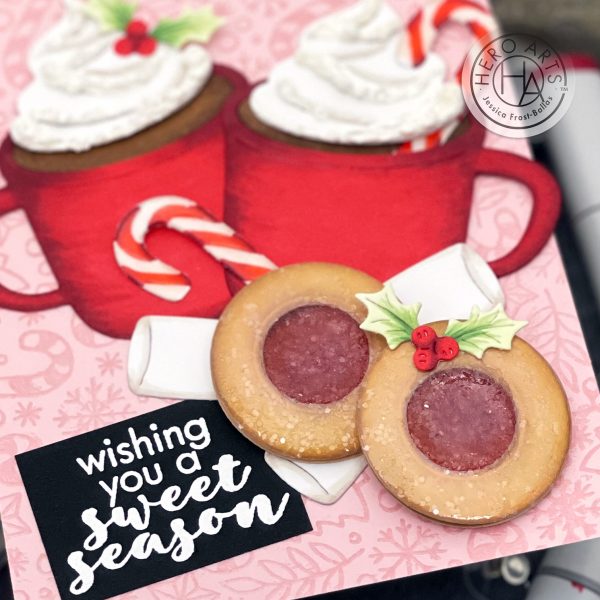
My second project was a labor of love (and a lot of drying time!!) but I’m SO happy with how it turned out! I saw this gorgeous card from the super-talented Keiko a few days ago and was dying to try her technique for creating cookies! To start I die-cut cardstock using the circle infinity dies and colored them with copic markers. Then I adhered the red (jam) layer to the bottom circle (cookie) and then added the top circle (cookie) with foam mounting tape. Then I spread a THICK layer of crystal lacquer over the jam layer and sprinkled it with clear prisma glitter and icicle glitter. I let it dry for a few hours and then added crystal lacquer to the top cookie and sprinkled it with more glitter. Once both layers were totally dry I added even more crystal lacquer to the jam layer and sprinkled it again with glitter. It eventually dried hard but really looks like a dimensional glazed jam cookie sprinkled with sugar!!
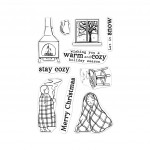
I die-cut the pieces from the Hug in a Mug Stamp & Cut XL set and colored them with copic markers. To create my dimensional whipped cream I added a little crystal lacquer on the cardstock and sprinkled it with white puff embossing powder (both are included in the kit!) and heated it until the powder puffed. Then I added a little more crystal lacquer and sprinkled it with icicle glitter to resemble sanding sugar. I also coated the candy canes with crystal lacquer to give them a little shine!
While everything was drying I stamped the Candy Canes bold print stamp onto a panel of Peony cardstock with embossing ink and heat-embossed it with clear embossing powder. I also stamped a sentiment from Hug in a Mug onto Pitch Black cardstock and heat-embossed it with white embossing powder. Once everything was totally dry I adhered everything to the panel with a mix of regular adhesive and foam mounting tape. This is definitely a dimensional card that wouldn’t do too well going through the mail but will be perfect adorning a gift plate of holiday cookies or sweets!
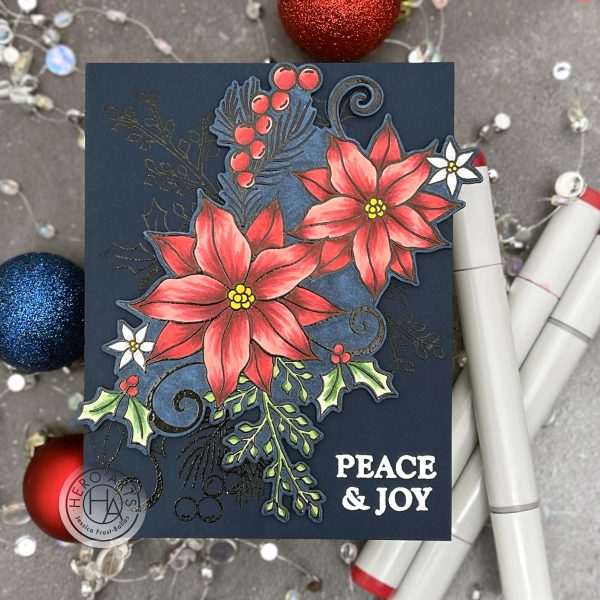
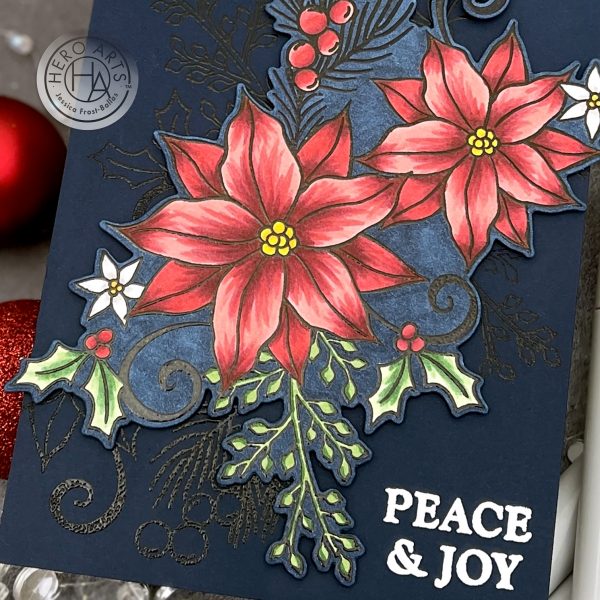
Finally I went in a slightly more elegant direction for my last card! I stamped Merry Poinsettia Bunch onto white cardstock with versafine and heat-embossed it with clear embossing powder before coloring it with copic markers. I used the same R30s and G20s for the flowers and greenery. I used Y30s for the flower centers and E70s for the white flowers. Once I was finished coloring I die-cut the image with the coordinating frame cuts and colored around the image with my B39 copic marker.
Then I took a panel of Nautical cardstock and stamped parts of the Merry Poinsettia Bunch set with embossing ink and heat-embossed it with black embossing powder. I also added a sentiment from the set heat-embossed with white embossing powder. Then I adhered the copic colored piece with foam mounting tape. Finally I added a little crystal lacquer to the flower centers to finish the card!
And that’s it for me! As you can see, I just adore the cute dies from the kit and the add-ons this month are SO GOOD! Head over and pick up your November My Monthly Hero kit and add-ons today before the kit sells out! And, as always, thank you so much for shopping via my links! I greatly appreciate your continued support!
 To celebrate the kit release Hero Arts is giving away a $50 gift card as a prize to one blog reader selected from the comments across all of the blogs in the hop so make sure you leave a comment at each hop stop for the most chances to win! Please comment before 11:59PM EST on Sunday, November 7th! You should have arrived from Ilina and Libby is your next stop!
Don’t forget to subscribe to my YouTube channel for more Hero Arts inspiration! Thanks so much for visiting and enjoy the hop!!
 Interested in the products I used? To make them easy for you to find, I have listed them below. (Affiliate disclosure can be found here). Your purchases help keep my blog running and I thank you for the support!
|
















Awesome cards, Jess, & I truly love those cookies!
Yummy drink & cookies creation.
Melissa
“Sunshine HoneyBee”
Oh my goodness, that cookie and mug card is amazing. I would frame it if I had made it.
Love the glitter on your Rudolph and the cookies look deliciously real!
Jessica, I love how you have show cased this kit and add-ons! My wish list is getting out of control. Thanks for your inspiration.
Oh my gosh Jessica, your adorable tag and 2 cards are amazing! And the cookies…wow! Just like a previous comment, your cookie card should be in a frame to enjoy the entire season! 💕
So colorful and creative!
Darling tag and I LOVE the cards!!!The poinsettias are stunning!
Great cards and I love the tag idea. Thank you so much for all the inspirations.
Your creativity is off the charts!! Such fun and beautiful projects!!
Everything you have shown above is beautiful, Jessica – very inspiring!
Absolutely stunning! You never disappoint!
Oh your cards and tag are gorgeous. Those look like my favourite cookie!
Well Jess, it’s been said before, those cookies are to die for! And the whipped cream! All of your projects are absolutely amazing, but those cookies are unbelievable!!
The poinsettia card is just beautiful!
super projects – always love your work
making me hungry!!! great card
So beautiful!
Love the way you made the cookies! Very realistic!
I love this set.
amazing cards!
This is such a cute kit and I love your projects using it!
Awesome projects. Thanks for the inspiration.
Cute projects really love the extra glitter on the reindeers scarf