Warning…photo-heavy post ahead…you have been forewarned! 😉
Ever since I was in middle school I have loved planners…back then they were usually Lisa Frank, hot pink, covered with rainbow-spotted dalmatians, and used mostly for doodling rather than planning but they were always a staple in my back-to-school shopping cart! As I’ve gotten older I’ve become a little better at actually using a planner for it’s intended use but I’ve always hit a huge brick wall somewhere along the line. I have NEVER been able to find a planner that actually works for me. I’ve tried everything…I have an Erin Condren planner, a Midori Traveler’s notebook with DIYFish inserts, a Papertrey Ink planner, editable inserts from Kristina Werner, and a boring old Day Planner from Staples…there are definitely aspects I like of each one; but ultimately I find that I have to modify them so much that I no longer enjoy using them.
So for the last few months I’ve been wanting to make my own inserts but I didn’t really know where to start. I tried using Word and Excel but found both to result in a planner that was so aesthetically unpleasing that I was totally not interested in using it. Then one night, a few weeks ago, I found this tutorial online…of course it was like 3 am in the morning when I watched it; but I immediately got out of bed, downloaded the free trial of Adobe InDesign, and started playing around! It took several days of teeth gnashing but I finally designed the perfect planner for me! I spent another day laboriously printing it page by page (I couldn’t quite figure out the whole duplex printing thing…a project for another day) and then a final day creating custom dividers and a dashboard before assembling the entire planner. But it’s finally done and I LOVE IT!!
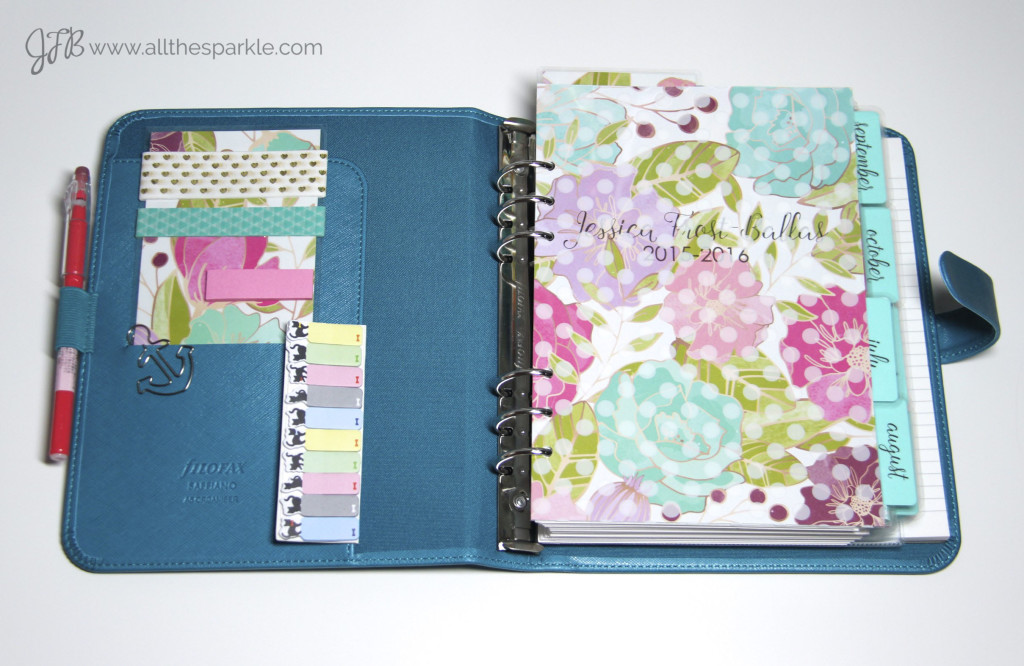 So I’ll start off by saying that my planner is huge…and probably way more detailed than most people would want but it’s exactly what I’ve always dreamed of having and I thought it’d be fun to share my creation!
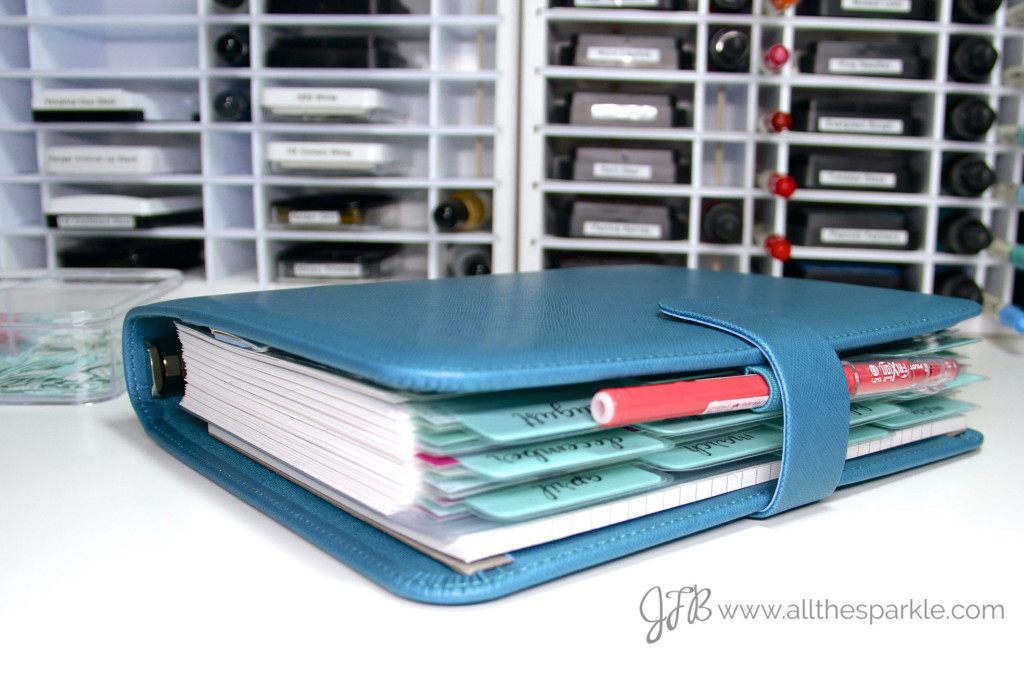 I knew I wanted to use my Filofax Saffiano Aquamarine A5 Planner
 to hold my custom inserts so I went ahead and purchased a hole punch
that could accurately punch the six holes for a Filofax.
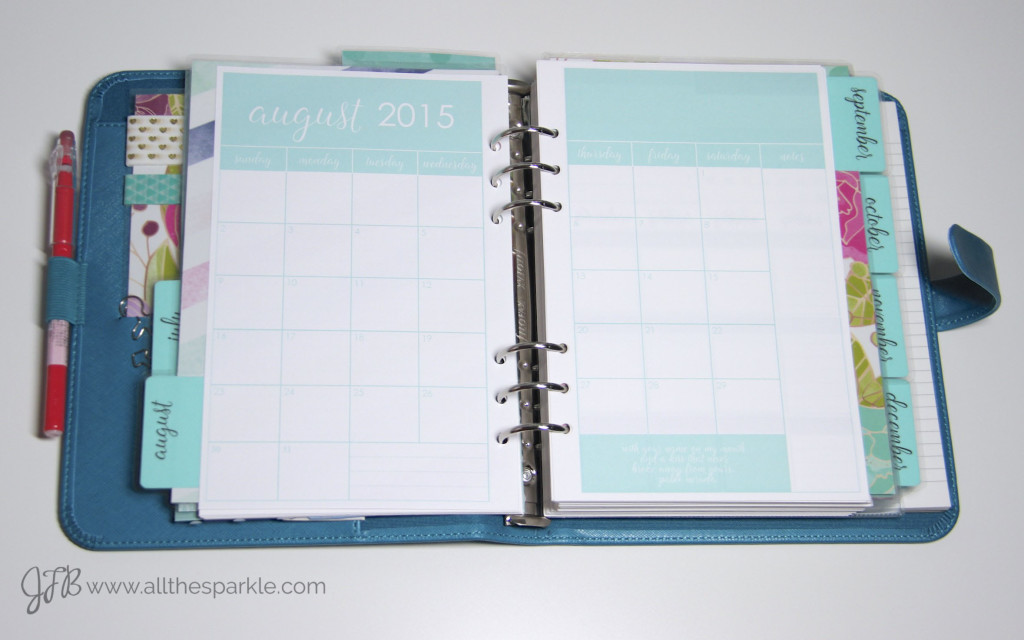
I purchased a font package and used the Angelline font along with Century Gothic for the majority of the planner. I love the loose, relaxed look of the script. To start off with, there’s a 2-page monthly layout. There’s a space for notes and I added poetry quotes from my favorite poet, Pablo Neruda:
 Next there is a 2-page weekly spread:
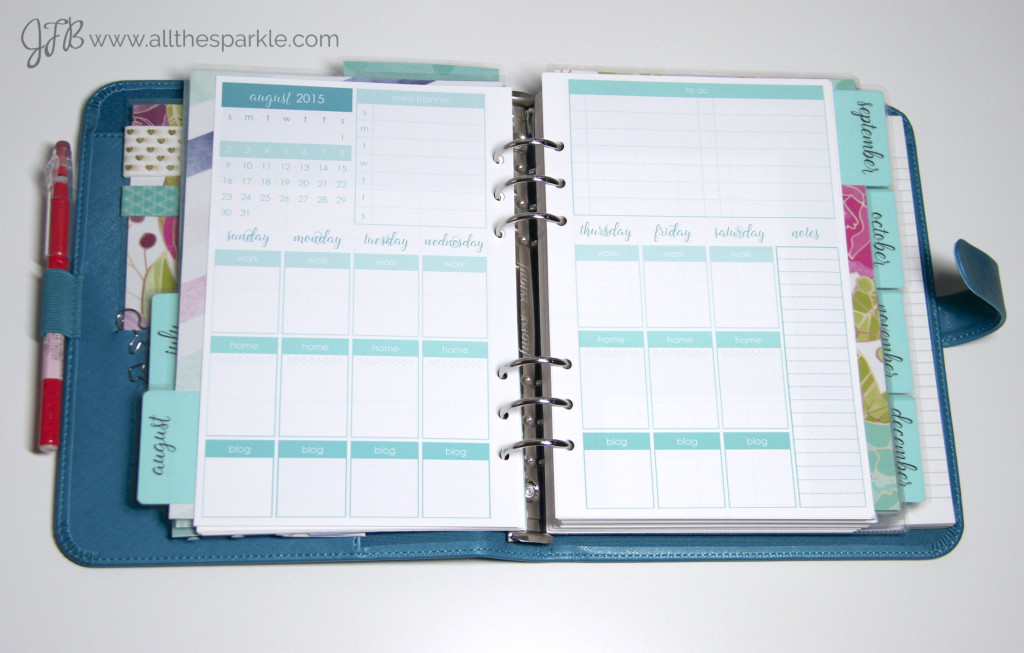 Each day is divided into work, home, and blog so that I can easily see what tasks I have lined up for each day. In the home category I added water drops so I could track my daily water intake. I also included a monthly calendar in the corner for easy reference and a space for dinner planning, notes, and a to-do list with a column for checking off completed tasks:
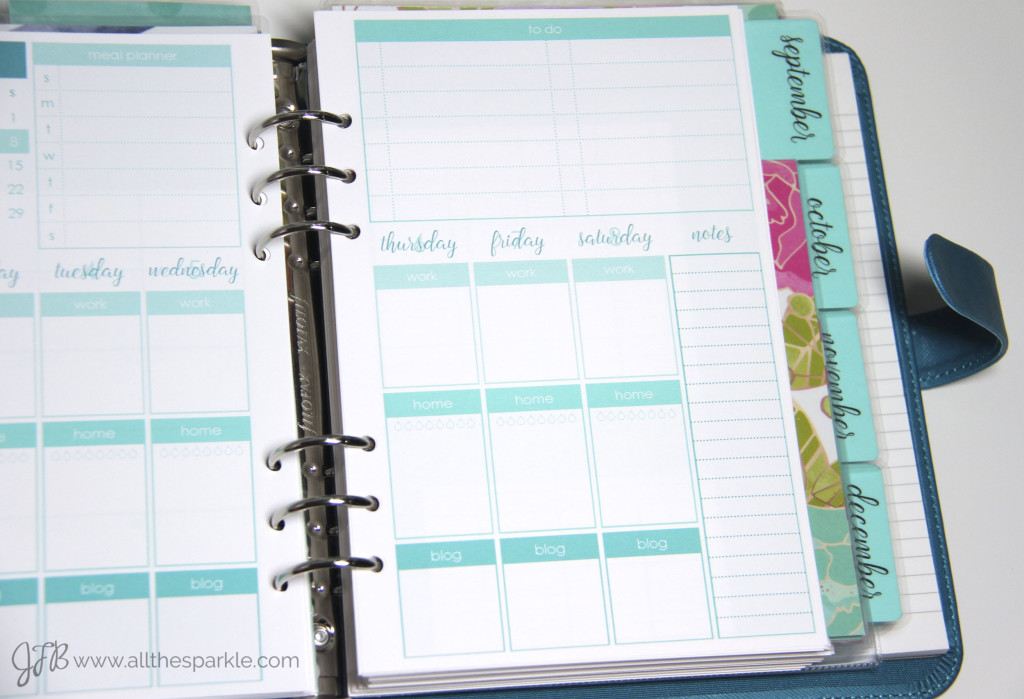 Now here’s where I went a little crazy…there are lots of planners that have space for menu planning, or financial tracking, or fitness tracking, or shopping lists…but I have never found one that has ALL of that and has a weekly spread on 2 pages. But mine does! 😉 Ha, and that’s why it’s so thick.
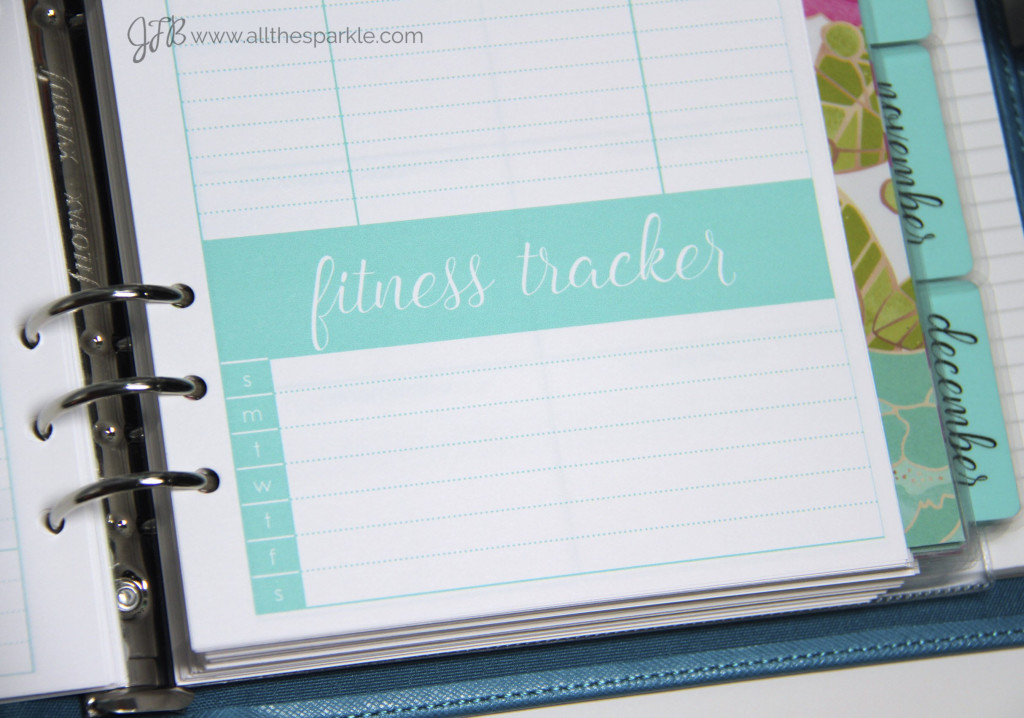
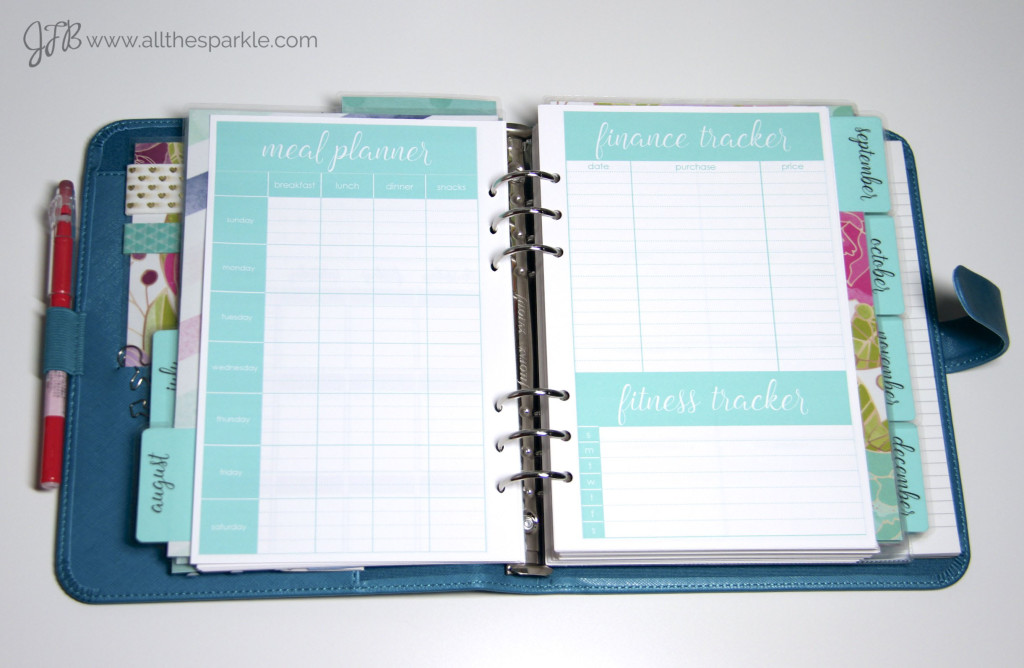
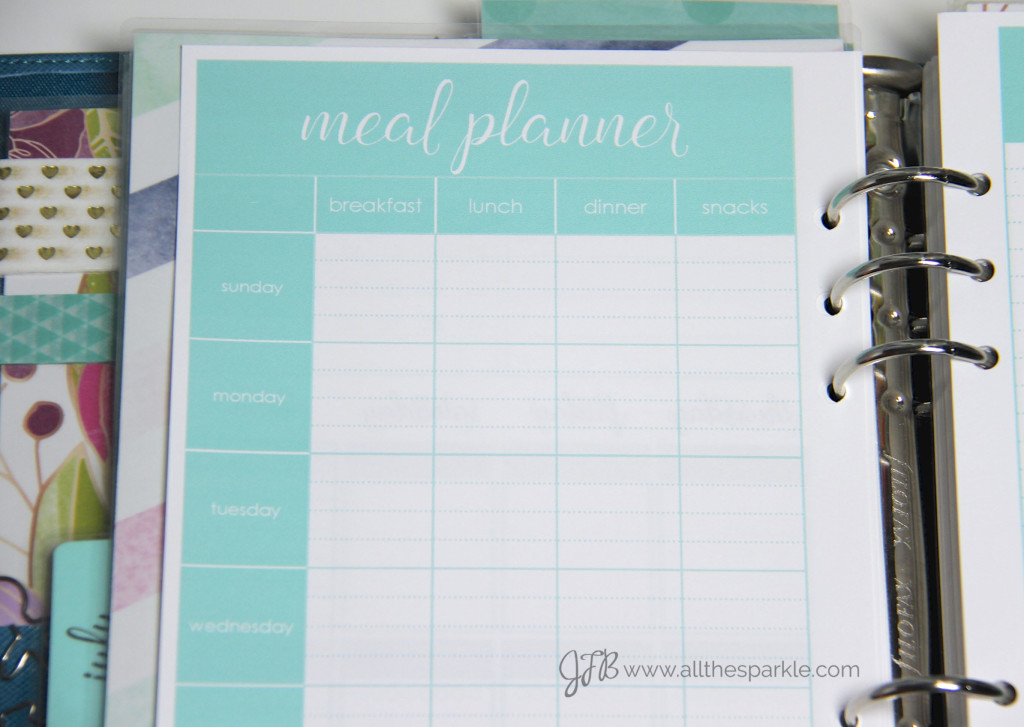
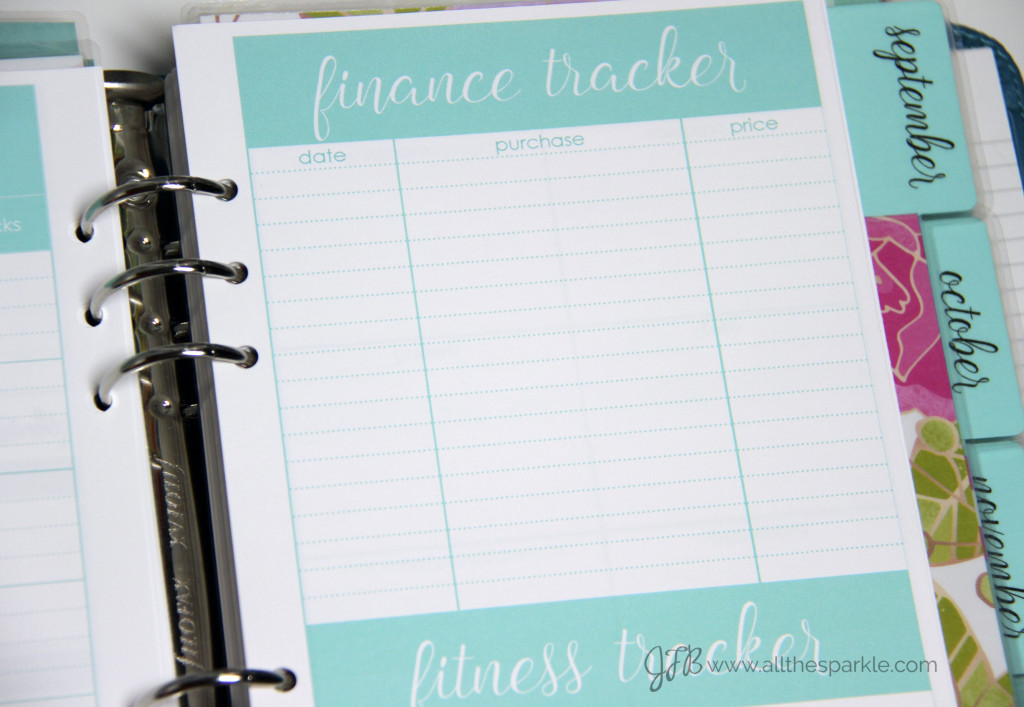
So after the weekly spread there’s a full weekly menu planner with three meals a day plus snacks, a finance tracker, and a fitness tracker:
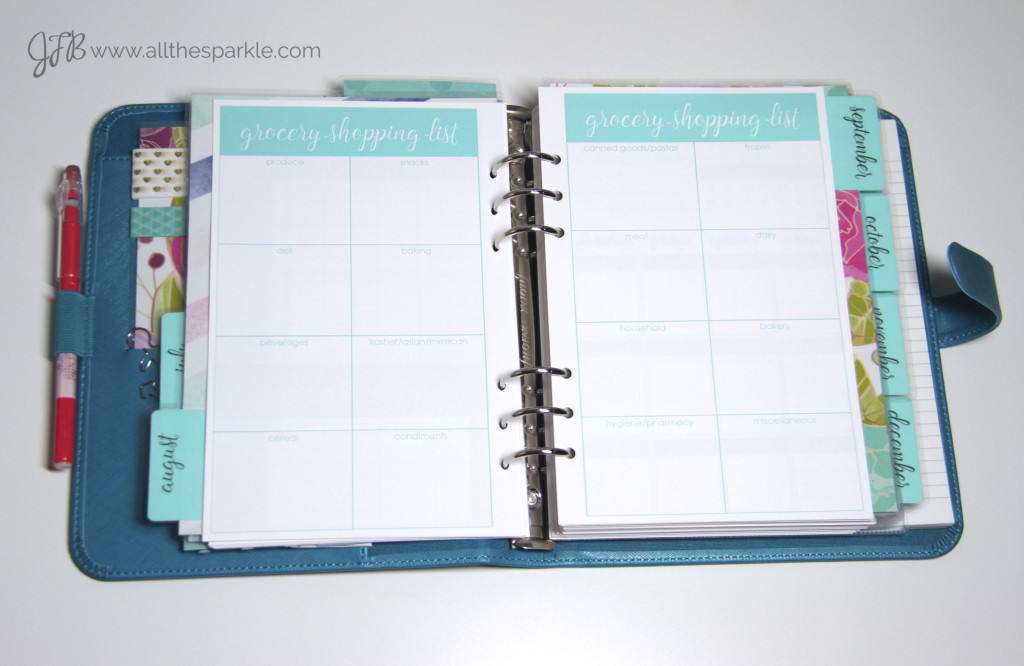
 Then on the next page I have space for my weekly grocery shopping list. I usually do my shopping on Sundays between church and lessons so I usually have less than an hour to finish shopping, get home, unload the car, and put everything away before my lessons begin. I really wanted to keep my grocery list in my planner and organize it by the layout of the store to make shopping more efficient.
 After the grocery list comes the following week’s spread. Each week has a total of 6 pages with a 2-page spread of lined paper between months. At the back of the planner I also made matching grid paper and contacts pages. Everything is done in shades of teal and I used a swatch from Sherwin-Williams to select the various shades.
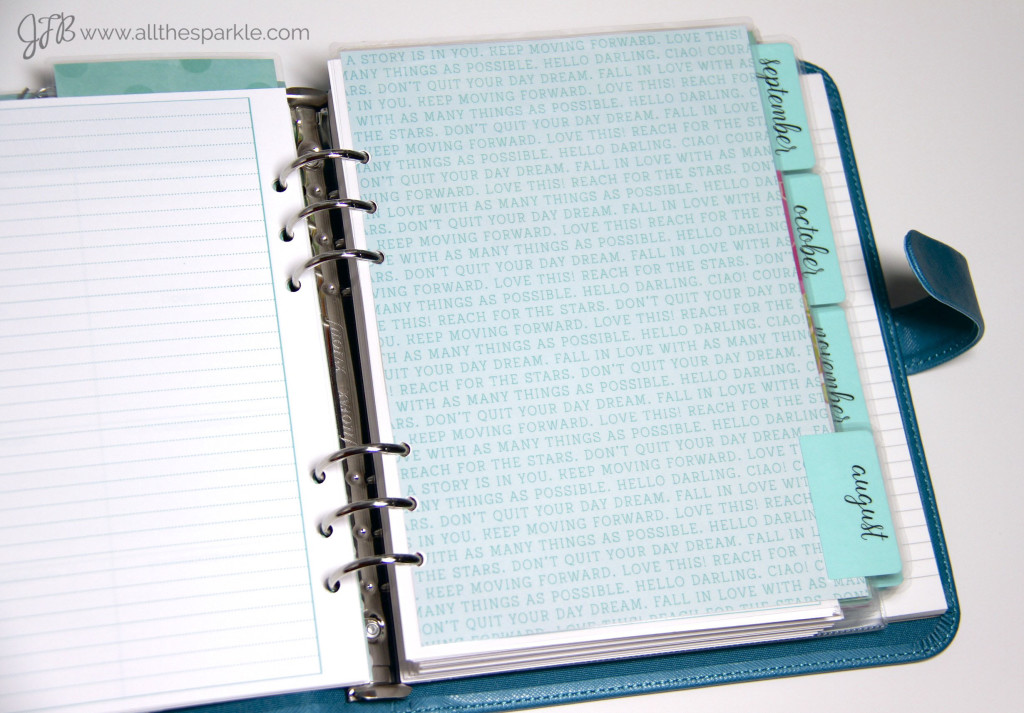
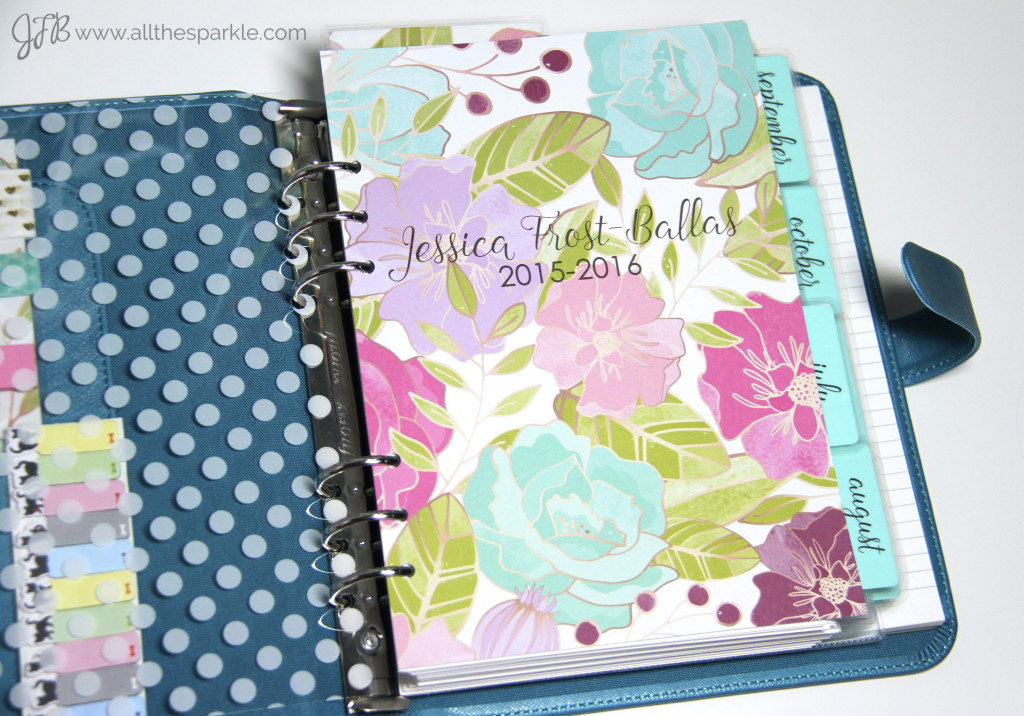
Once the inserts were printed I took an extra copy of one page to Michaels to select coordinating patterned paper for the monthly dividers. I ended up with this gorgeous pack of papers from the Dear Lizzy collection by American Crafts. I trimmed the papers down to 8.75″ by 5.75″ and then added a divider label. I printed the months onto a piece of teal cardstock from Bazzill, cut them down to small rectangles and used my 1/8″ corner chomper
to round the corners. I used my ATG gun to adhere the dividers to the patterned paper and then laminated
them for durability.
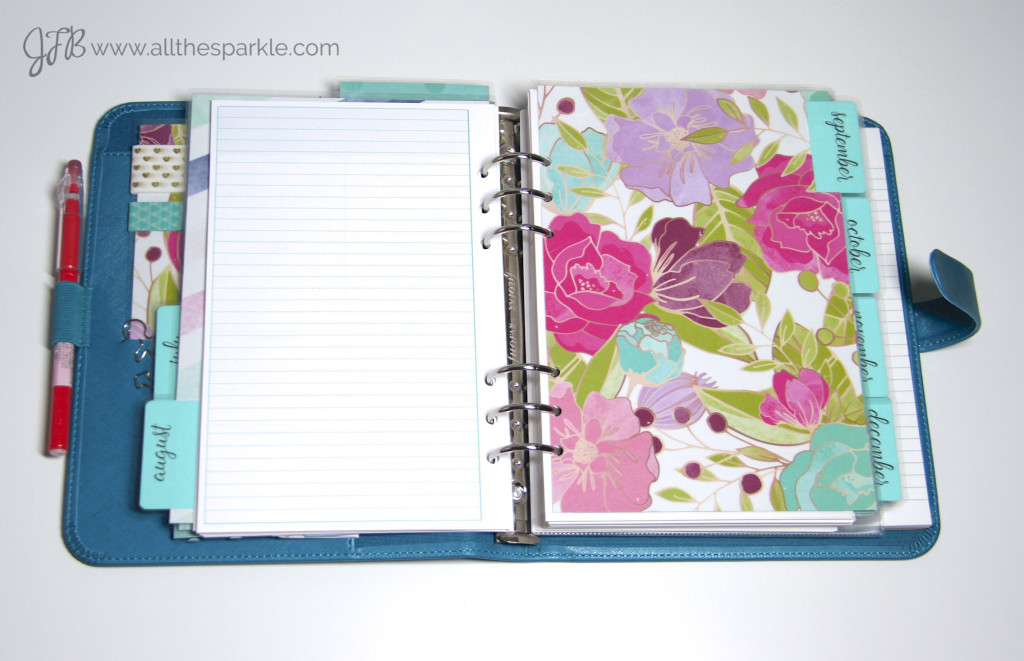 While I was at it, I also cut a strip from the patterned paper and laminated it to create a bookmark to mark today’s date. You can see the top of it peeking out of the left side of the pages on the above photo.
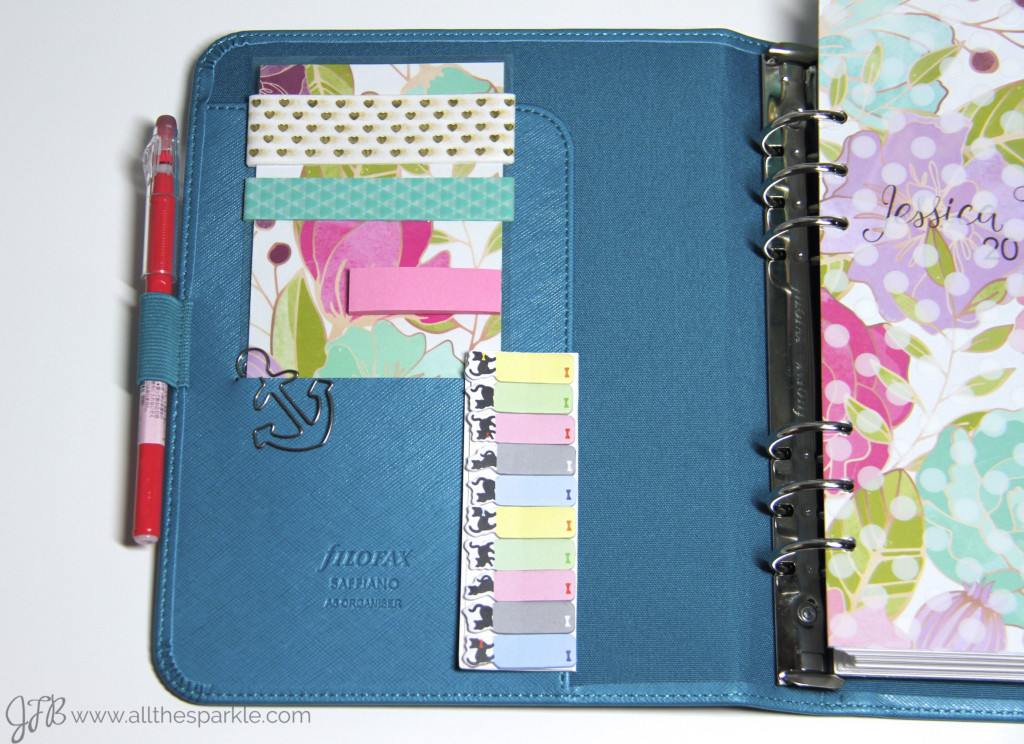
My planner dashboard was also created with a piece of laminated patterned paper. I wound two of my favorite washi tapes around the laminated card so that I can easily tear off a piece as needed. I adhered a stack of pink post-it notes to the same card with removable glue-dots and then slid a fun pack of cat post-it notes into the inside pocket. Behind that inside pocket are extra removable labels and other decorative notes for my planner.
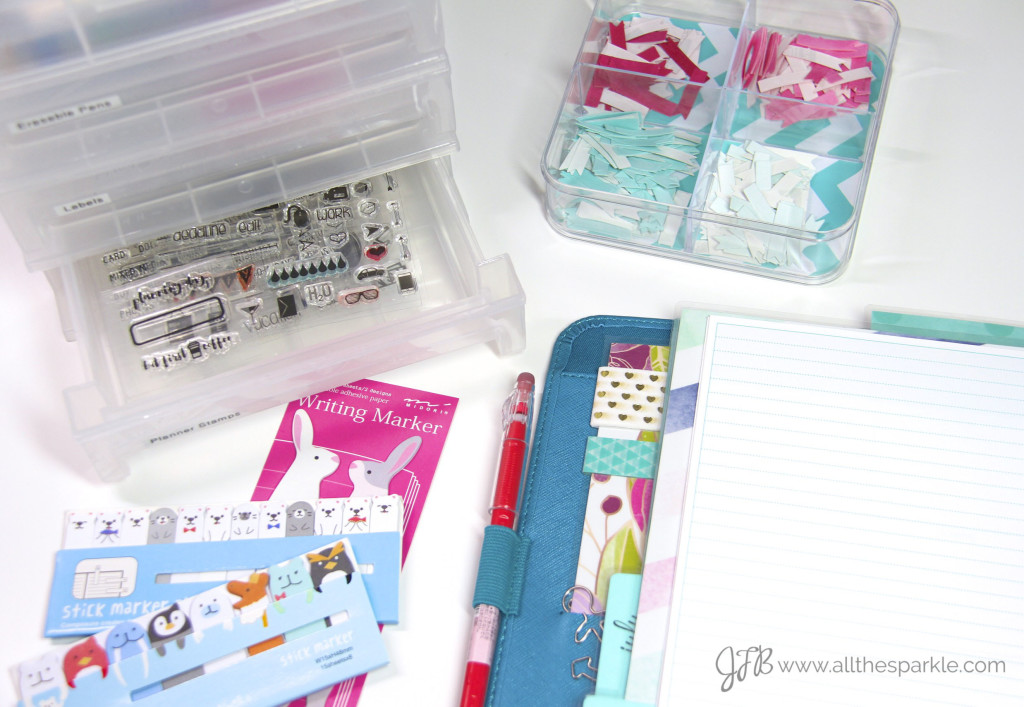
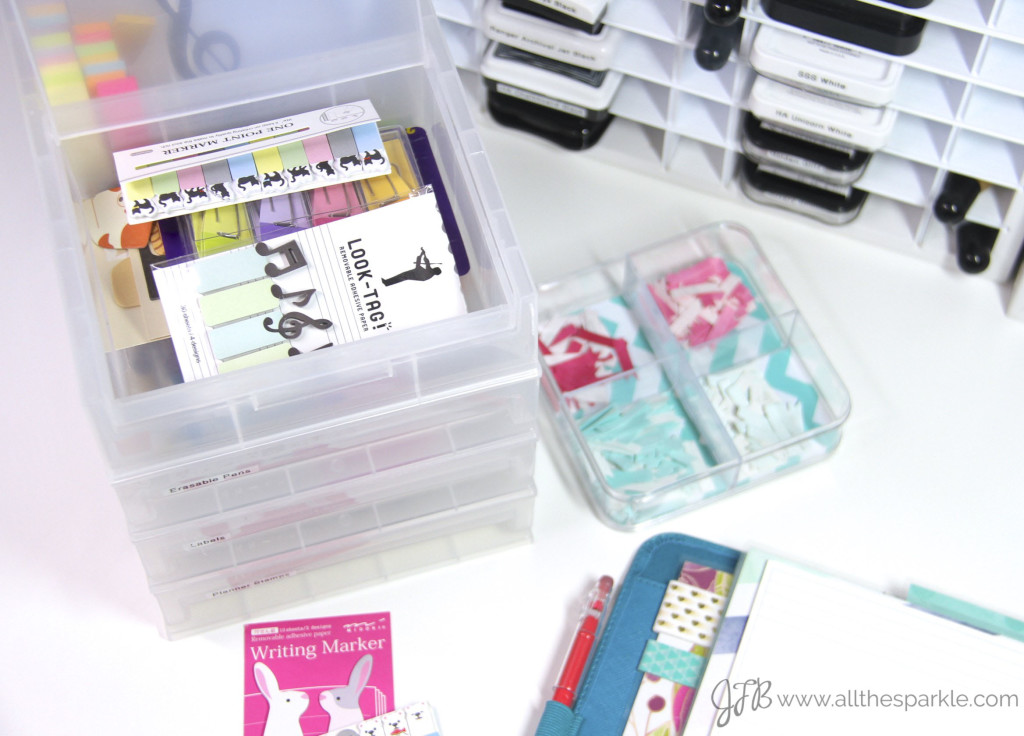
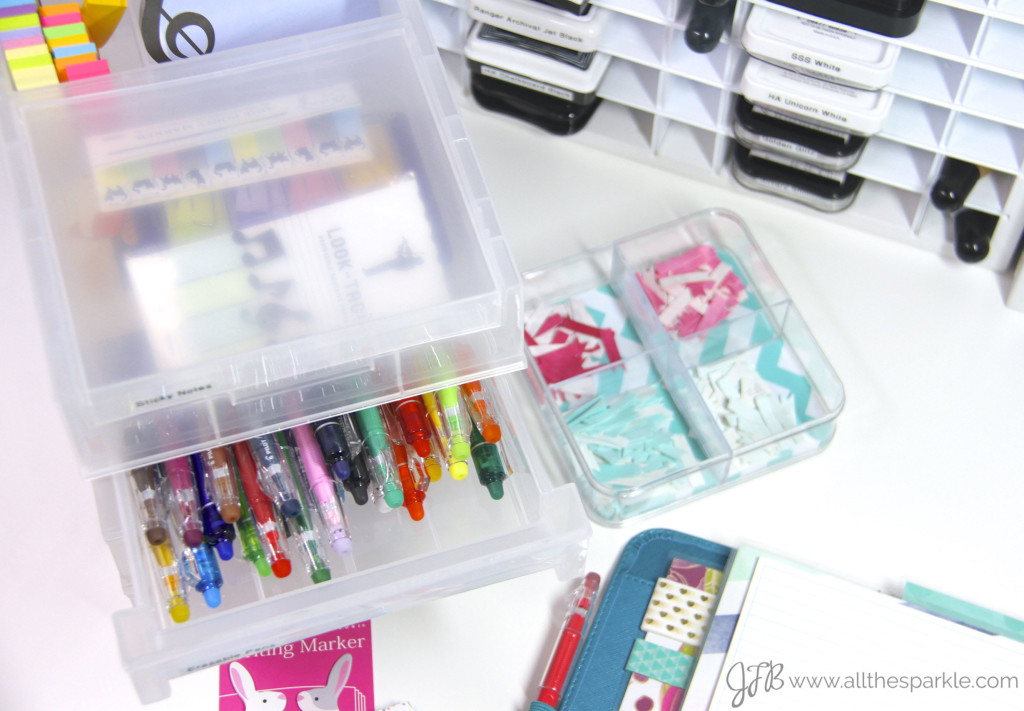
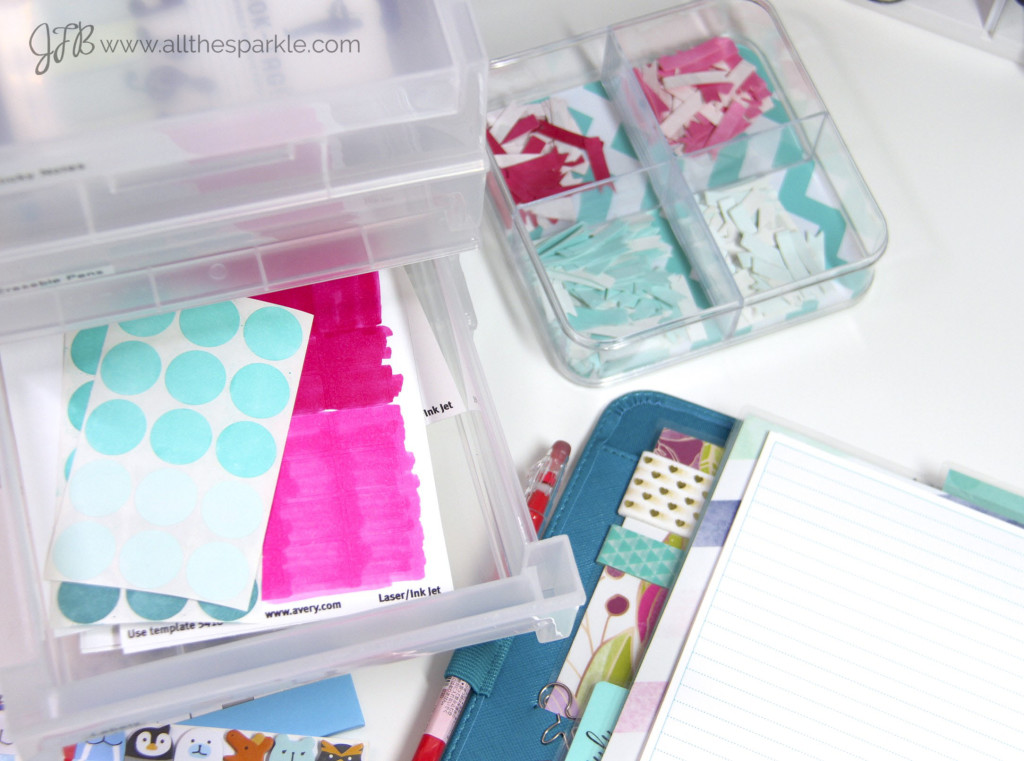
 On one section of my craft desk I have a little area devoted to planner supplies. I found this cute organizer at the Container Store that holds post-its, sticky notes, planner stamps, all of my colorful erasable pens, and blank labels. I also have a small acrylic container from Target that holds my die-cut planner banners from Papertrey Ink that I colored with copic markers and cut from removable blank labels. Here are the various drawers of the unit.
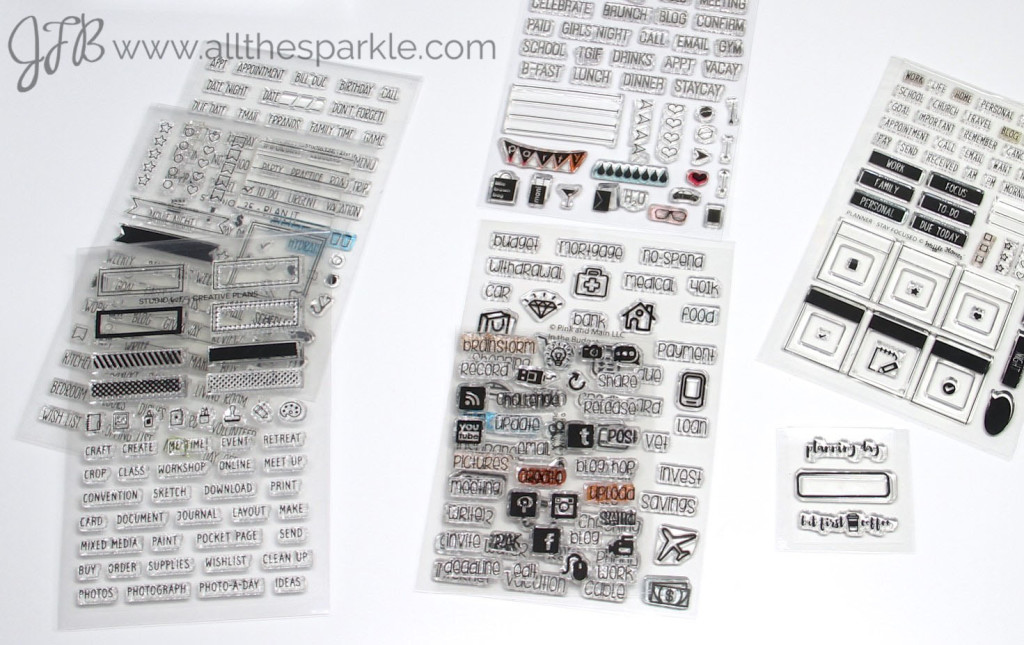
 And the various planner stamp sets I use throughout my planners:
 So there you have it…my very own custom planner! I am SO excited that it’s all put together now and I can finally start decorating and making it my own! 🙂
Thanks so much for visiting!!



Wow! I’m impressed! I hope to have something like this someday. Thanks for sharing all your great ideas, design and thoughts that went into putting it all together!
WOW Jessica! Love it!
this is great! well done.
maybe if I make a start now I might get one done by the new year!!!
Kathleen Mc xx