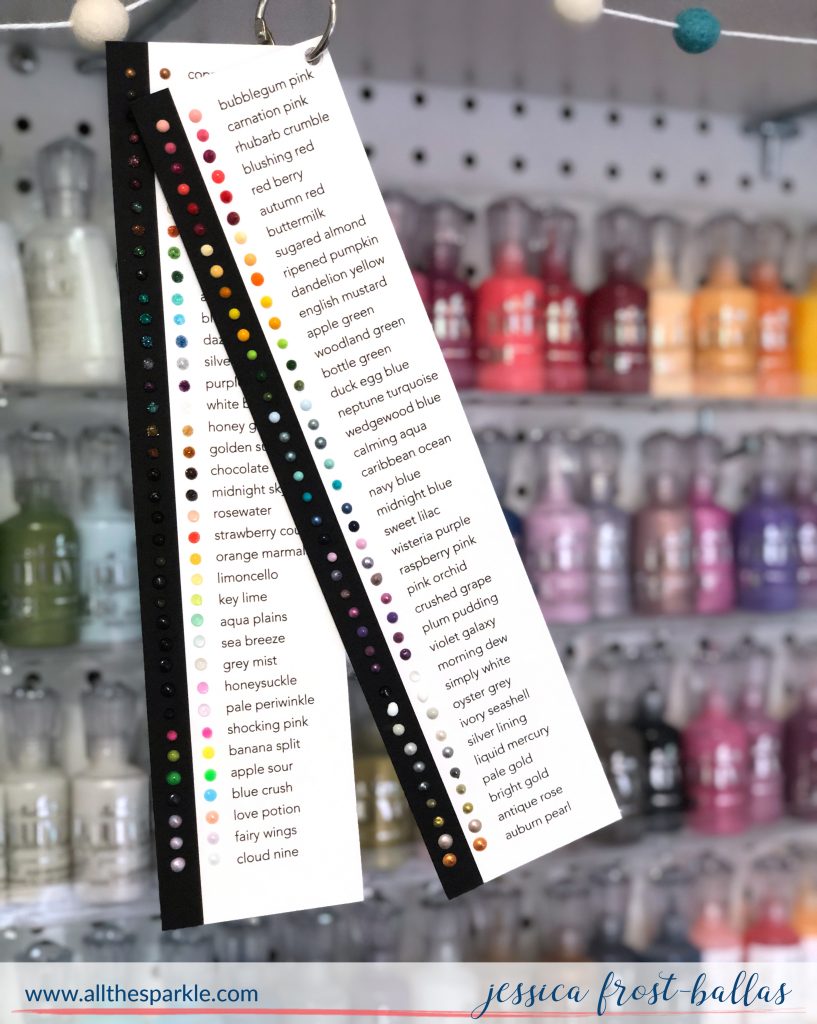
Good morning! I’m popping in with a quick organizational tip! I’ve been in heavy organization mode this summer and high on my to-do list was a swatch chart for my nuvo drops. I have my ink swatches in 2×2 squares in an album but I wanted something smaller that I could store right with my drops! I couldn’t really find anything online that I liked so I ended up making my own! I’ve had a few requests to share my chart so I thought I’d include it here with instructions for how I’ve used it!
You can find the pdf file here:
Nuvo Swatch Chart (you may need to click on it twice to bring up the pdf file)
I printed my chart on 80lb cardstock (because that’s what goes through my printer easily) and then I layered it with a piece of 110lb cardstock so it’d be a little stiffer. I trimmed it down to 2.5″ by 10.5″ and then added a strip of black cardstock cut to .5″ by 10.5.
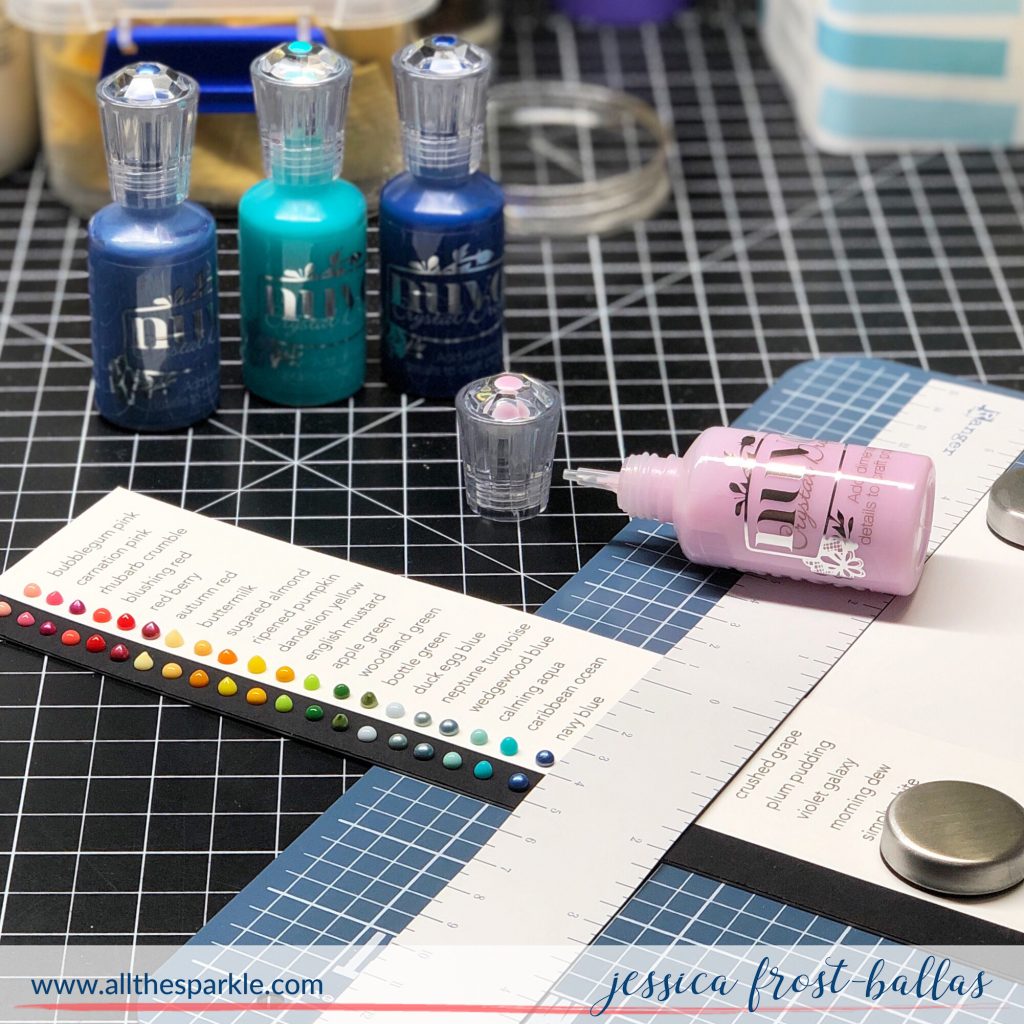
I recently purchased the Wendy Vecchi Stay-tion and it’s absolutely brilliant! I’ll share soon how I use it almost everyday with cardmaking but it was also perfect for swatching. I held the swatch chart in place with the round magnets and then placed the magnetic ruler on top. I added small dots of each drop color on the white and black cardstock using the magnetic ruler to keep them lined up. After each color I moved the swatch chart up about a quarter of an inch using the gridded mat and then repeated the process. While I was at it I also added a drop of each color to the top of the bottle to make sure I wouldn’t accidentally mix up bottle tops. Since I hadn’t used some of the bottles in awhile I squeezed out a trial drop on a scrap piece of paper just to make sure I wouldn’t get any bloops or air bubble splatters!
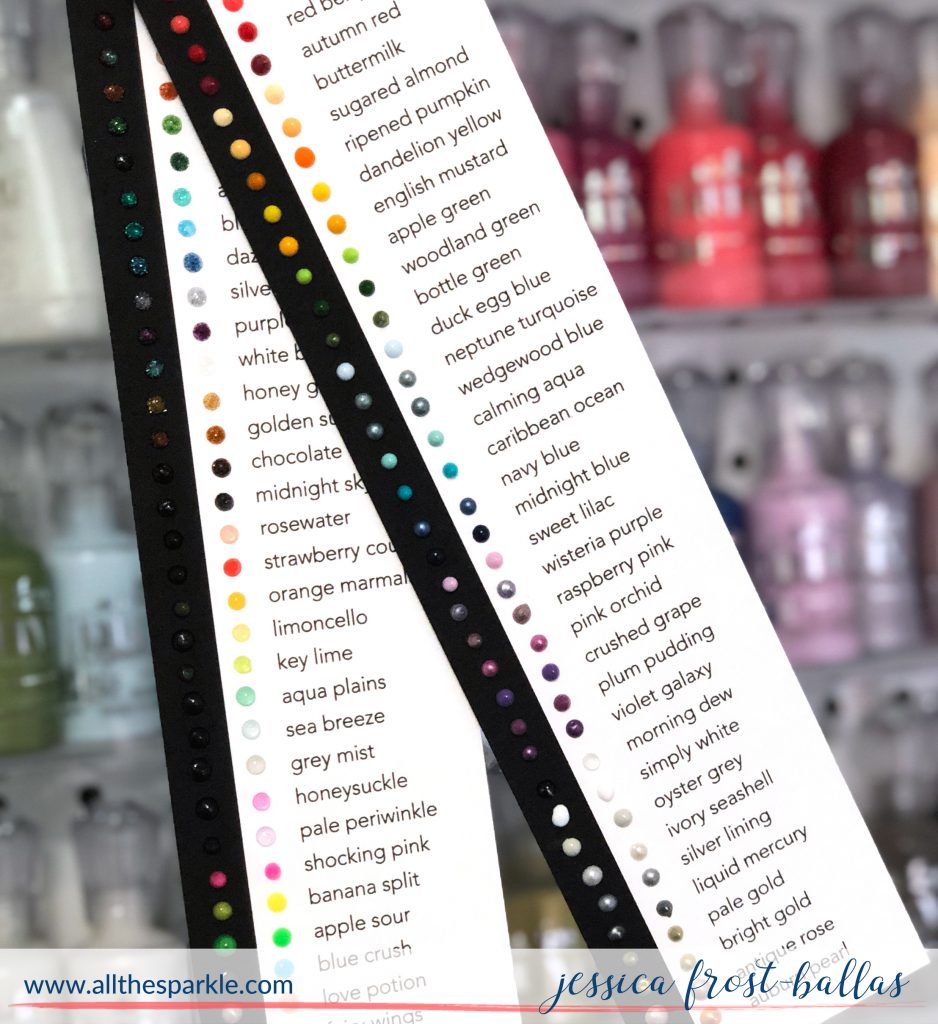
I let them dry overnight and then punched a hole in the top right corner of each swatch chart. I added them to a binder ring and hung them on my pegboard right next to my drops! I haven’t yet, but I will also be adding a small button in-between the charts on the binder ring so that the chart in the back isn’t touching the chart in the front. I think if it got really warm in your room or if there was direct sunlight shining on the swatch chart they might stick together. This just ensures that they won’t be touching! 🙂
Some of the drops are opaque and others are clear but this gives you a great reference for how the drops will look on your project and will ensure that you don’t accidentally add a clear drop to a black cardstock (unless that’s the look you’re going for)! 😉 This swatch chart includes the crystal drops, jewel drops, glitter drops, glow in the dark drops, and dream drops!
Thanks so much for stopping by and have a fabulous day!
 Interested in the products I used? To make them easy for you to find, I have listed them below. (Affiliate disclosure can be found here). Your purchases help keep my blog running and I thank you for the support!!
|



Such a great idea!!
This is an awesome resource! Thank you for sharing it
This is brilliant. Thanks for sharing.
I LOVE THIS! THANK YOU JESS!!!!!!!!!!!!!!!!!!!!!!!!!!!
Thanks so much for sharing this!
Yes, Thank you so much for taking all the time and effort to create this!
This is brilliant! Thanks for the tips!
hermosa idea, tengo pocos nuvo, en Argentina son difíciles de conseguir y muy costosos pero lo pondré en práctica muchas gracias
OMG! I came to your site/blog from Instagram, checking out a card you made. As I scrolled through older posts, I found this and I’m so happy — I was swatching my Nuvo drops today but I prefer tags, like yours, rather than the format provided by Tonic! THANK YOU!