Good morning! I recently asked my YouTube subscribers what they’d like to see from me and a few people requested videos on scene building and my thought process behind card design so I have a video to share today on scene building with Lawn Fawn!
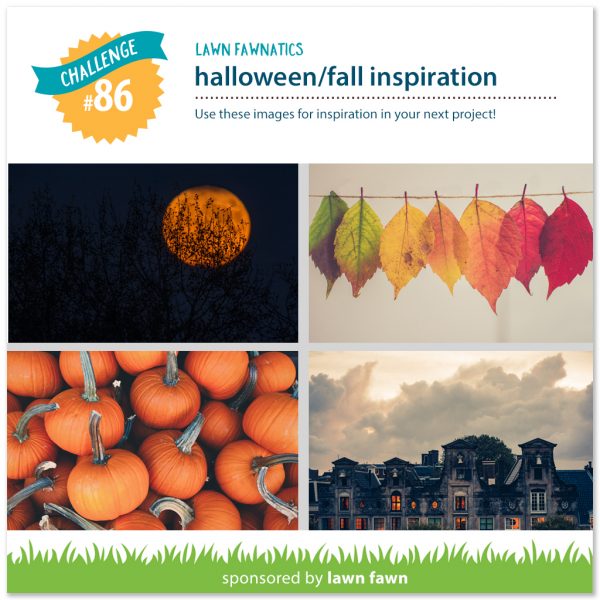
It’s also time for a new Lawn Fawnatics challenge and we have a fantastic seasonal challenge!
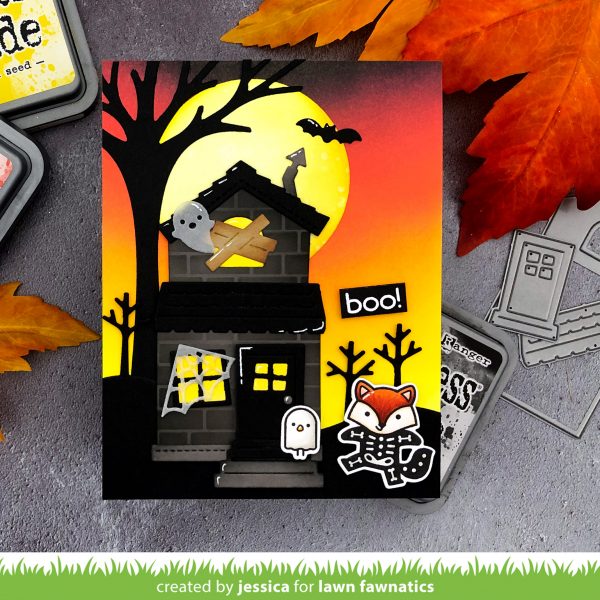
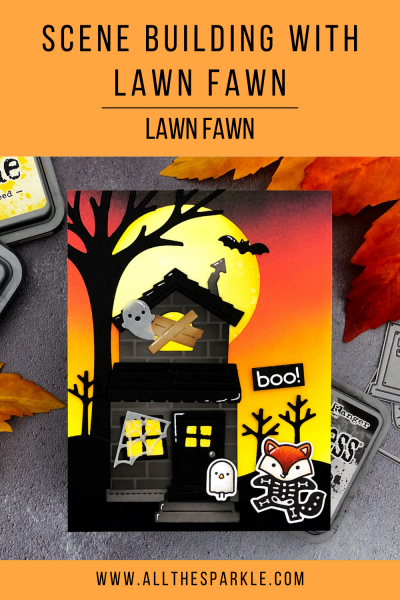
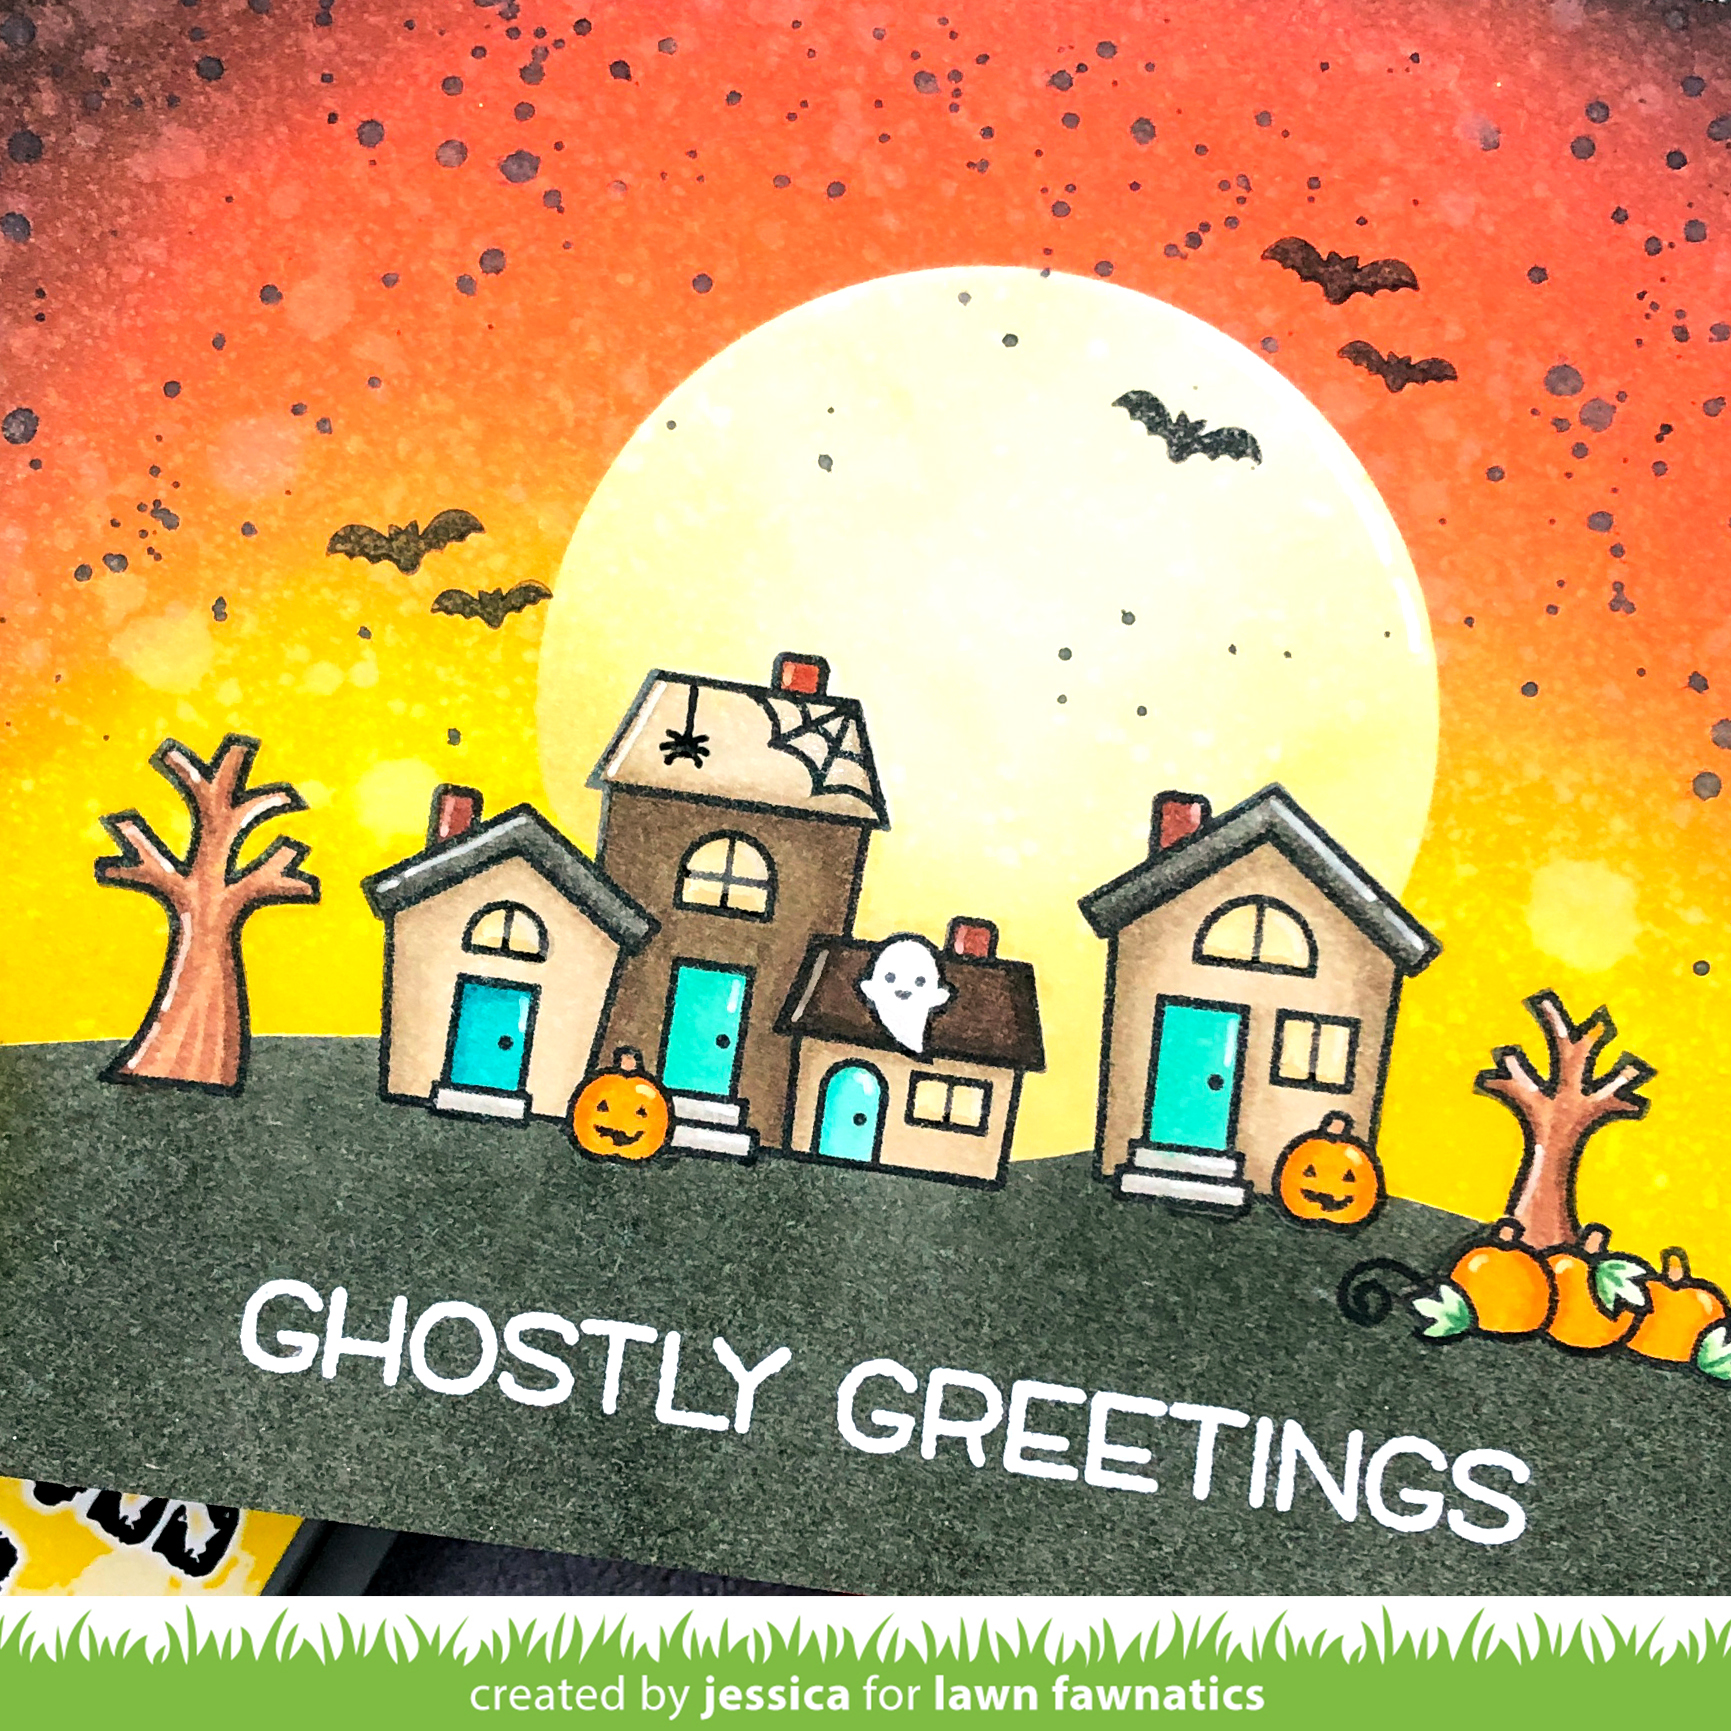
Here’s what I created!
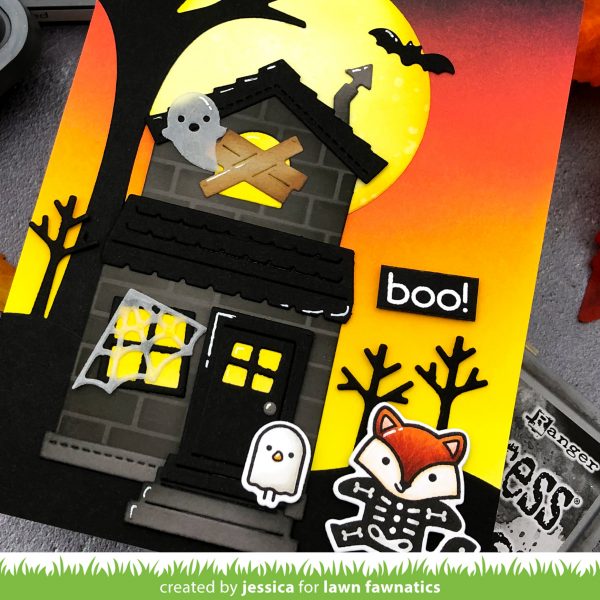
I just love building scenes with Lawn Fawn products and thought this challenge was perfect for a spooky Halloween scene! I used three of the photos as inspiration for my card! First, I used the colors of the leaves (except the green) for my sky along with a little black from the photo with the moon. Speaking of the moon photo, I used the black silhouette idea in my scene. And finally, the main focus of my card is the spooky haunted house with the glowing windows!
You can watch the video below or over at my YouTube channel! I share a little bit of my design process and tips for scene building with Lawn Fawn (or your other favorite companies)! And don’t forget to subscribe to my channel and turn on notifications so you won’t miss any of my future videos!
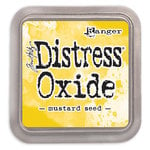
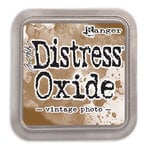
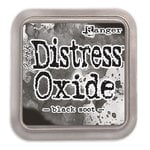
To start, I die-cut the elements of my scene from the Leafy Tree Backdrop: Portrait, Build-a-House, Build-a-House Halloween Add-on, and Stitched Tree Borders. I blended a little Black Soot distress oxide ink onto the house over the Brick stencil. Next I blended Squeezed Lemonade and Mustard Seed distress oxide ink over the moon and windows and a little Vintage Photo over the wooden boards. Then I spritzed the moon with water and blotted off the excess. Finally I set all the elements aside to dry while I worked on the rest of the card.
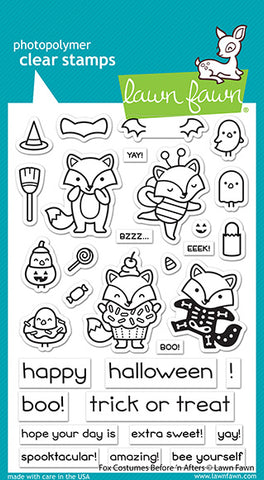
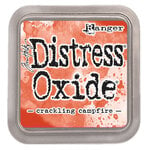
Next I blended Squeezed Lemonade, Mustard Seed, Wild Honey, Crackling Campfire, Festive Berries, and Black Soot distress oxide ink onto a panel of Strathmore Bristol Smooth cardstock to create my sky. Then I adhered the tree from Leafy Tree Backdrop, moon, and ground from Stitched Tree Borders to complete my background. Continuing along, I stamped the fox and bird from Fox Costumes Before ‘N Afters with copic-friendly ink and colored them copic markers. Then I die-cut them with the coordinating dies and added a sentiment from the same set! I finished the card by adding a few accents with a white gel pen and an extra message on the inside that you can view in the video! 😉 I think it’s the perfect Halloween scene…a little spooky and a little sweet! 🙂
And that’s it for me! I can’t wait to see what you’ll create for the challenge! Thanks so much for stopping by and have a fantastic day!
 Interested in the products I used? To make them easy for you to find, I have listed them below. (Affiliate disclosure can be found here). Your purchases help keep my blog running and I thank you for the support!
|
Enjoyed this post? Save this project by adding it to Pinterest! You can also follow me on Pinterest for lots of daily crafty inspiration!





















Jess, your ink blending on this card is stunning! I love it! Thank you for sharing!