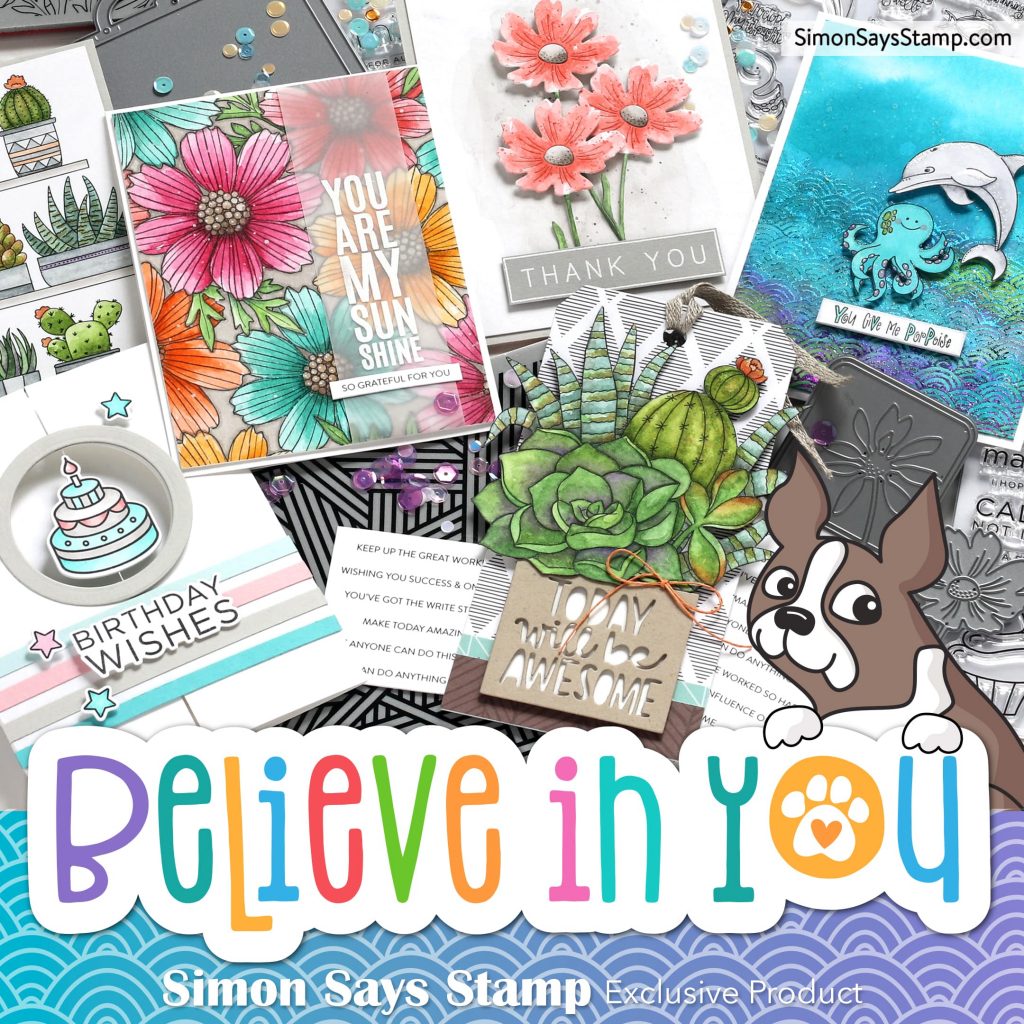
Hello and good morning!! I’m thrilled to share that there’s a new Simon Says Stamp release, Believe In You, and it’s available RIGHT NOW!! The Believe In You release is filled with tons of fun products (and some coordinating dies for older favorites) and here’s a quick look:
|
I’ll have more to share this week but today I’m kicking it off with four different projects!
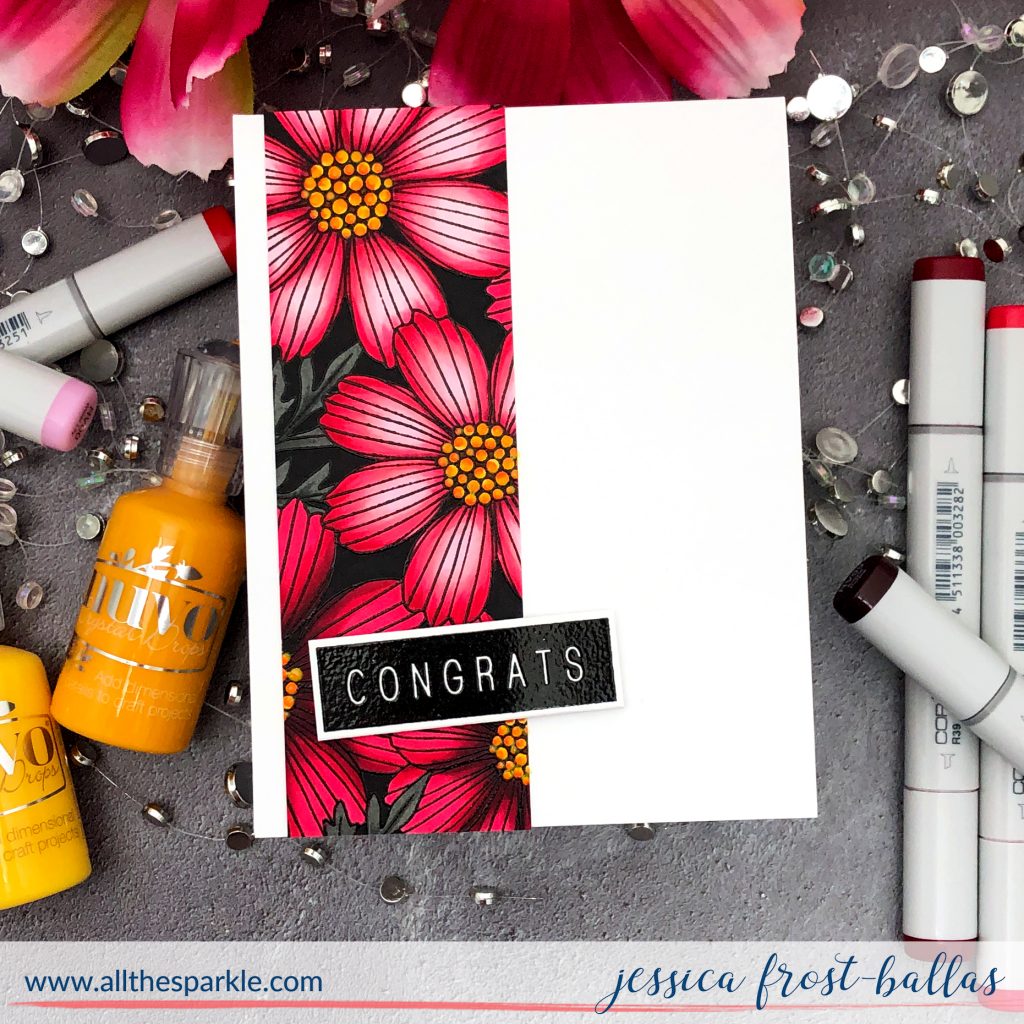
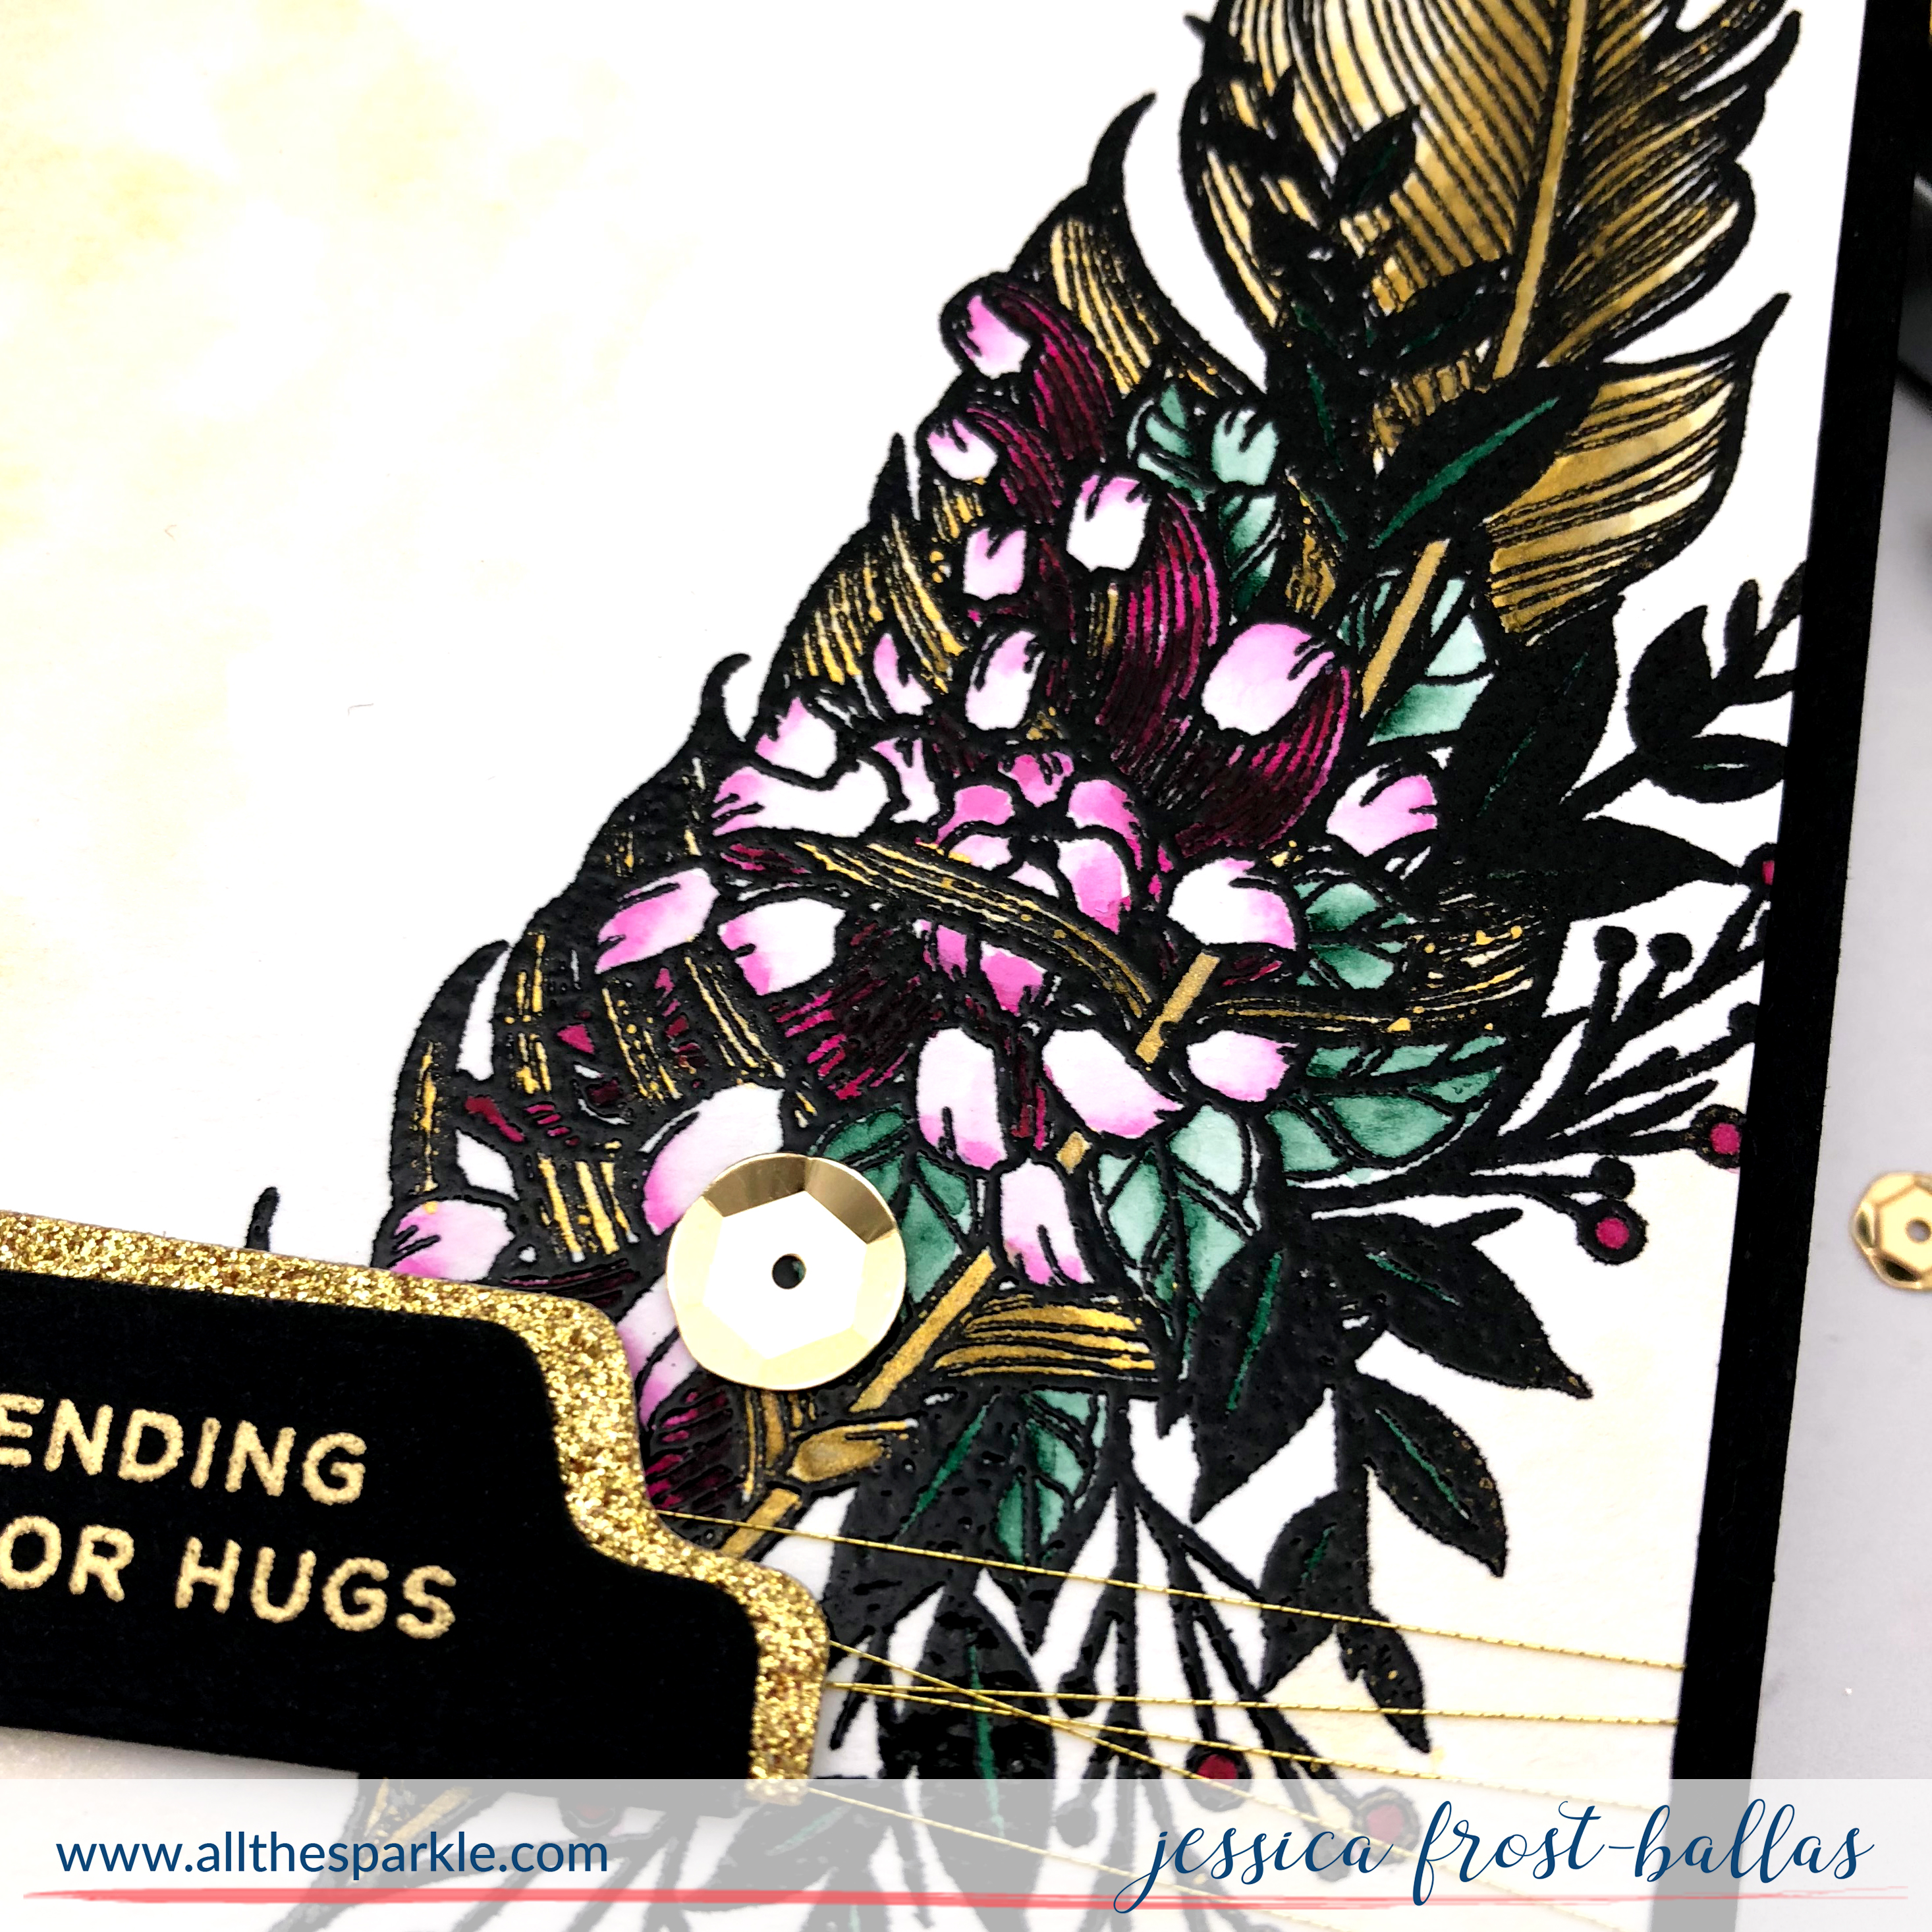
I have to start with this gorgeous cosmos background! Cosmos are one of my absolute favorite summer flowers so I was thrilled to see it get this fun background stamp feature! You’ll have to come back tomorrow to see what I did with the majority of the panel 😉 but I had enough left over to get a second card! I stamped the Cosmos Background with barely beige no-line ink using my MISTI and left the stamp inside my MISTI. Then I colored it with copic markers. I used RV06, R29, RV21, RV25, RV29, R39, and RV99 for the flowers, Y35, Y38, and YR16 for the flower centers, T5 and T7 for the foliage, and 110 for the background. Once I finished coloring I placed the panel back inside my MISTI, stamped it again with versafine and heat-embossed it with clear embossing powder to really bring out the contrast between the pinks and blacks!
I trimmed the panel down and adhered it to a white card base. Then I stamped a sentiment from Greetings Mix 1 onto white cardstock with versamark and heat-embossed it with black embossing powder. I trimmed it down to a thin label and adhered it to the card with foam mounting tape. Finally I finished the card by adding nuvo drops in english mustard and dandelion to the centers of the flowers!
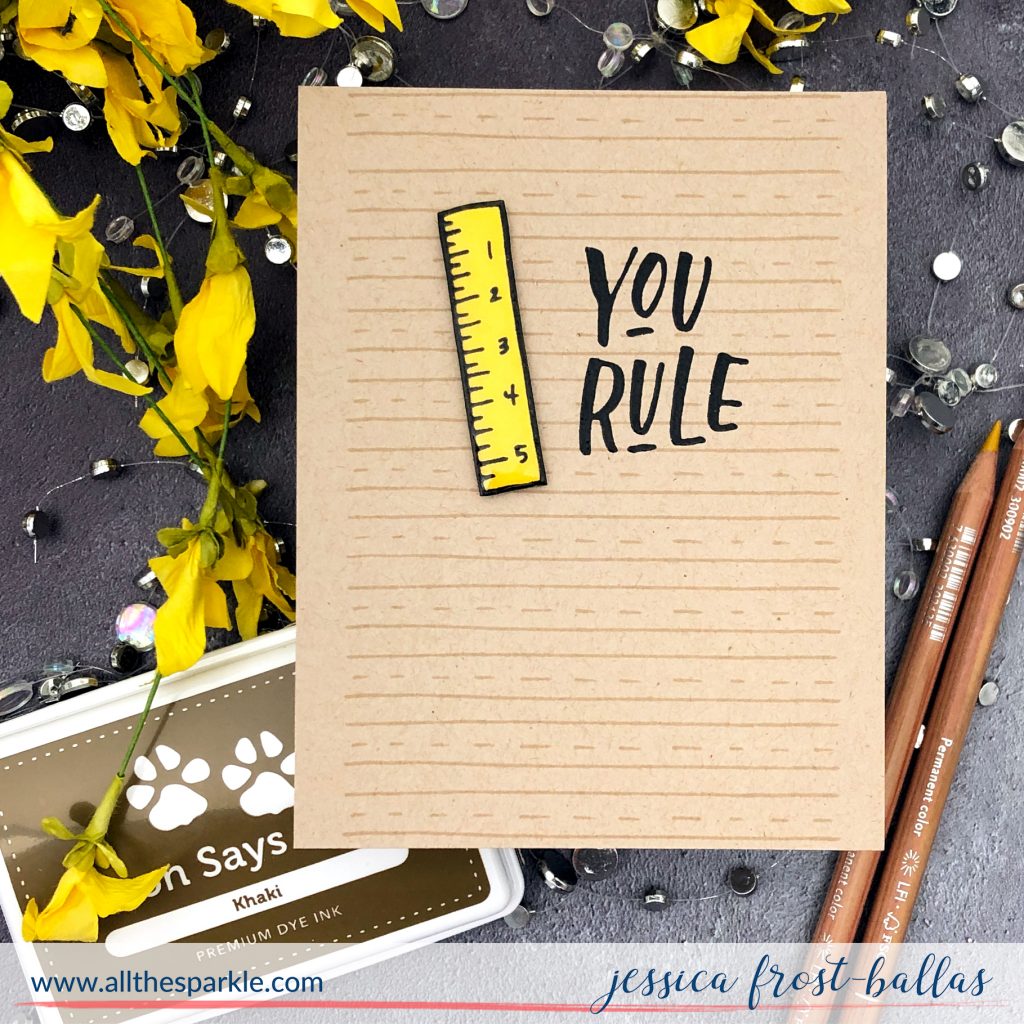
Next up is a fun and easy card and gift that is perfect for a teacher or student in your life! I started by stamping the cute ruler from School Days onto white cardstock with versafine and heat-embossed it with clear embossing powder. I colored it with copics and then fussy cut it. Then I placed the ruled lines stamp on my MISTI and stamped it onto kraft cardstock with khaki ink. I moved the card panel up inside my MISTI and stamped again to get a repeating pattern. I kept doing this until the entire panel was covered with this pattern. Then I simply stamped the sentiment with versafine, heat-embossed it with clear embossing powder, and adhered the ruler with foam mounting tape. To finish the card I added a thin layer of crystal glaze to the ruler and let it dry overnight!
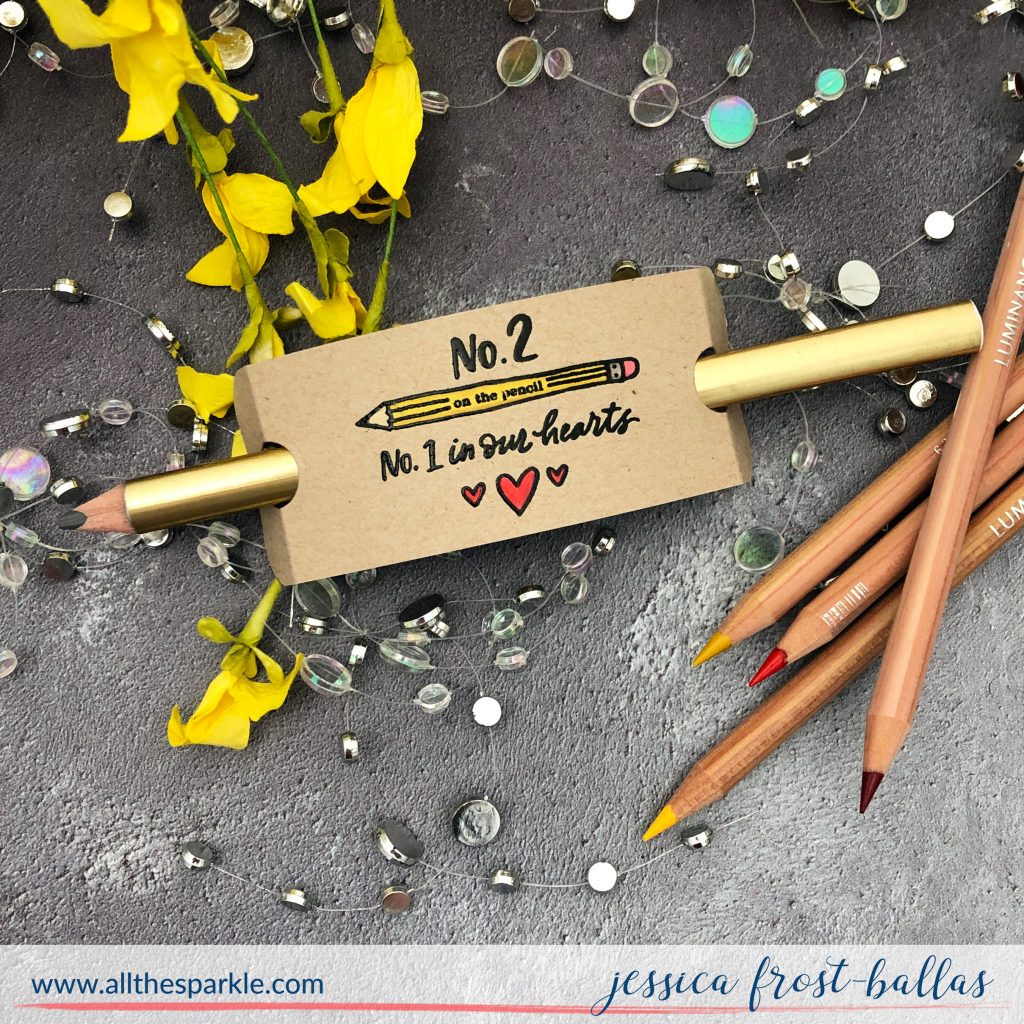
My next little project is a pencil holder! I started by taking a piece of kraft cardstock cut to 2.5″ by 5″ and stamped the pencil sentiment with no line ink in my MISTI. I colored it with my luminance pencils and then placed the cardstock back inside my MISTI and restamped. This time I stamped with versafine and heat-embossed it with clear embossing powder to get that great contrast! I scored a half inch from both ends and rounded them with a corner chomper. Then I die-cut a small circle from both ends, centering the circle over the scored line. You could use a hole punch for this step if you’ve got one large enough to fit a pencil! This particular pencil is a big, oversized triangular shape so the circle dies worked best but depending on what you’re using a punch would work, too! Then I simply slid my pencil into the holes and that’s it! You could play with the sizing and include a small memo pad behind the tag or wrap it around a box of colored pencils instead of adding pencil holes! Lots of fun ways to creatively present some school essentials! 🙂
Finally I have a short video for this bright and vibrant stenciled card! You can watch the video below or over at my YouTube channel! If you haven’t subscribed to my channel yet I hope you’ll considering doing so! I have lots to share in the coming months and you won’t want to miss it! 🙂
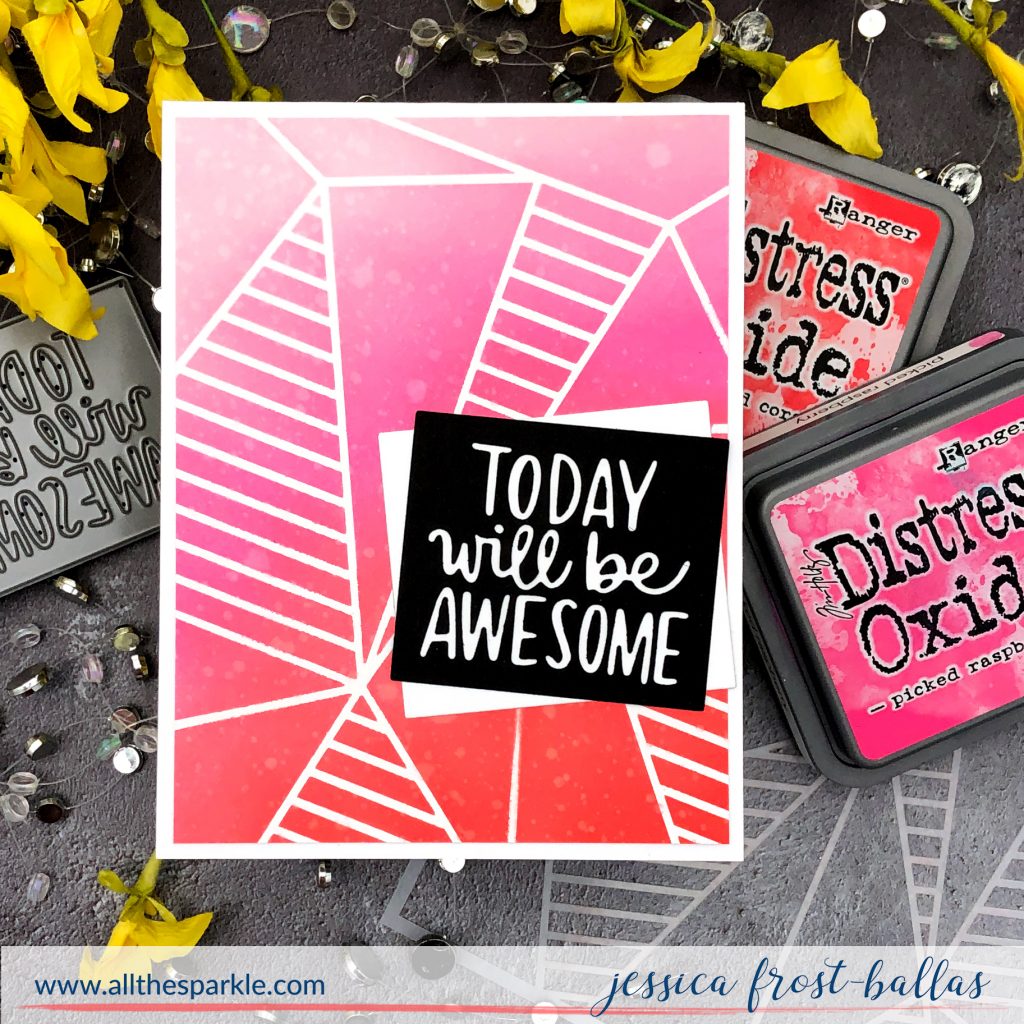
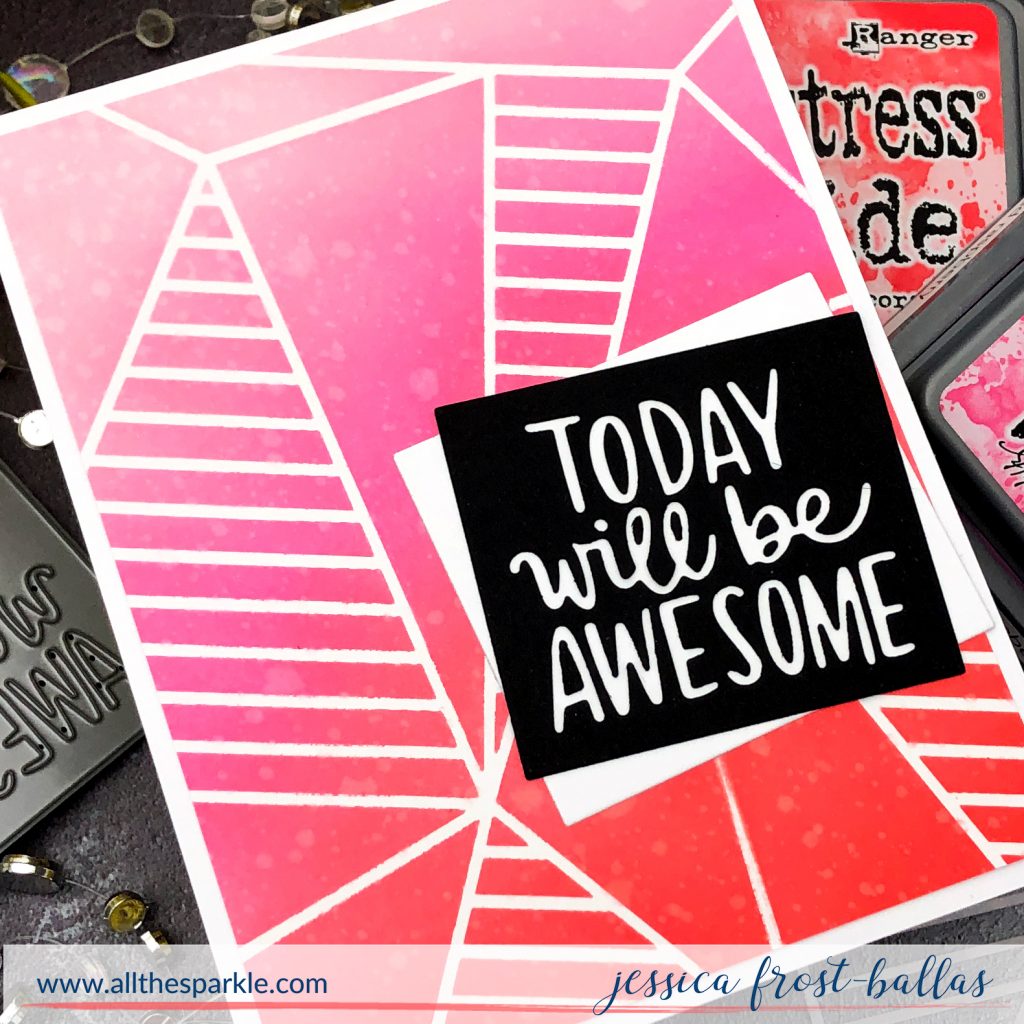
I just love stenciling with oxides…they just blend so easily! I started by spritzing the back of the Faceted Stripes stencil with pixie adhesive spray. I let it dry for few minutes and then placed it over a piece of strathmore bristol cardstock. The adhesive spray really holds nicely to the paper and doesn’t damage the paper when you remove it! I blended spun sugar, picked raspberry, abandoned coral, and candied apple distress oxide ink over the stencil and then spritzed it with water and shimmer spray.
After my panel was dry I trimmed it down and adhered it to a white card base. Then I die-cut the Today Will Be Awesome die from black cardstock and the background square from white cardstock. I weeded the letters out of the black square and then adhered it over the white square on an angle. As needed I carefully temporarily fit the letters back inside the square to act as a guide for the inner pieces (like the triangle in ‘A’, etc). And that’s it! Simple but striking! You can change up the colors for different looks or even use dry-embossing on white cardstock for a simpler tone on tone textural design!
 Interested in the products I used? To make them easy for you to find, I have listed them below. (Affiliate disclosure can be found here). Your purchases help keep my blog running and I thank you for the support!
|






Fabulous card collection, Jess. Especially like the cosmos background on the first card. It’s stunning. tfs
Oh, love the vibrant colors on the cosmos card.
great looking card
love the colorful cards and the way you used the inks
Love the intense colors on your flowers!
Loved all your cards. Maybe the cosmos most.
Great cards and I just love the beautiful pink flowers. Thanks for sharing.
These are so cute — your cosmos card really stands out. I love the bold color choices.