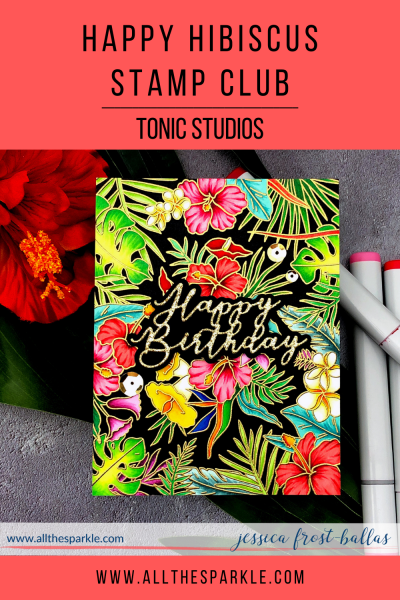
Good morning! Today I’m honored to be hopping along to celebrate the gorgeous Happy Hibiscus release from Tonic Studios! This beautiful Stamp Club bundle is SUPER versatile and a must-have for your craft stash!
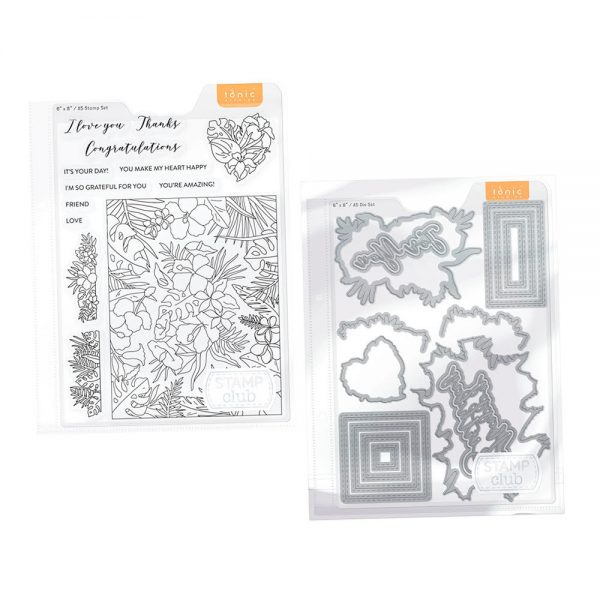
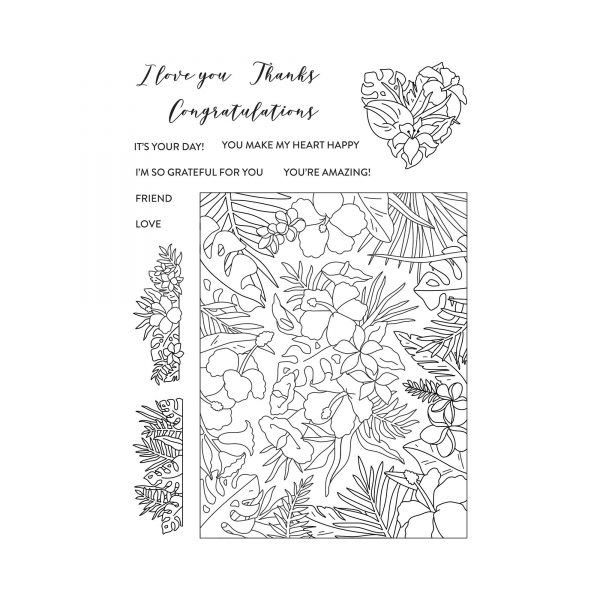
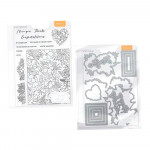
The Happy Hibiscus bundle contains a 6×8 stamp set with a huge A2 floral panel, coordinating dies and stand-alone sentiment and stitched shape dies! And the stamp concept is super neat!
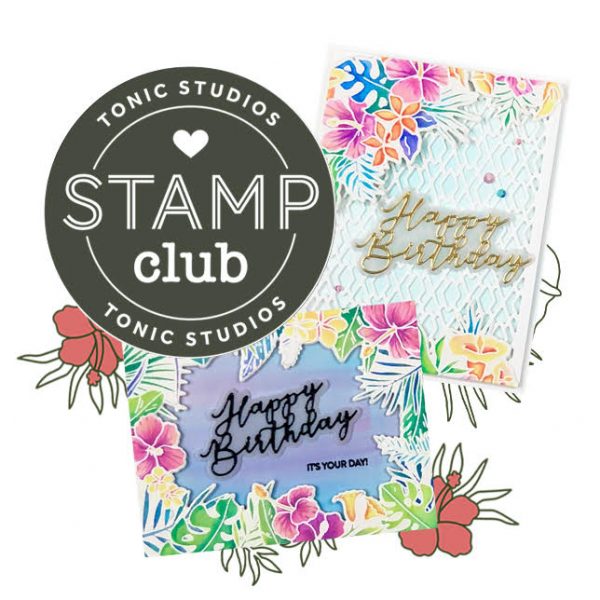
If you look closely you’ll see that the design of the inner floral arrangement of the large A2 stamp isn’t connected to the outer arrangement (though it is one solid stamp). One of the coordinating dies cuts out the inner arrangement so that it can be used on its own. Another coordinating die cuts around the inside of the outer frame (that sounds super confusing, I know but it makes sense when it’s in front of you). But what that means is that you can use the floral frame or the inner bouquet completely separate from each other or joined together as one large floral panel! You can see how closely the die cuts the floral frame in the banner at the top of the post which makes it perfect for creating a shaker card or allowing the sentiment to take center stage in the middle of the frame! Just lots of fun options here! And at $34.99 the Happy Hibiscus is a fantastic deal!
Originally I intended to take advantage of those coordinating dies…but I had so much fun coloring my panel that I couldn’t bring myself to cut it apart when I was finished! 😉
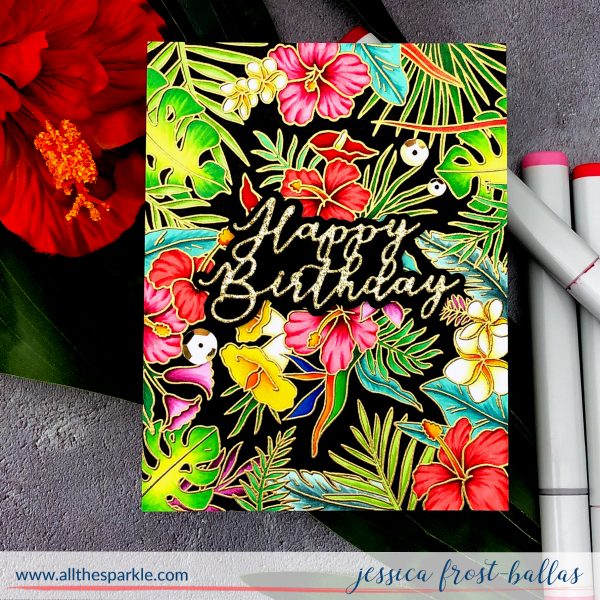
I’m not sure I’ve ever spent quite so long coloring a card before but I think it was time well spent! 🙂 To start I placed the large floral stamp in my MISTI and stamped it with copic-friendly black ink. I left the stamp in my MISTI and then colored the image with copic markers. After I finished coloring I went back with my black copic marker and colored the negative space as well. Then I placed the panel back inside my MISTI and stamped it again with versamark and then heat-embossed it with gold embossing powder! I love that crisp edge that the embossing gives it!
While I pondered cutting the panel up I die-cut the sentiment and outline using black cardstock and gold glitter cardstock. I adhered them together and then decided to leave the panel as is and just adhered the sentiment with foam mounting tape. Finally I added a few metallic gold sequins to finish the card!
I am excited to try using that large stamp in the three different ways it can be used and have lots of ideas for the other elements as well! The Happy Hibiscus bundle is only available while supplies last and I anticipate it selling out quickly so if you’re interested I’d head over and snag yours quick! And while you’re there check out their big mixed media sale! Lots of fun nuvo products are on sale right now!
 To celebrate the release Tonic Studios is giving away a $50 gift card and the Happy Hibiscus bundle as a prize to one blog reader selected from the comments across all of the blogs in the hop so make sure you leave a comment at each hop stop for the most chances to win! Please comment before 11:59PM PST on November 25th! You should have arrived from Jen and Kelly is your next stop!
Thanks so much for visiting and enjoy the hop!!
 Interested in the products I used? To make them easy for you to find, I have listed them below. (Affiliate disclosure can be found here). Your purchases help keep my blog running and I thank you for the support!
|
Enjoyed this post? Save this project by adding it to Pinterest! You can also follow me on Pinterest for lots of daily crafty inspiration!










WOW – simply stunning
Oh my gosh Jess, the combo of black background, brilliant flowers and gold–so gorgeous! Thanks for the inspiration!
Wow it’s a beautiful sets. Love the vibriant colours 😍
Wow, Jessica! Your card is so striking! Your coloring is amazing and the black background with gold embossing takes it to a whole next level! Gorgeous card!
Simply stunning!
Wow, love the black, really makes the colors pop!
Wow!! Stunning cards, Jess! I love your gorgeous tropical colouring with the black background!!! So eye-catching! Love it! Thanks so much for the great inspiration! Take care! 🙂
Wow! Loved the way you used this set with black and gold, it makes your card really pop!
Wow! I love the way these beautiful flowers stand out on the dark background! Fabulous card!
Love your card! 🙂
Using a black background made the rest of the card really pop. Stunning!
The gold embossing after coloring really gives depth to your image as well as a nice crisp edge! Great trick.
Such a beautiful and dramatic card! Can’t wait till my stamp bundle arrives as you have inspired me. I really like the way you over stamped with Versamark and then embossed after coloring with Copics. The way you filled in the space with black Copic is very dramatic.
That is one stunning card! Love how the colors pop against the black background and the gold embossing is an elegant touch!